

Making Play Dough With Toddlers: a Real Recipe and Activity for the Whole Family
There's a specific kind of excitement that happens in our kitchen when the flour comes out.
Stools get dragged up to the table. The silicone mat get pulled out. Sleeves get pushed up. Someone always asks if they can do the pouring. And for a few minutes, nobody needs a snack, a show, or me to do anything except enjoy this fun moment together.
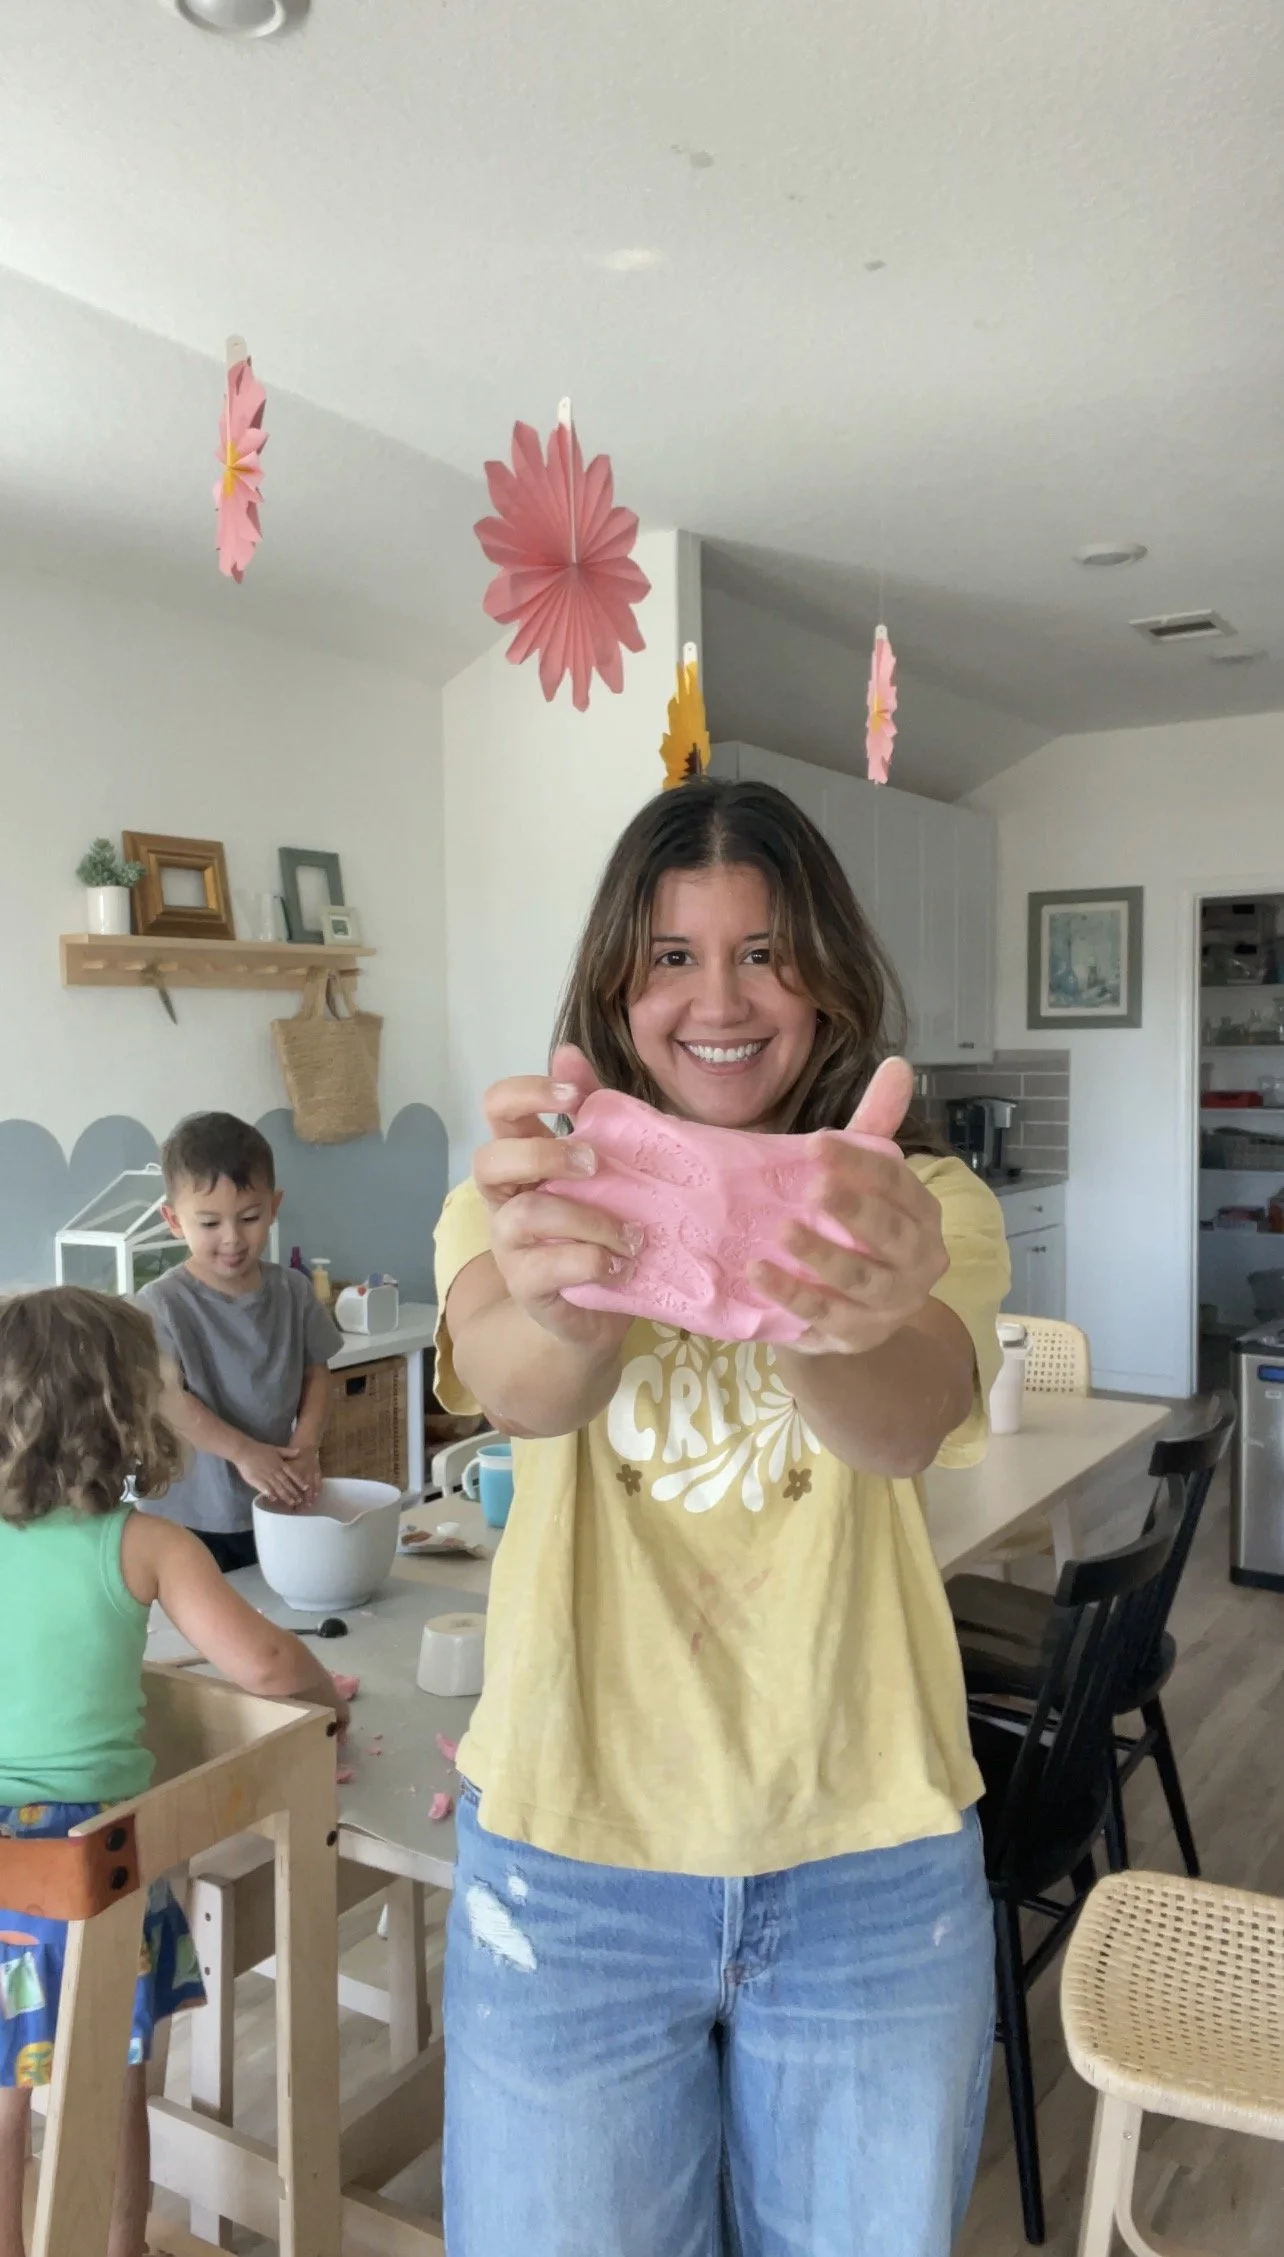
This is our play dough recipe — the one we've made since I became a preschool teacher years ago. Tried and true. None of those AI charts or graphics. This is play dough recipe has been experienced and played with over and over again.
Here's the thing I want you to know before you scroll to the ingredients: in our house, making the play dough is the activity. Not the part you rush through so the real play can start. The scooping, pouring, mixing, and squishing is where so much of the good stuff happens. The last time we made this batch, my toddler and preschooler stayed busy for a full hour, between making the dough and playing with it. One hour, from one bowl of flour and salt.
So if you've been searching for an easy play dough recipe toddlers can help make (not just watch you make), you're in the right place. I'll walk you through exactly how I do it with my toddler and my preschooler, what I hand to each of them, and what we talk about while we mix. I've got a video below, so you can see what part of our process looks like!
Why Making Play Dough With Toddlers Counts as Play
From my years as a preschool teacher, I learned that some of the richest learning in a classroom never looked like a lesson. It looked like a bunch of kids playing with measuring cups, spoons, and a bunch of flour on their clothes.
When kids help make their own play dough, they're getting:
Early math — full, empty, more, less, "how many scoops?"
Fine motor work — pouring, scooping, stirring, and all that kneading builds the same hand strength they'll use for holding a pencil someday
Sensory exploration — powdery flour, gritty salt, slippery oil, warm sticky dough
Real-life skills — following steps in order, waiting their turn, cleaning up a spill
Ownership — play dough they made themselves just gets played with longer. Every time.
And honestly? It turns one activity into two. You get the making and the playing, from one batch, which is exactly how ours stretched into an hour.
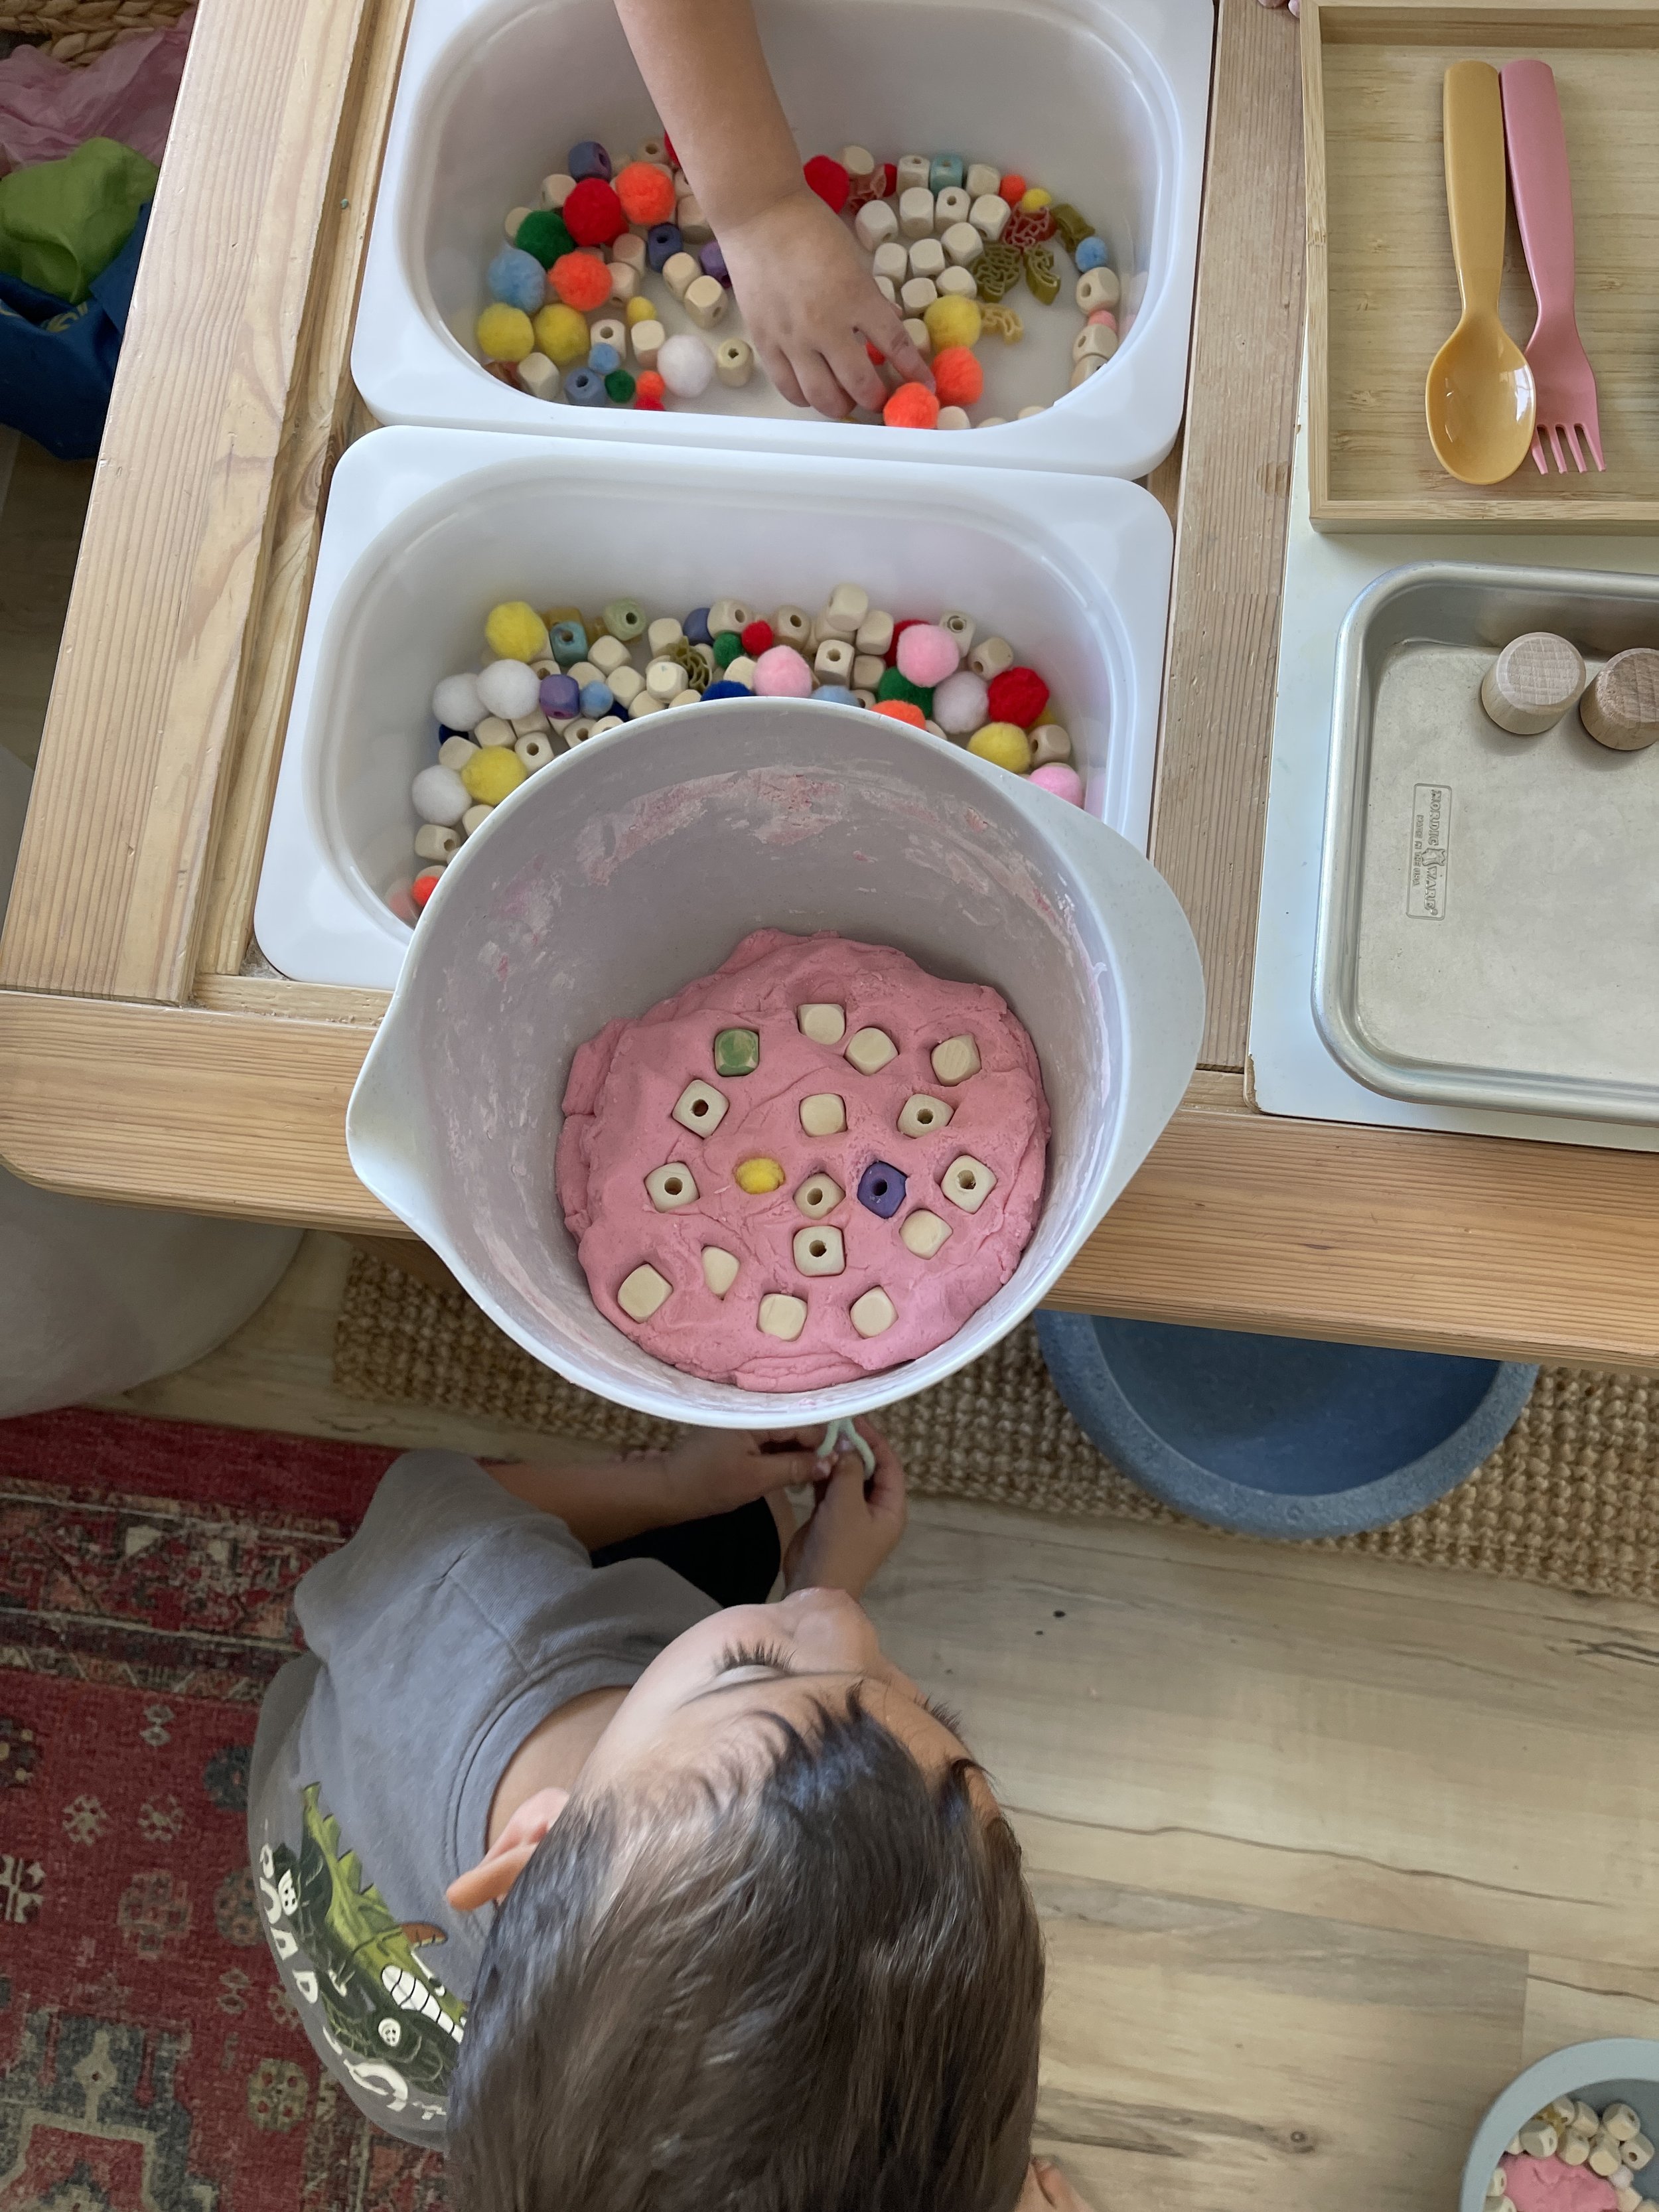
Our Tried-and-True Play Dough Recipe
If you don't already have play dough on hand, this one comes together in just a few minutes, with pantry ingredients you probably already have.
Ingredients
2 1/2 cups flour
1/2 cup salt
2 tsp cream of tartar
1 tbsp oil (we like olive oil)
1 cup boiling water
4 generous drops of food coloring, mixed into the boiling water (optional)
Kitchen tools
Mixing bowl
Spatula
Measuring cups
Measuring spoons
Silicone mat (or parchment paper, or any surface the dough won't stick to)
That's it. No stovetop, no special equipment — just real kitchen tools in little hands.
How to Make Play Dough With Your Kids (Step by Step)
Making the play dough is part of the learning, so slow down and let them explore. You'll see in the videos how this looked for my toddler, preschooler, and grade schooler — same recipe, different jobs.
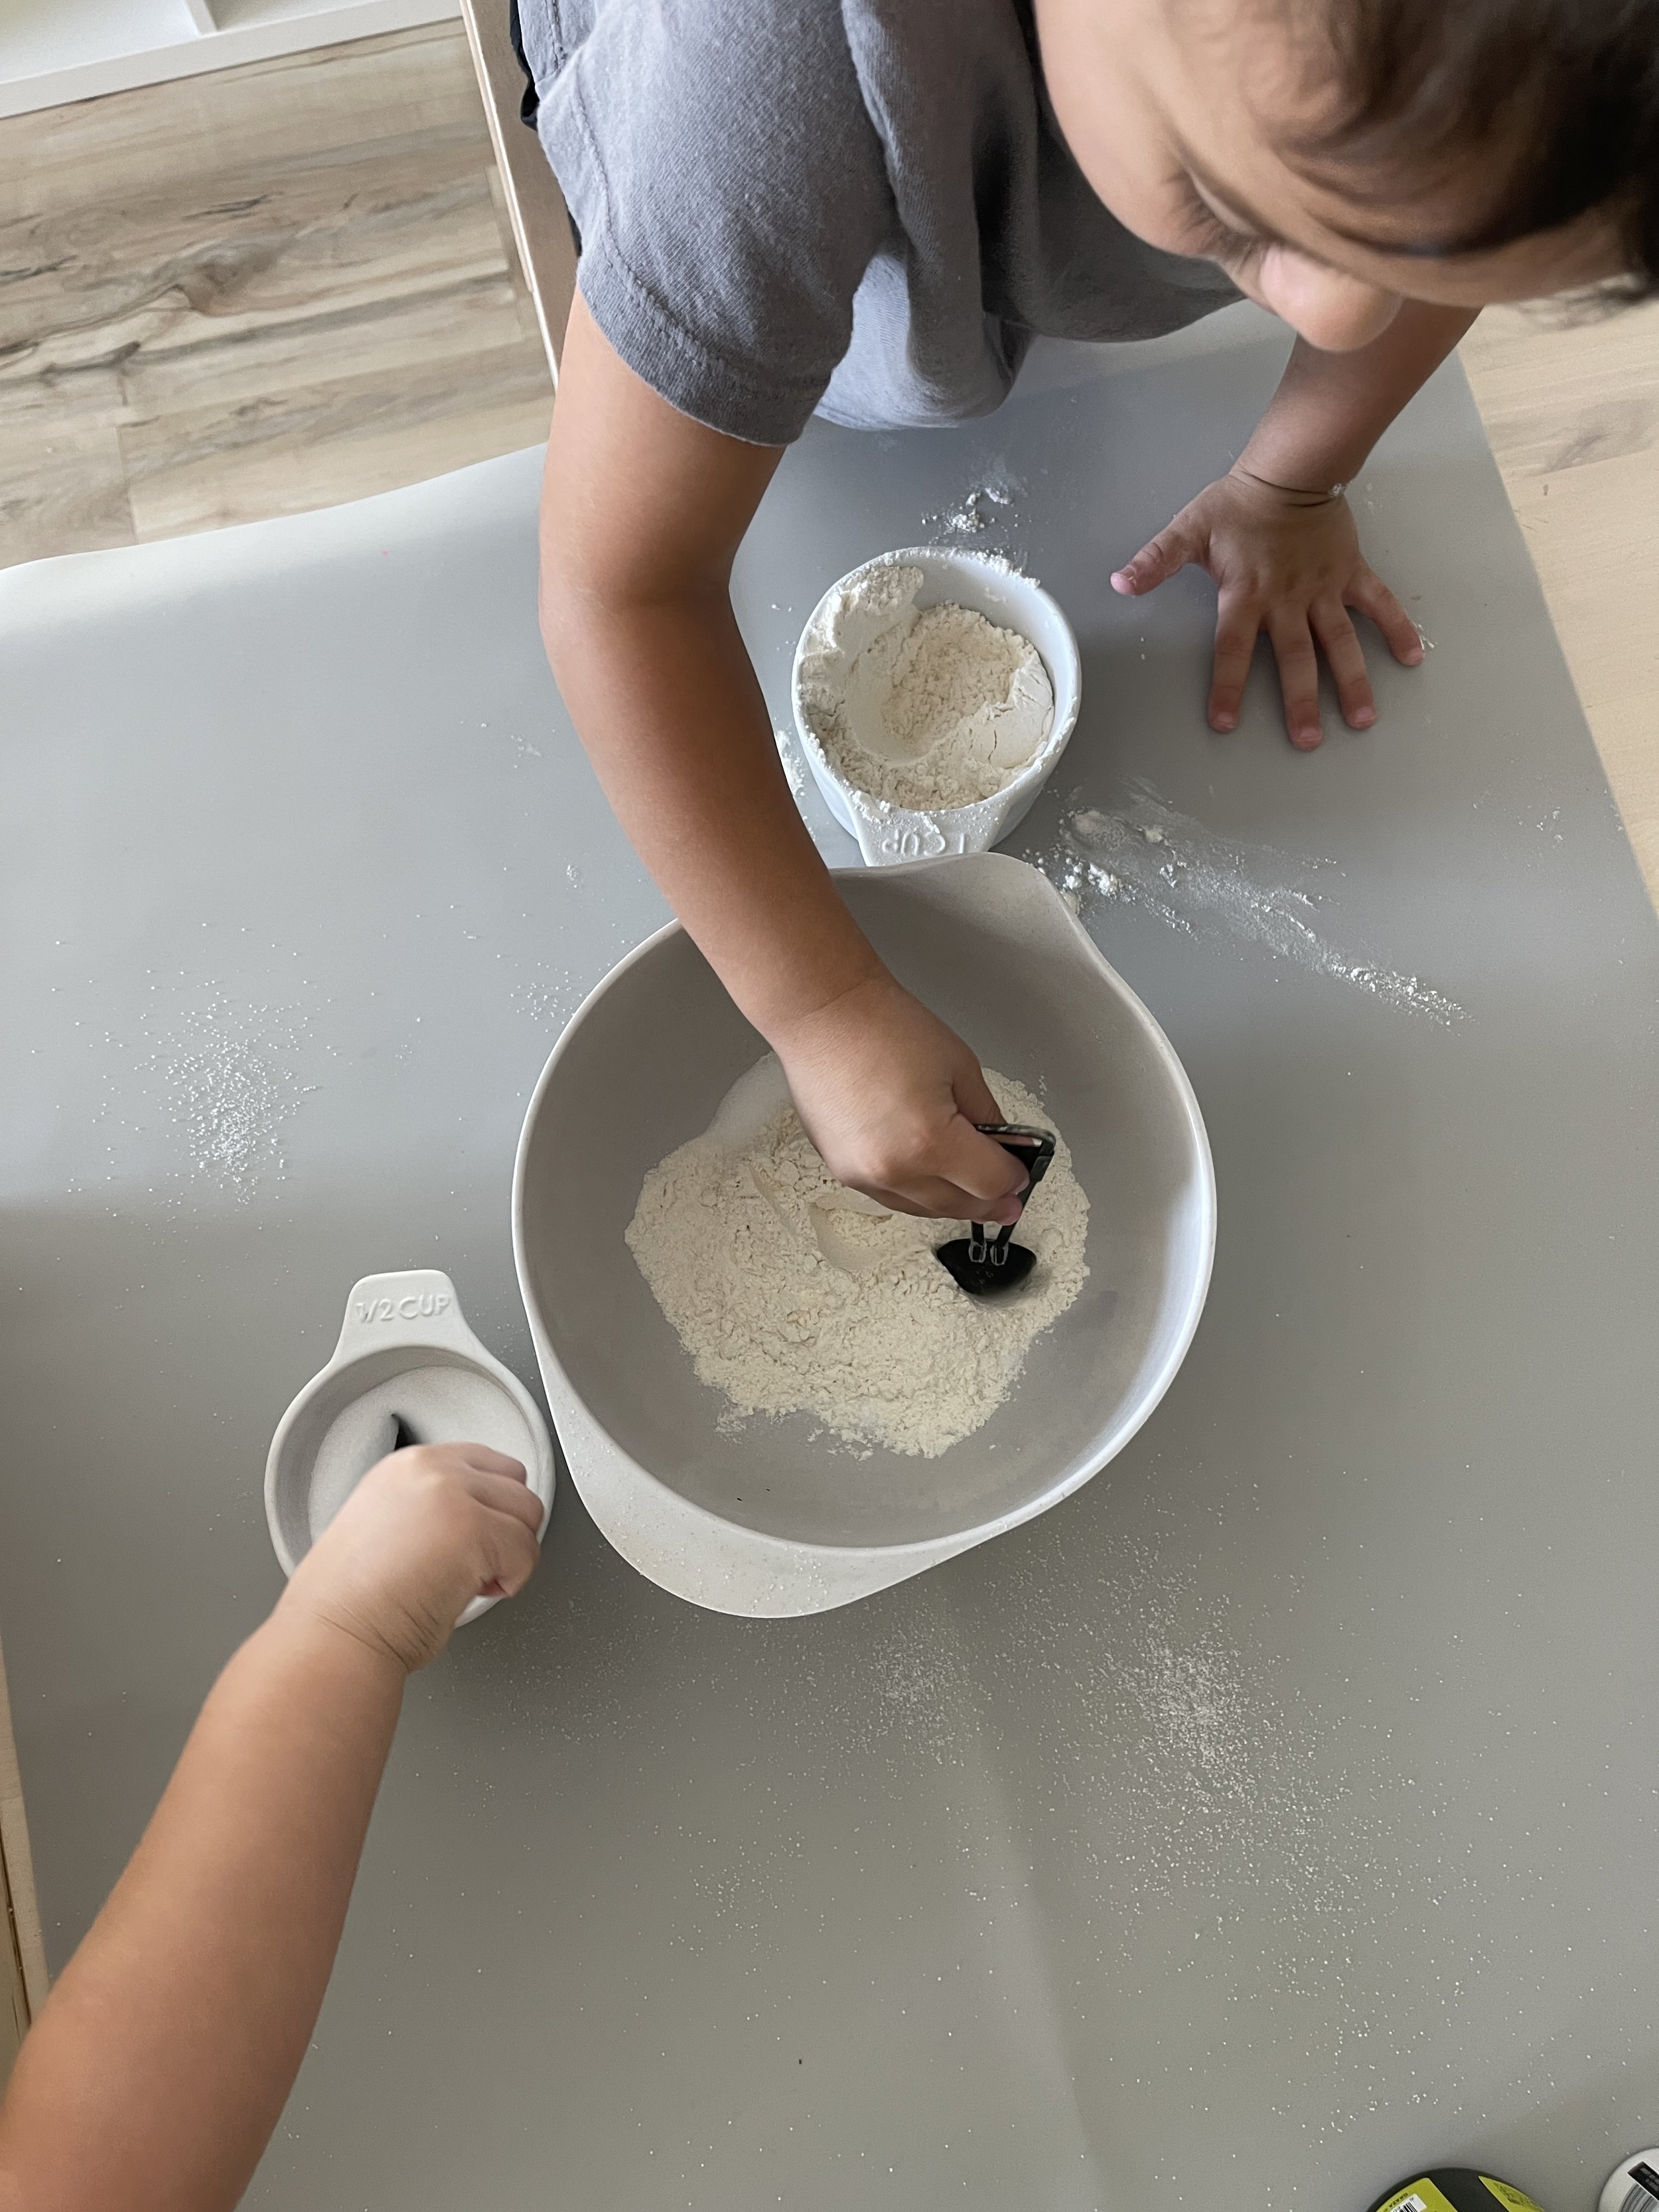
Step 1: Mix the dry ingredients. Flour, salt, and cream of tartar go into the bowl. Let them pour, scoop, mix, dump, and explore with the tools.
Toddlers: I pre-measure everything into little cups, so all they do is add it to the bowl. That's plenty.
Older children: They can measure and pour themselves. Expect spills — that's part of it.
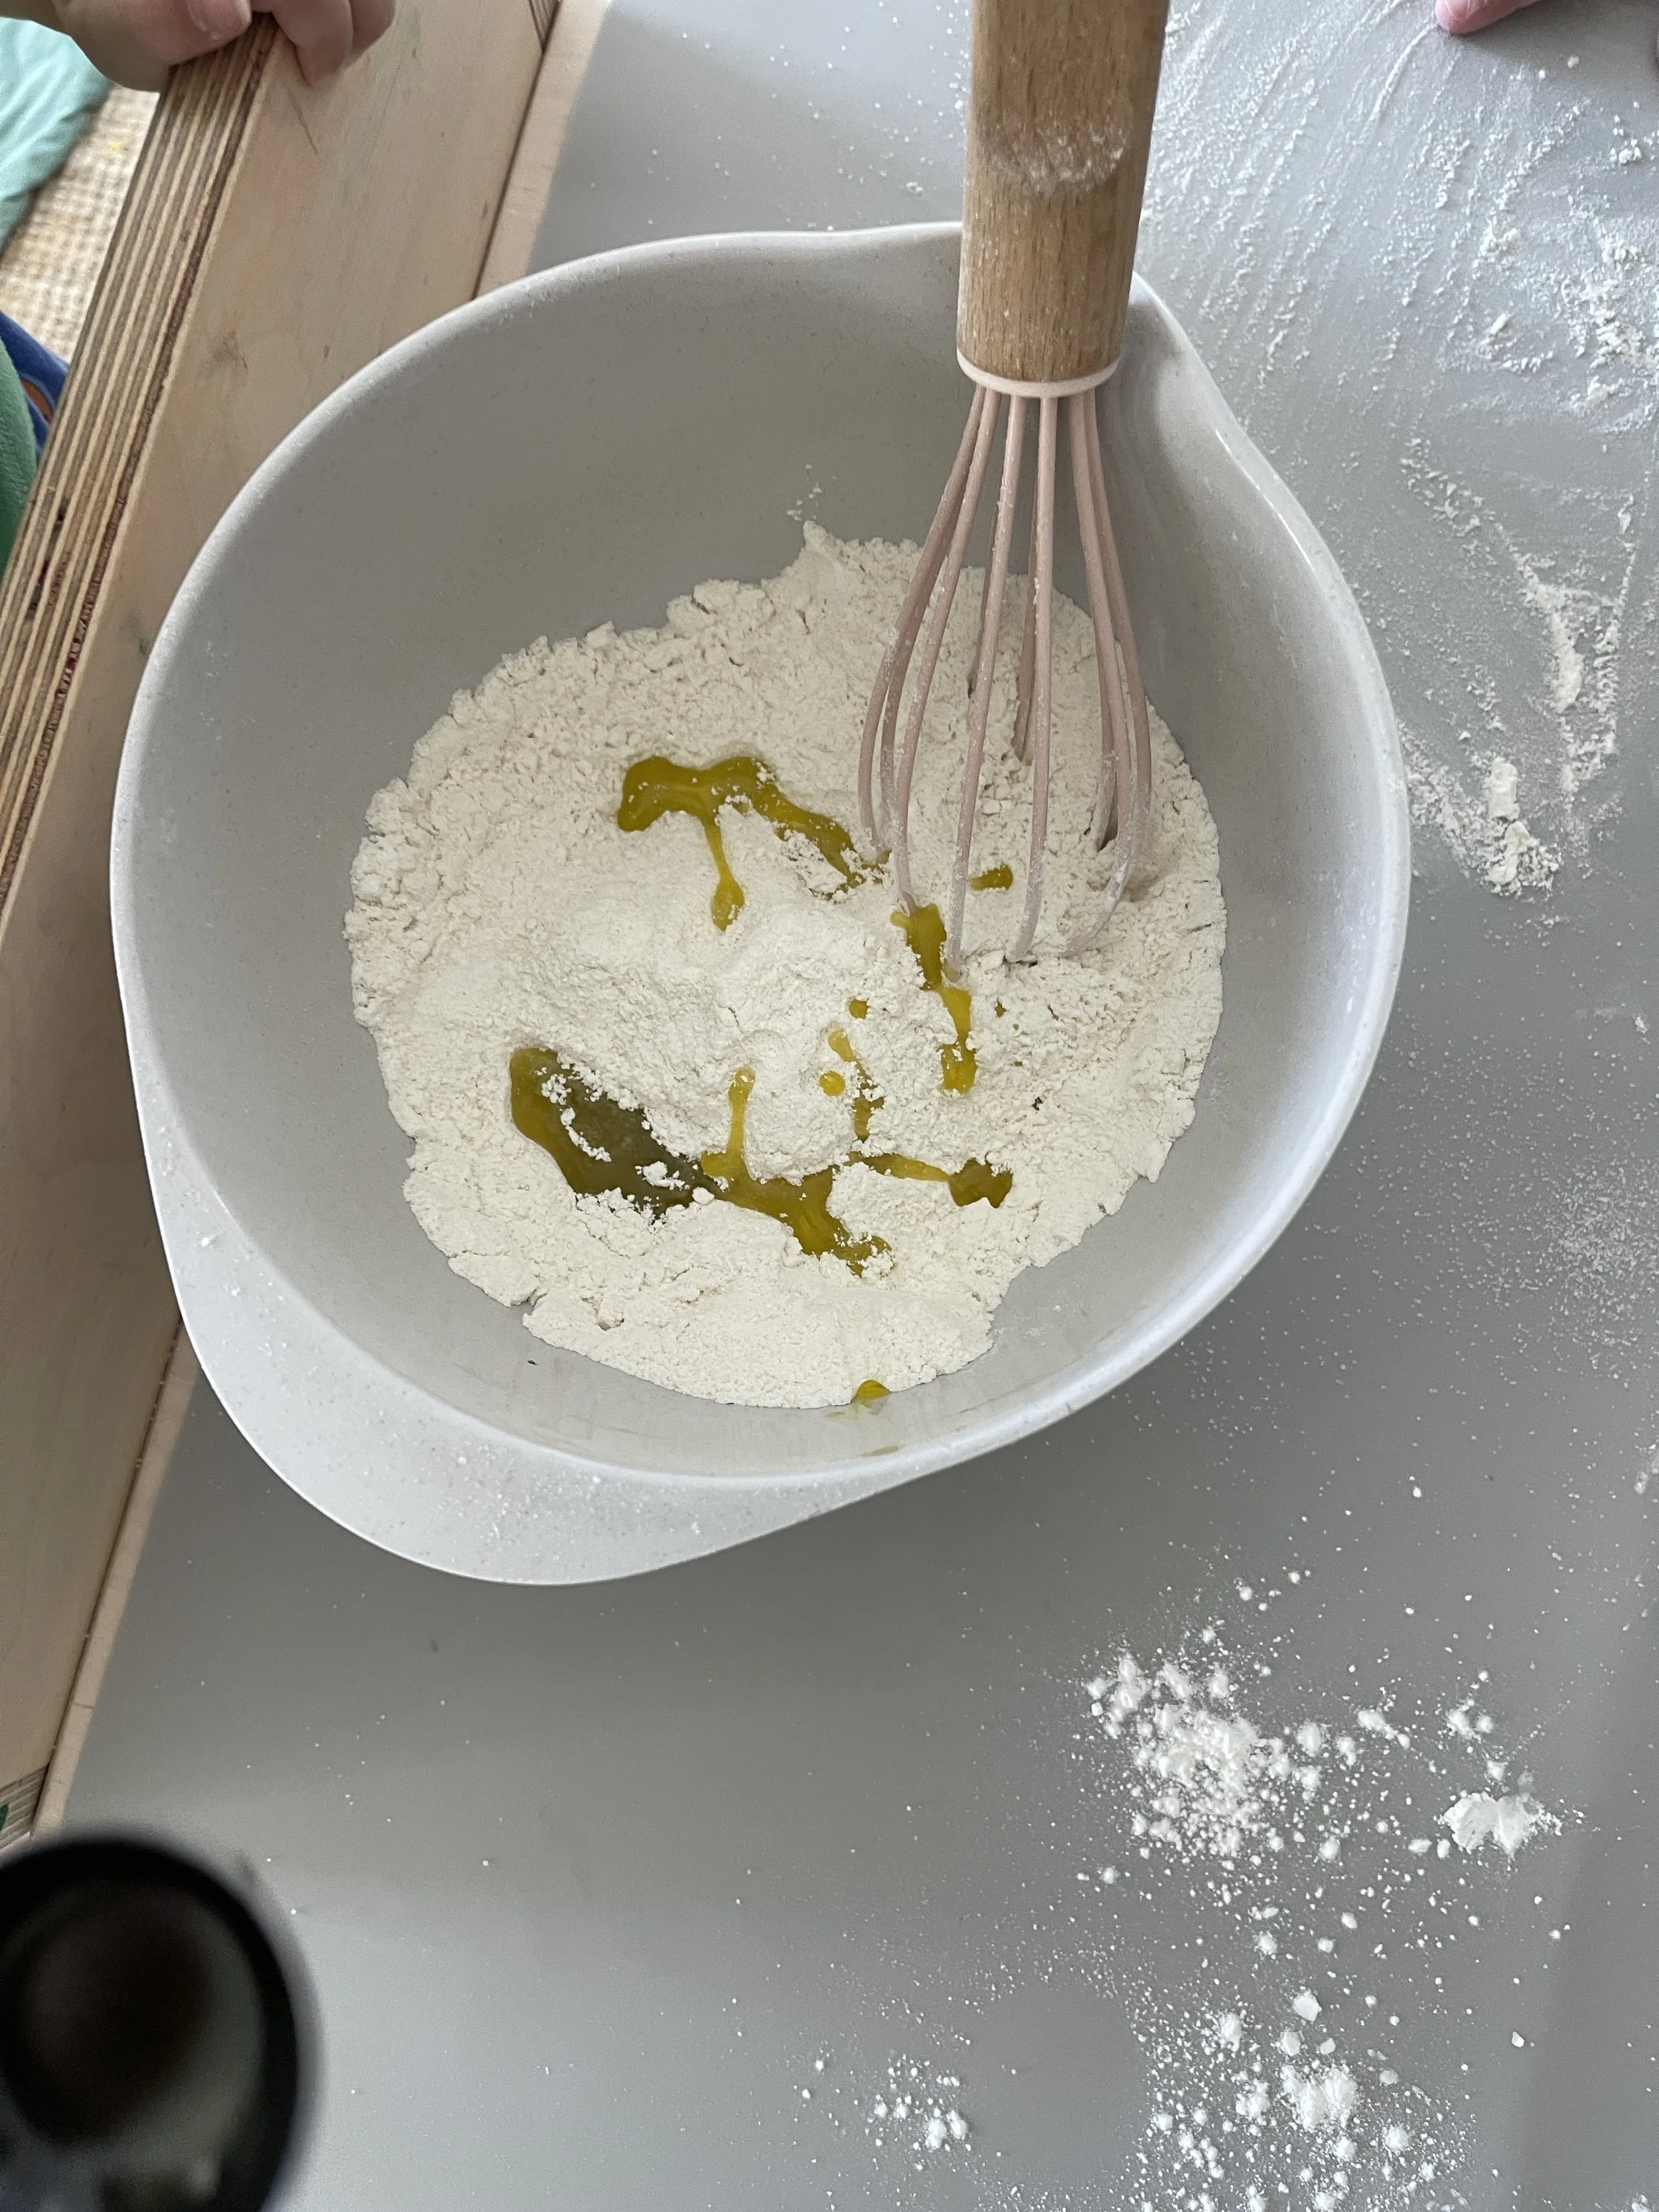
Step 2: Add the oil. Pour it straight onto the dry ingredients. This is a great moment to notice how the oil makes little clumps.
Step 3: Add the boiling water (with the food coloring mixed in, if you're using it). This step is a grown-up job. With my younger one, I do it myself while she watches; with older kids, you can decide what feels right — but I'd still be the one holding the hot water.
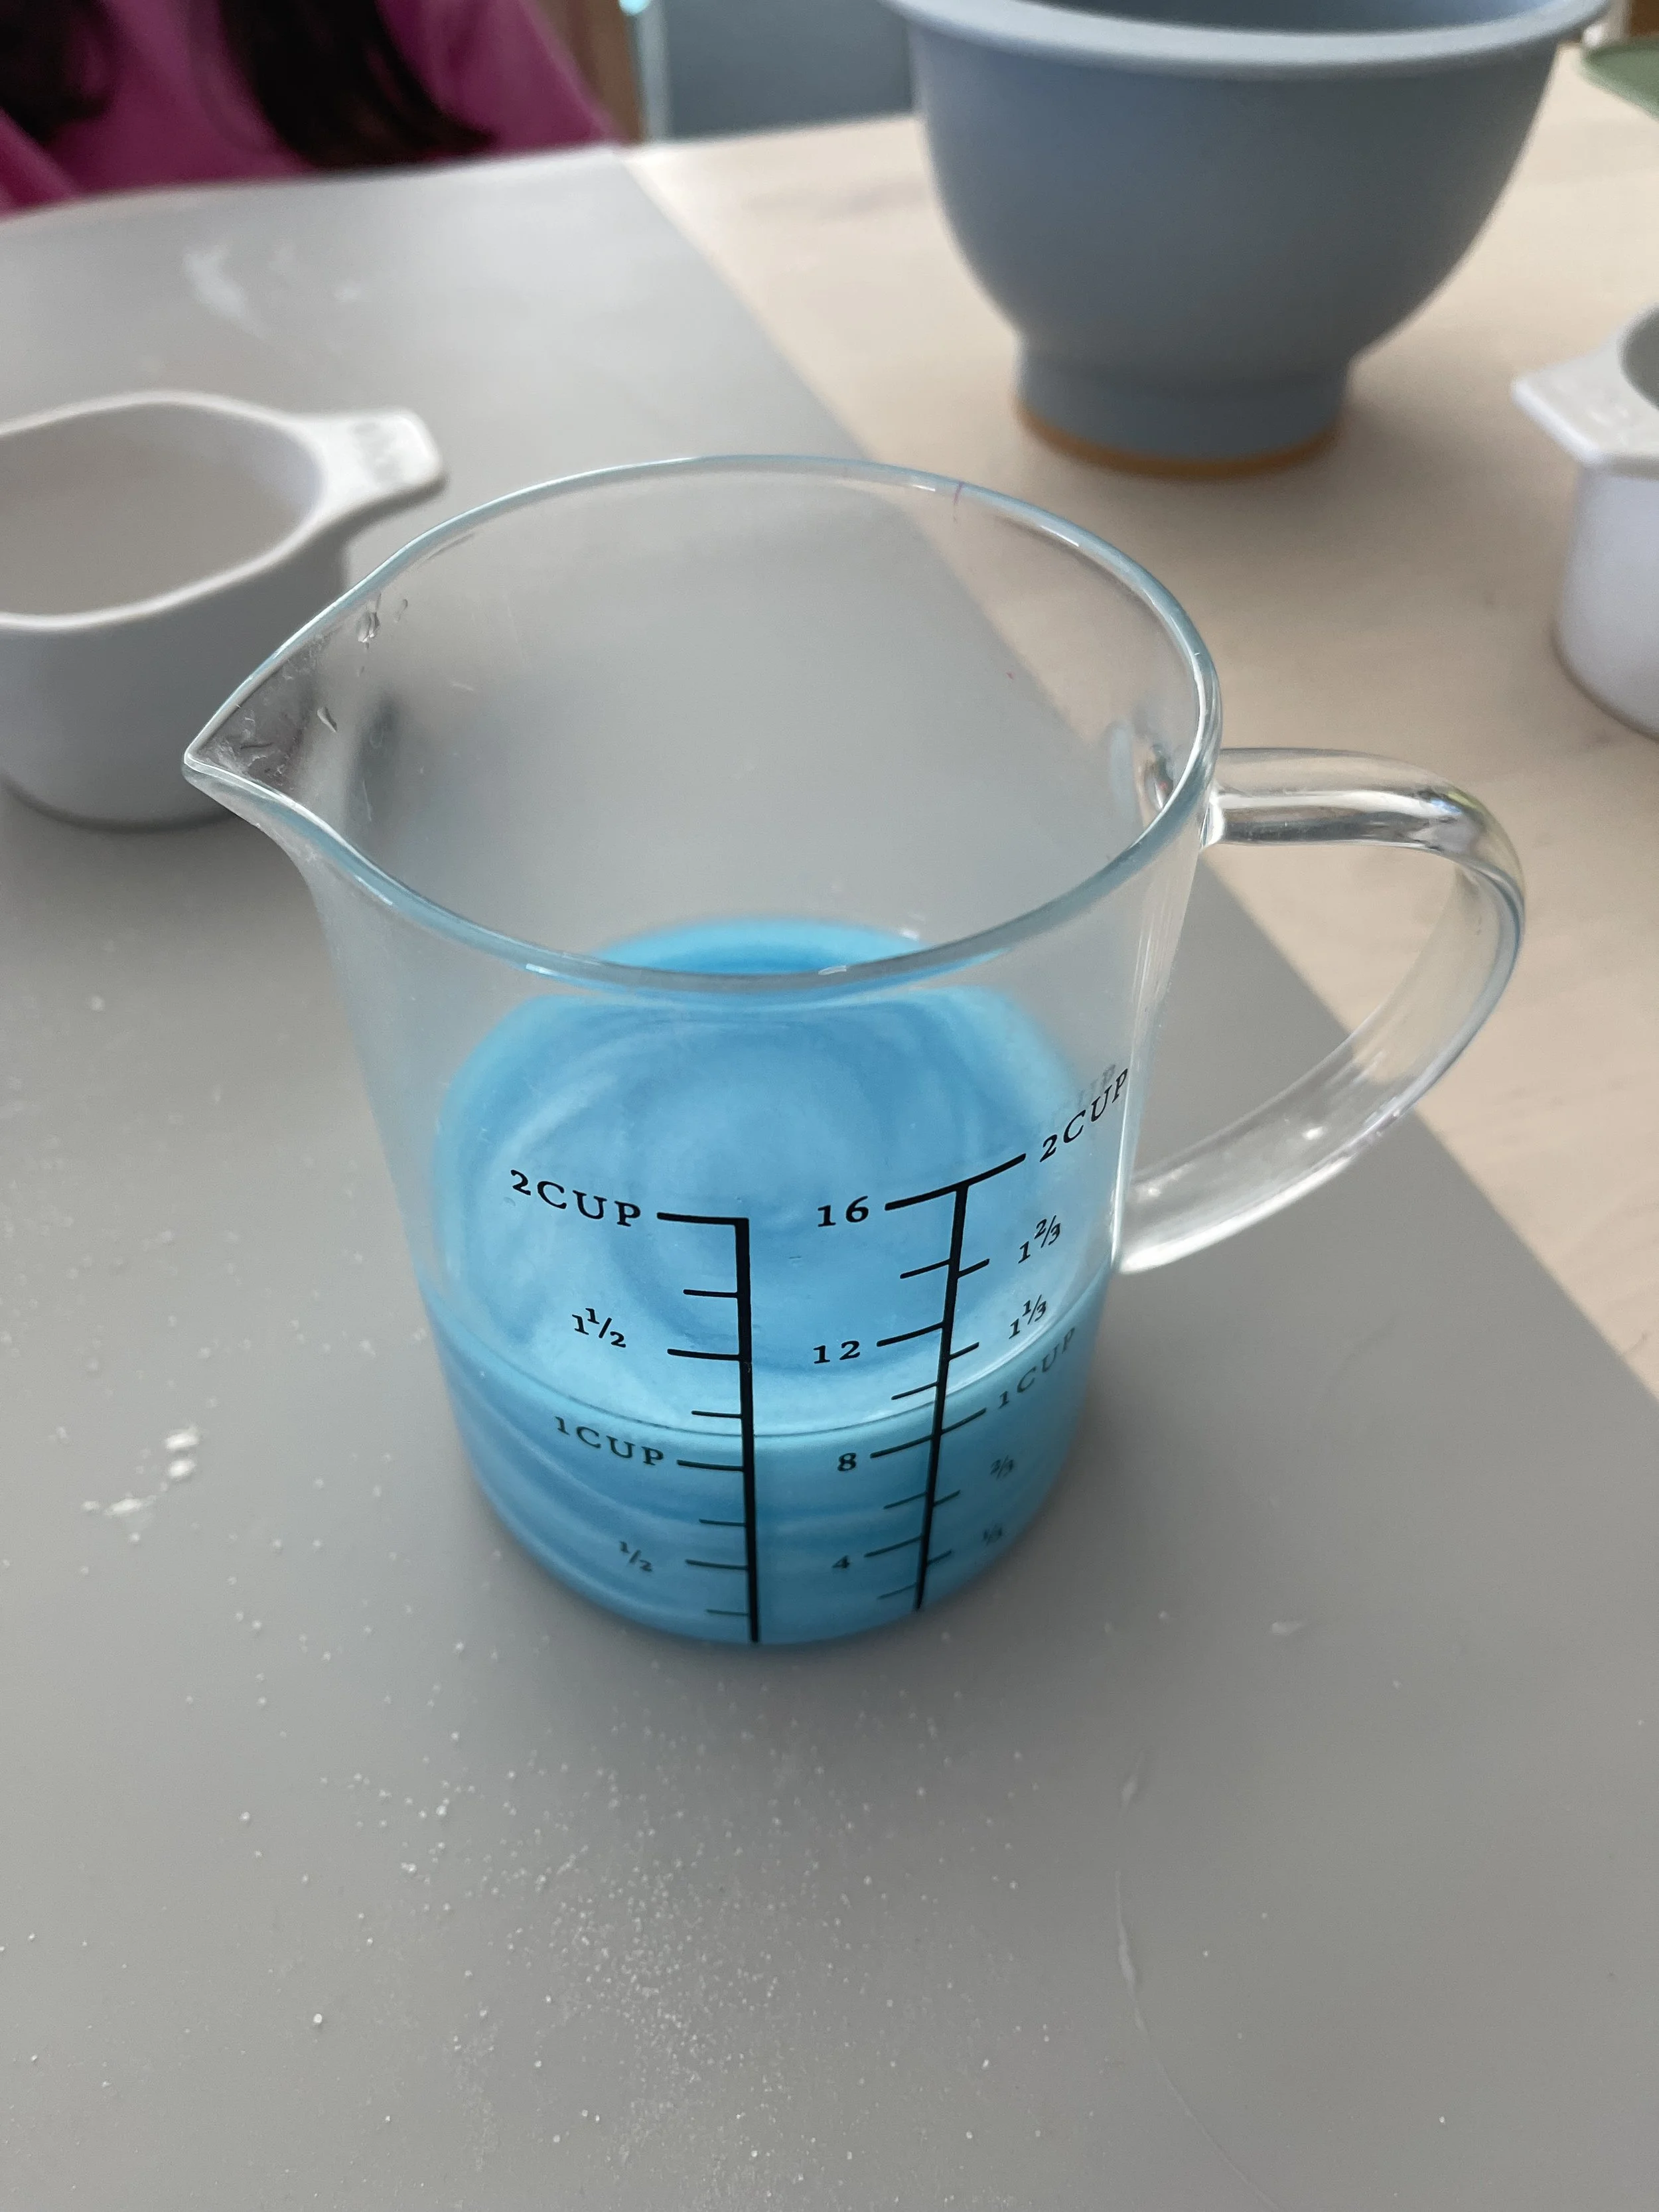
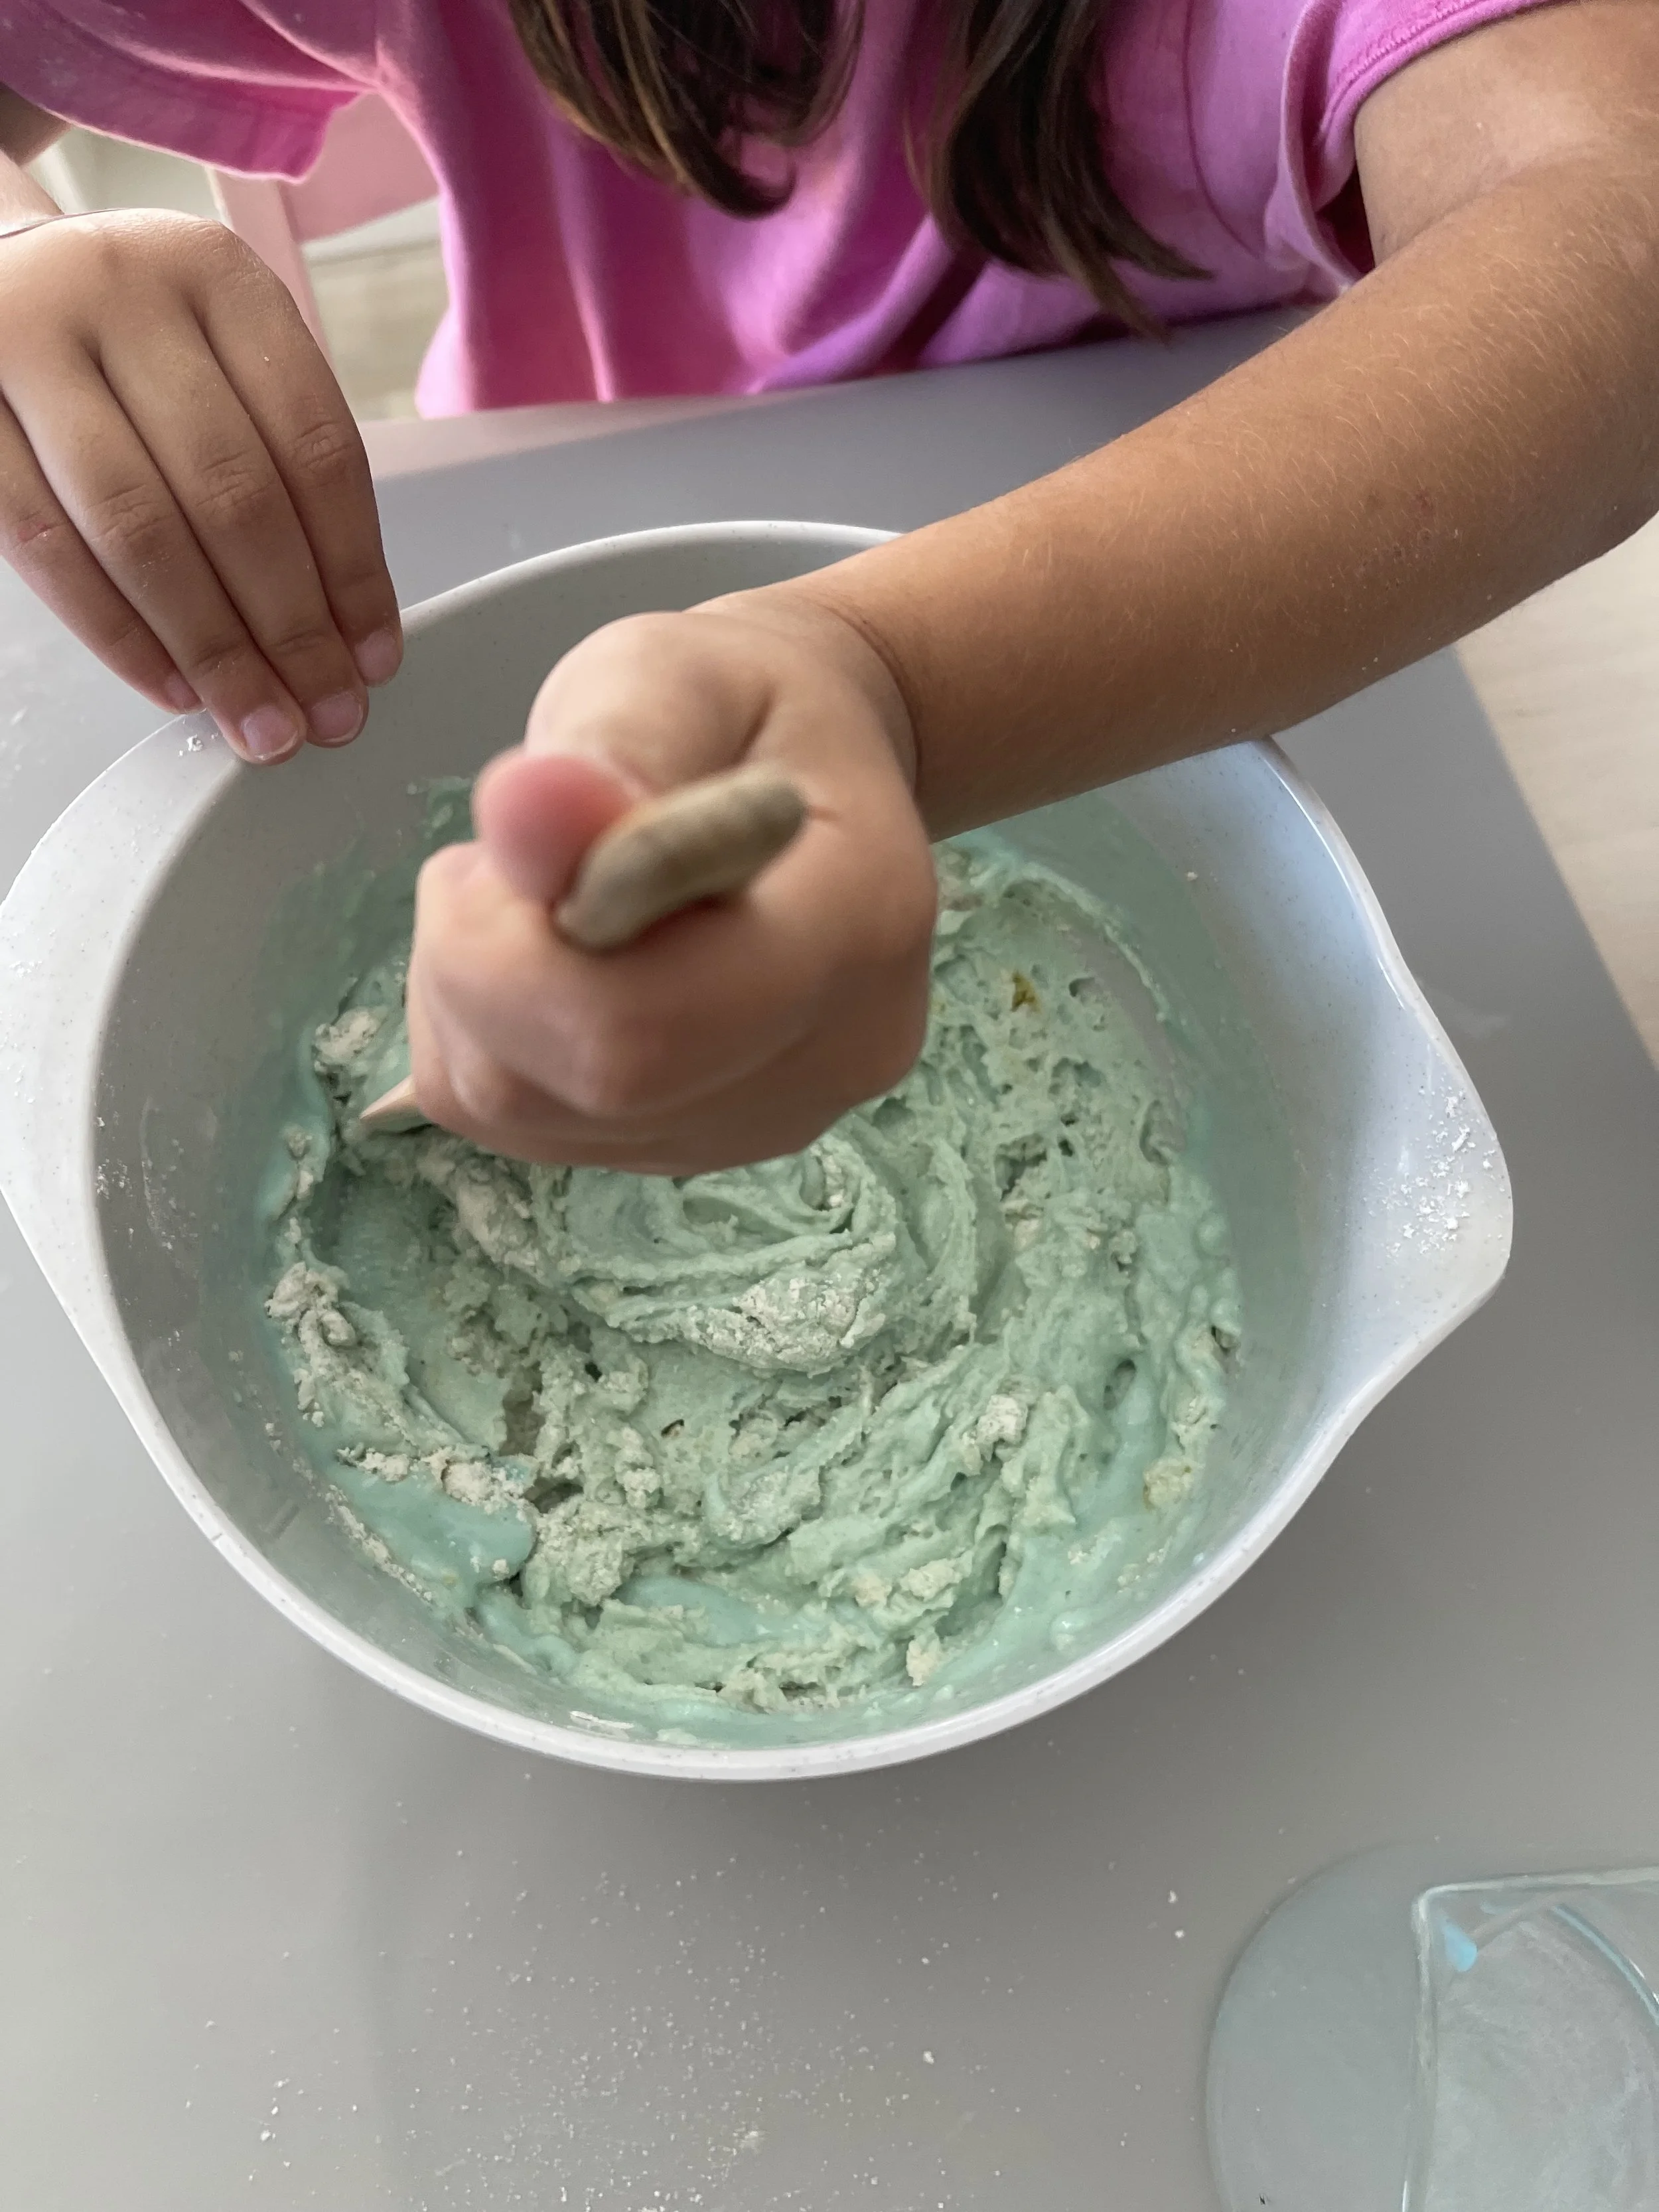
Step 4: Mix with the spatula. Encourage them to keep stirring as it goes from shaggy and lumpy to a real dough. Give it a minute to cool before little hands dig in.
Step 5: Knead until smooth. Turn the dough out onto your silicone mat or parchment and let them squish, press, fold, and knead until it's soft and smooth.
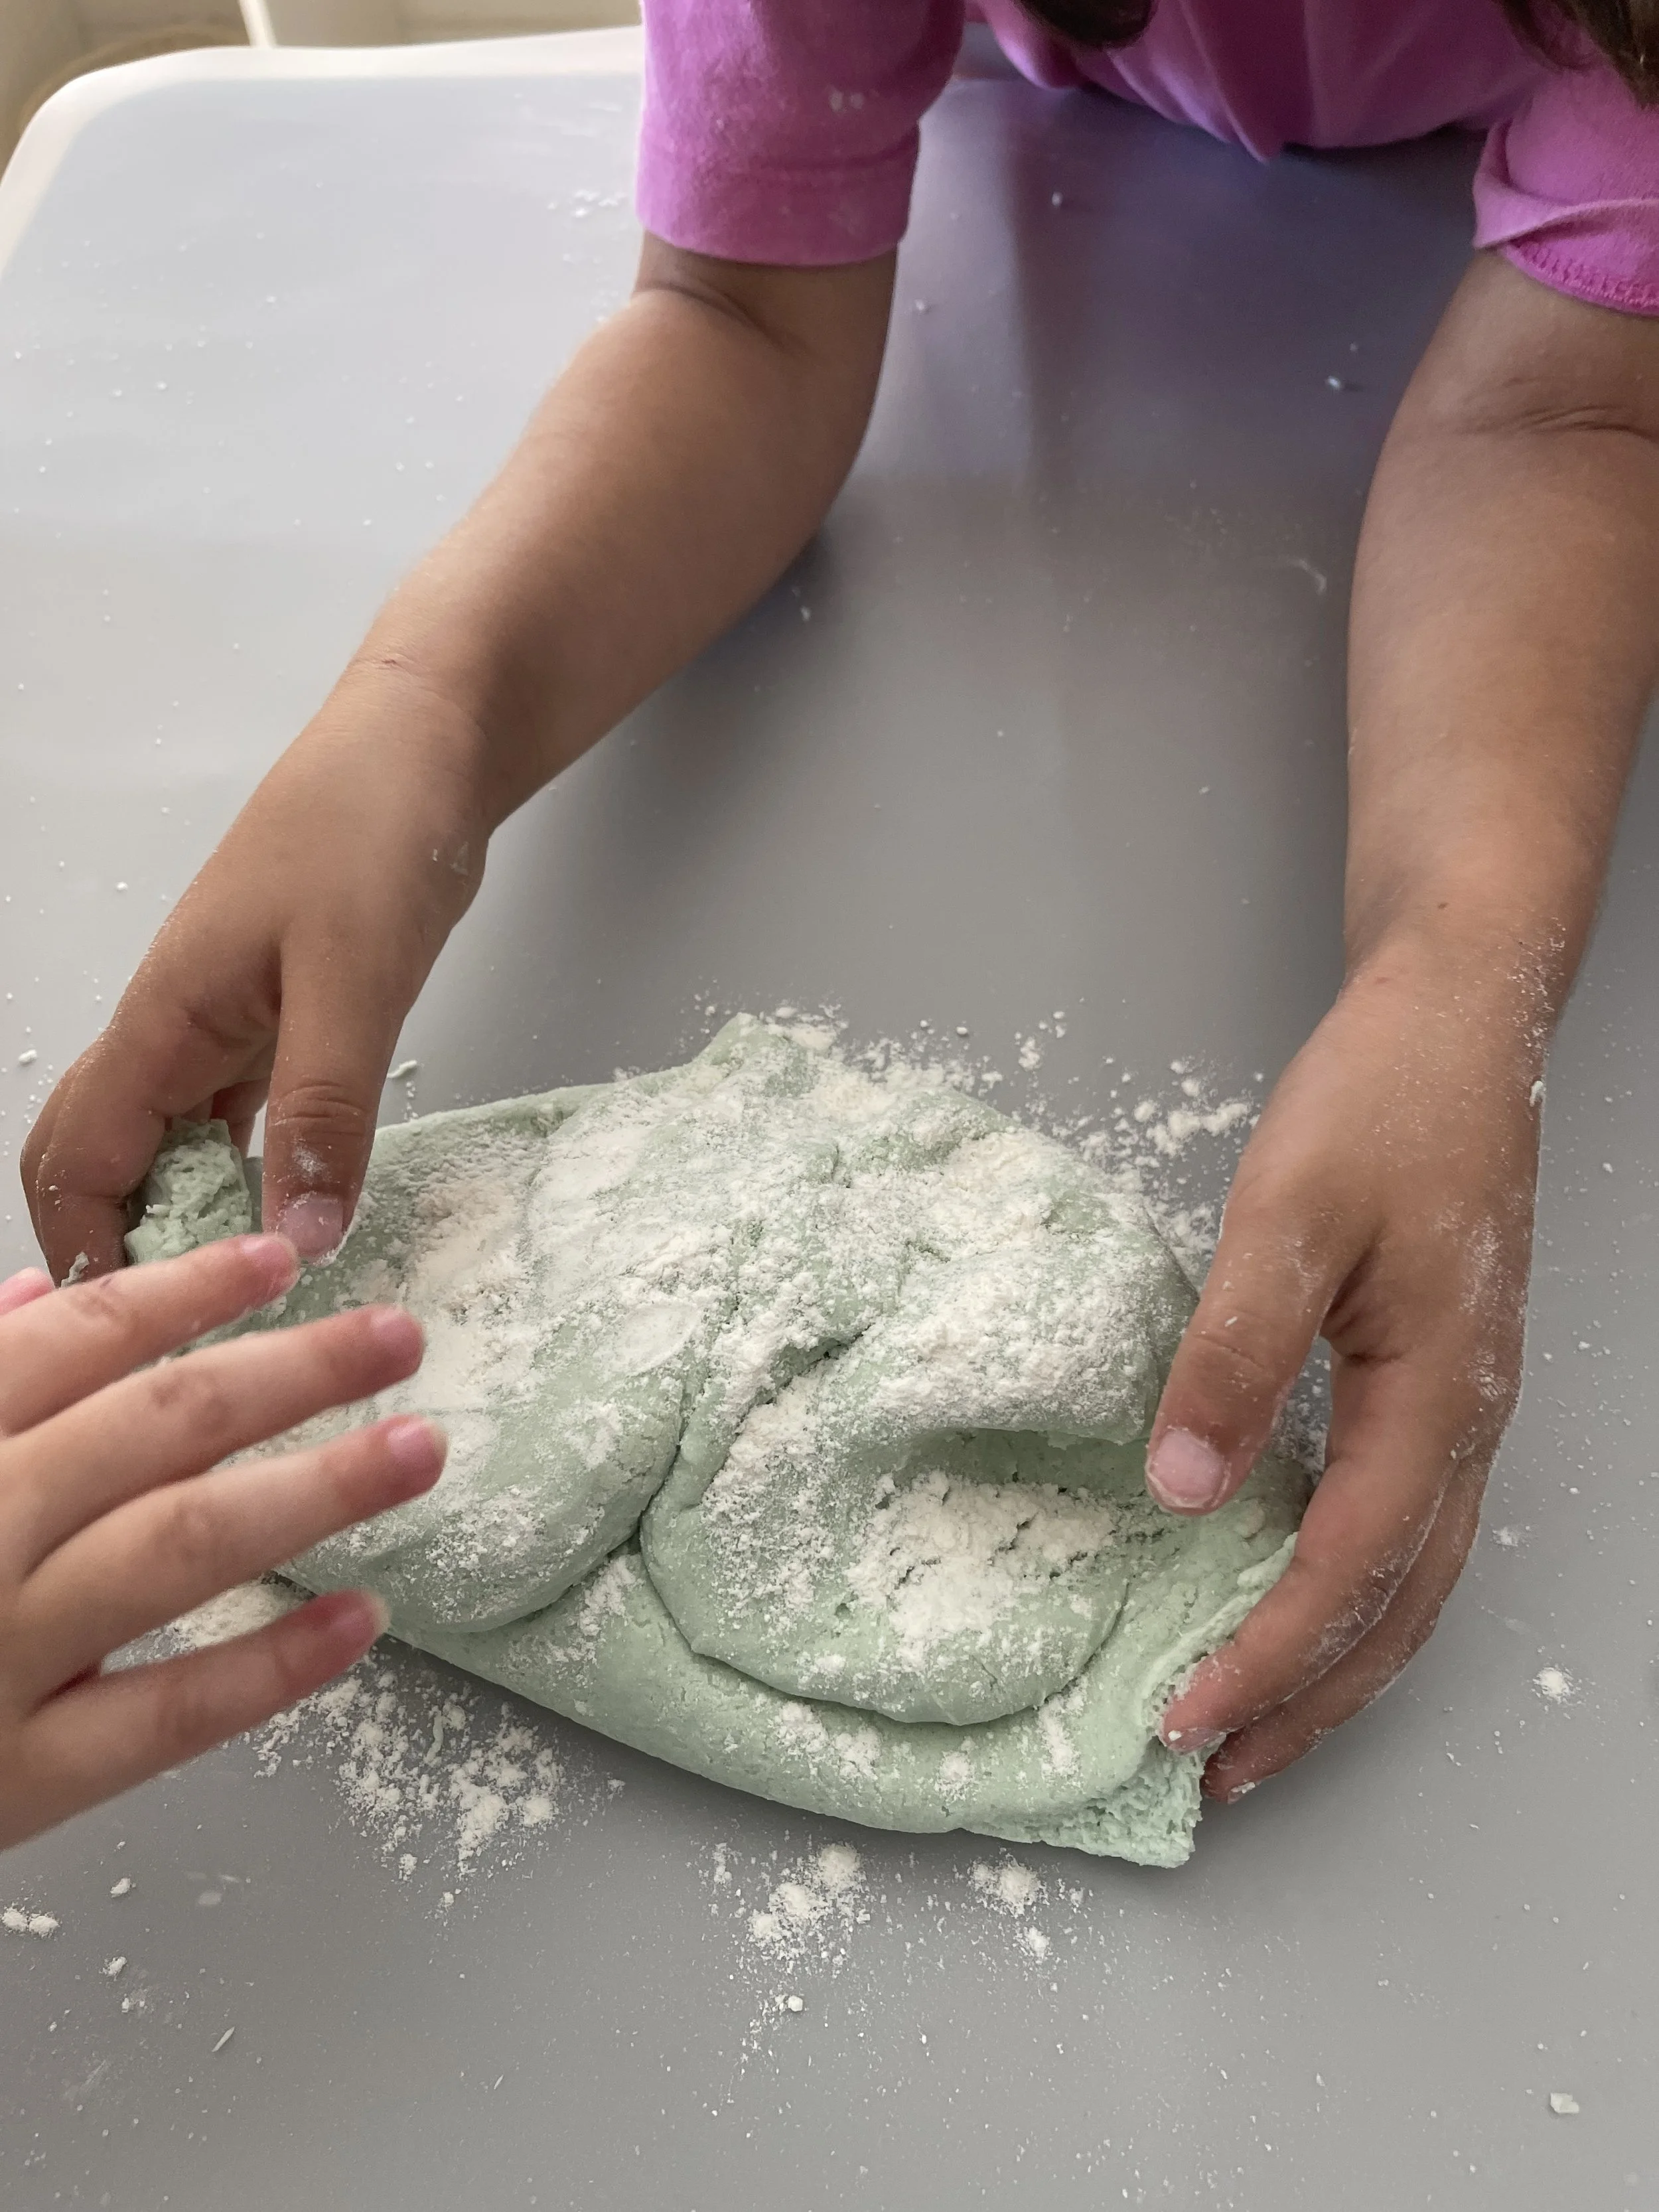
If it's too crumbly, add warm water a tablespoon at a time. Too sticky? Knead in a sprinkle of flour.
What to Talk About While You Mix
You don't need a lesson plan. Just narrate and wonder out loud together. A few things we chat about:
Quantities: "Is the cup full or empty?" "Which holds more (flour, salt, etc) the cup or the spoon?" "Let's count the scoops."
Textures: "How does the flour feel? Now how about the salt?" "Is the dough still sticky or smooth?"
New words: powdery, gritty, dissolve, knead, stretchy,
Noticing changes: "What happened when we added the water?" "What color do you think it'll turn?"
These little conversations are where a recipe turns into language, math, and science — without anyone needing to sit down at a table with a worksheet.
Storing Your Play Dough
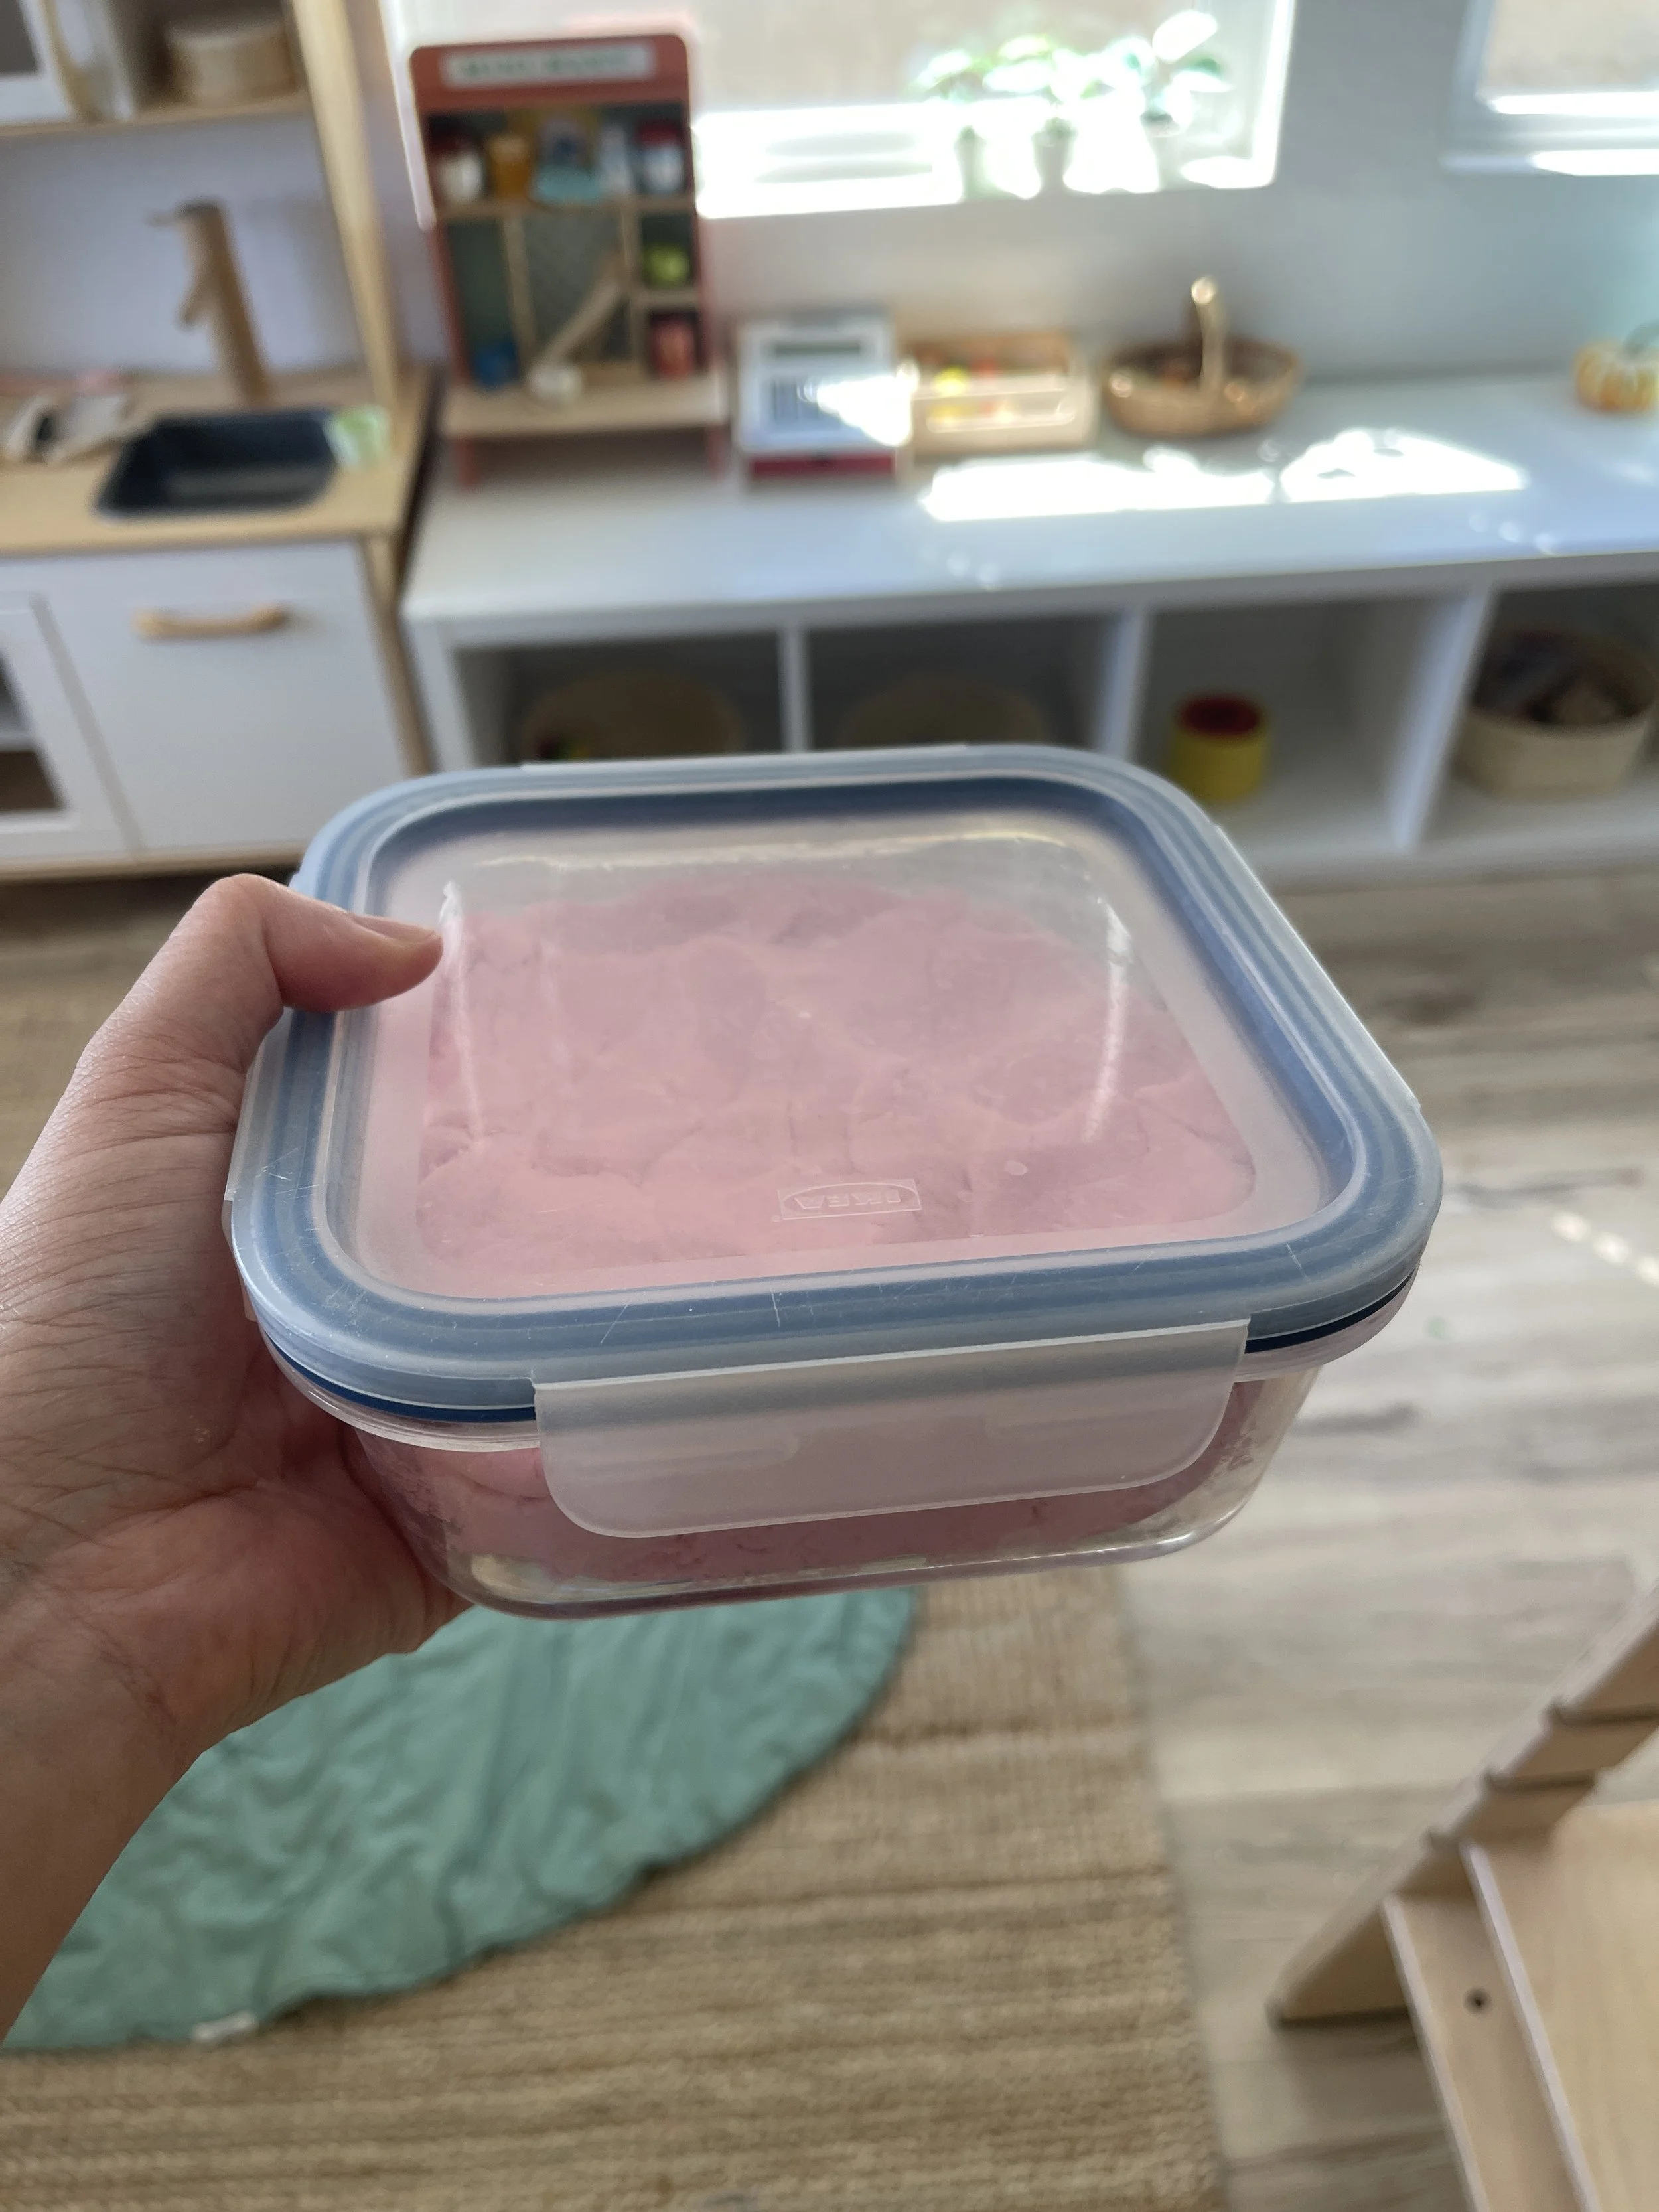
Keep it in an airtight container to stay soft. Ours lasts about 3 weeks.
Sensory boost tip: Add 1–2 drops of lavender, peppermint, cinnamon, or lemon extract while kneading. Lavender is lovely for a calm afternoon, and cinnamon makes it smell like fall.
A little Mess Is the Point
Next time you reach for a tub of store-bought dough, consider pulling out the flour instead. Yes, there will be some flour on the table and someone will pour too fast.
But your kids will have scooped it, stirred it, and squished it into being — and they'll know it! That's the kind of hands-on, simple-materials play we always get excited about over one more screen.
If you’d like ideas on how to use your homemade play dough I made a blog post about it here! Play Dough Bento Box Ideas
