10 Mess-Free Art Activities for Toddlers and Children Who Don't Like Getting Messy
Some children just don't love getting messy. And honestly, some parents don't either. Totally understandable.
Maybe your toddler freezes the second paint touches their fingers and holds up their hands for a wipe. Or maybe you're the one who gets a little tense at the thought of glue on the dining table right before dinner. Both are completely okay, and neither means art isn't for your family.
Back when I was teaching preschool, there were always a few children who walked right past the paint easel every single day. It wasn't that they didn't love art. They didn't love the feeling of wet, sticky hands. What finally drew them in was stickers, washi tape, a tray of buttons, or a glue stick they could twist up themselves. Once the part they dreaded was gone, they could stay and create for a long time.
So that's what this list is: ten art invitations we've done at our own table, with no wet paint and no squeeze bottles. Most of them use things you probably already have, like a cereal box, a stack of toilet rolls, or a sheet of dot stickers. Every one is open-ended, so there's no right way to finish. No worksheets. No screens. Just hands-on creativity, and a really quick cleanup.
One thing to know before you start: "mess-free" here means low-mess, not no-trace. You'll still find a stray sticker on the floor or a paper scrap under the chair. But you won't be scrubbing anything off the table (or your child).
1. Sticky collage
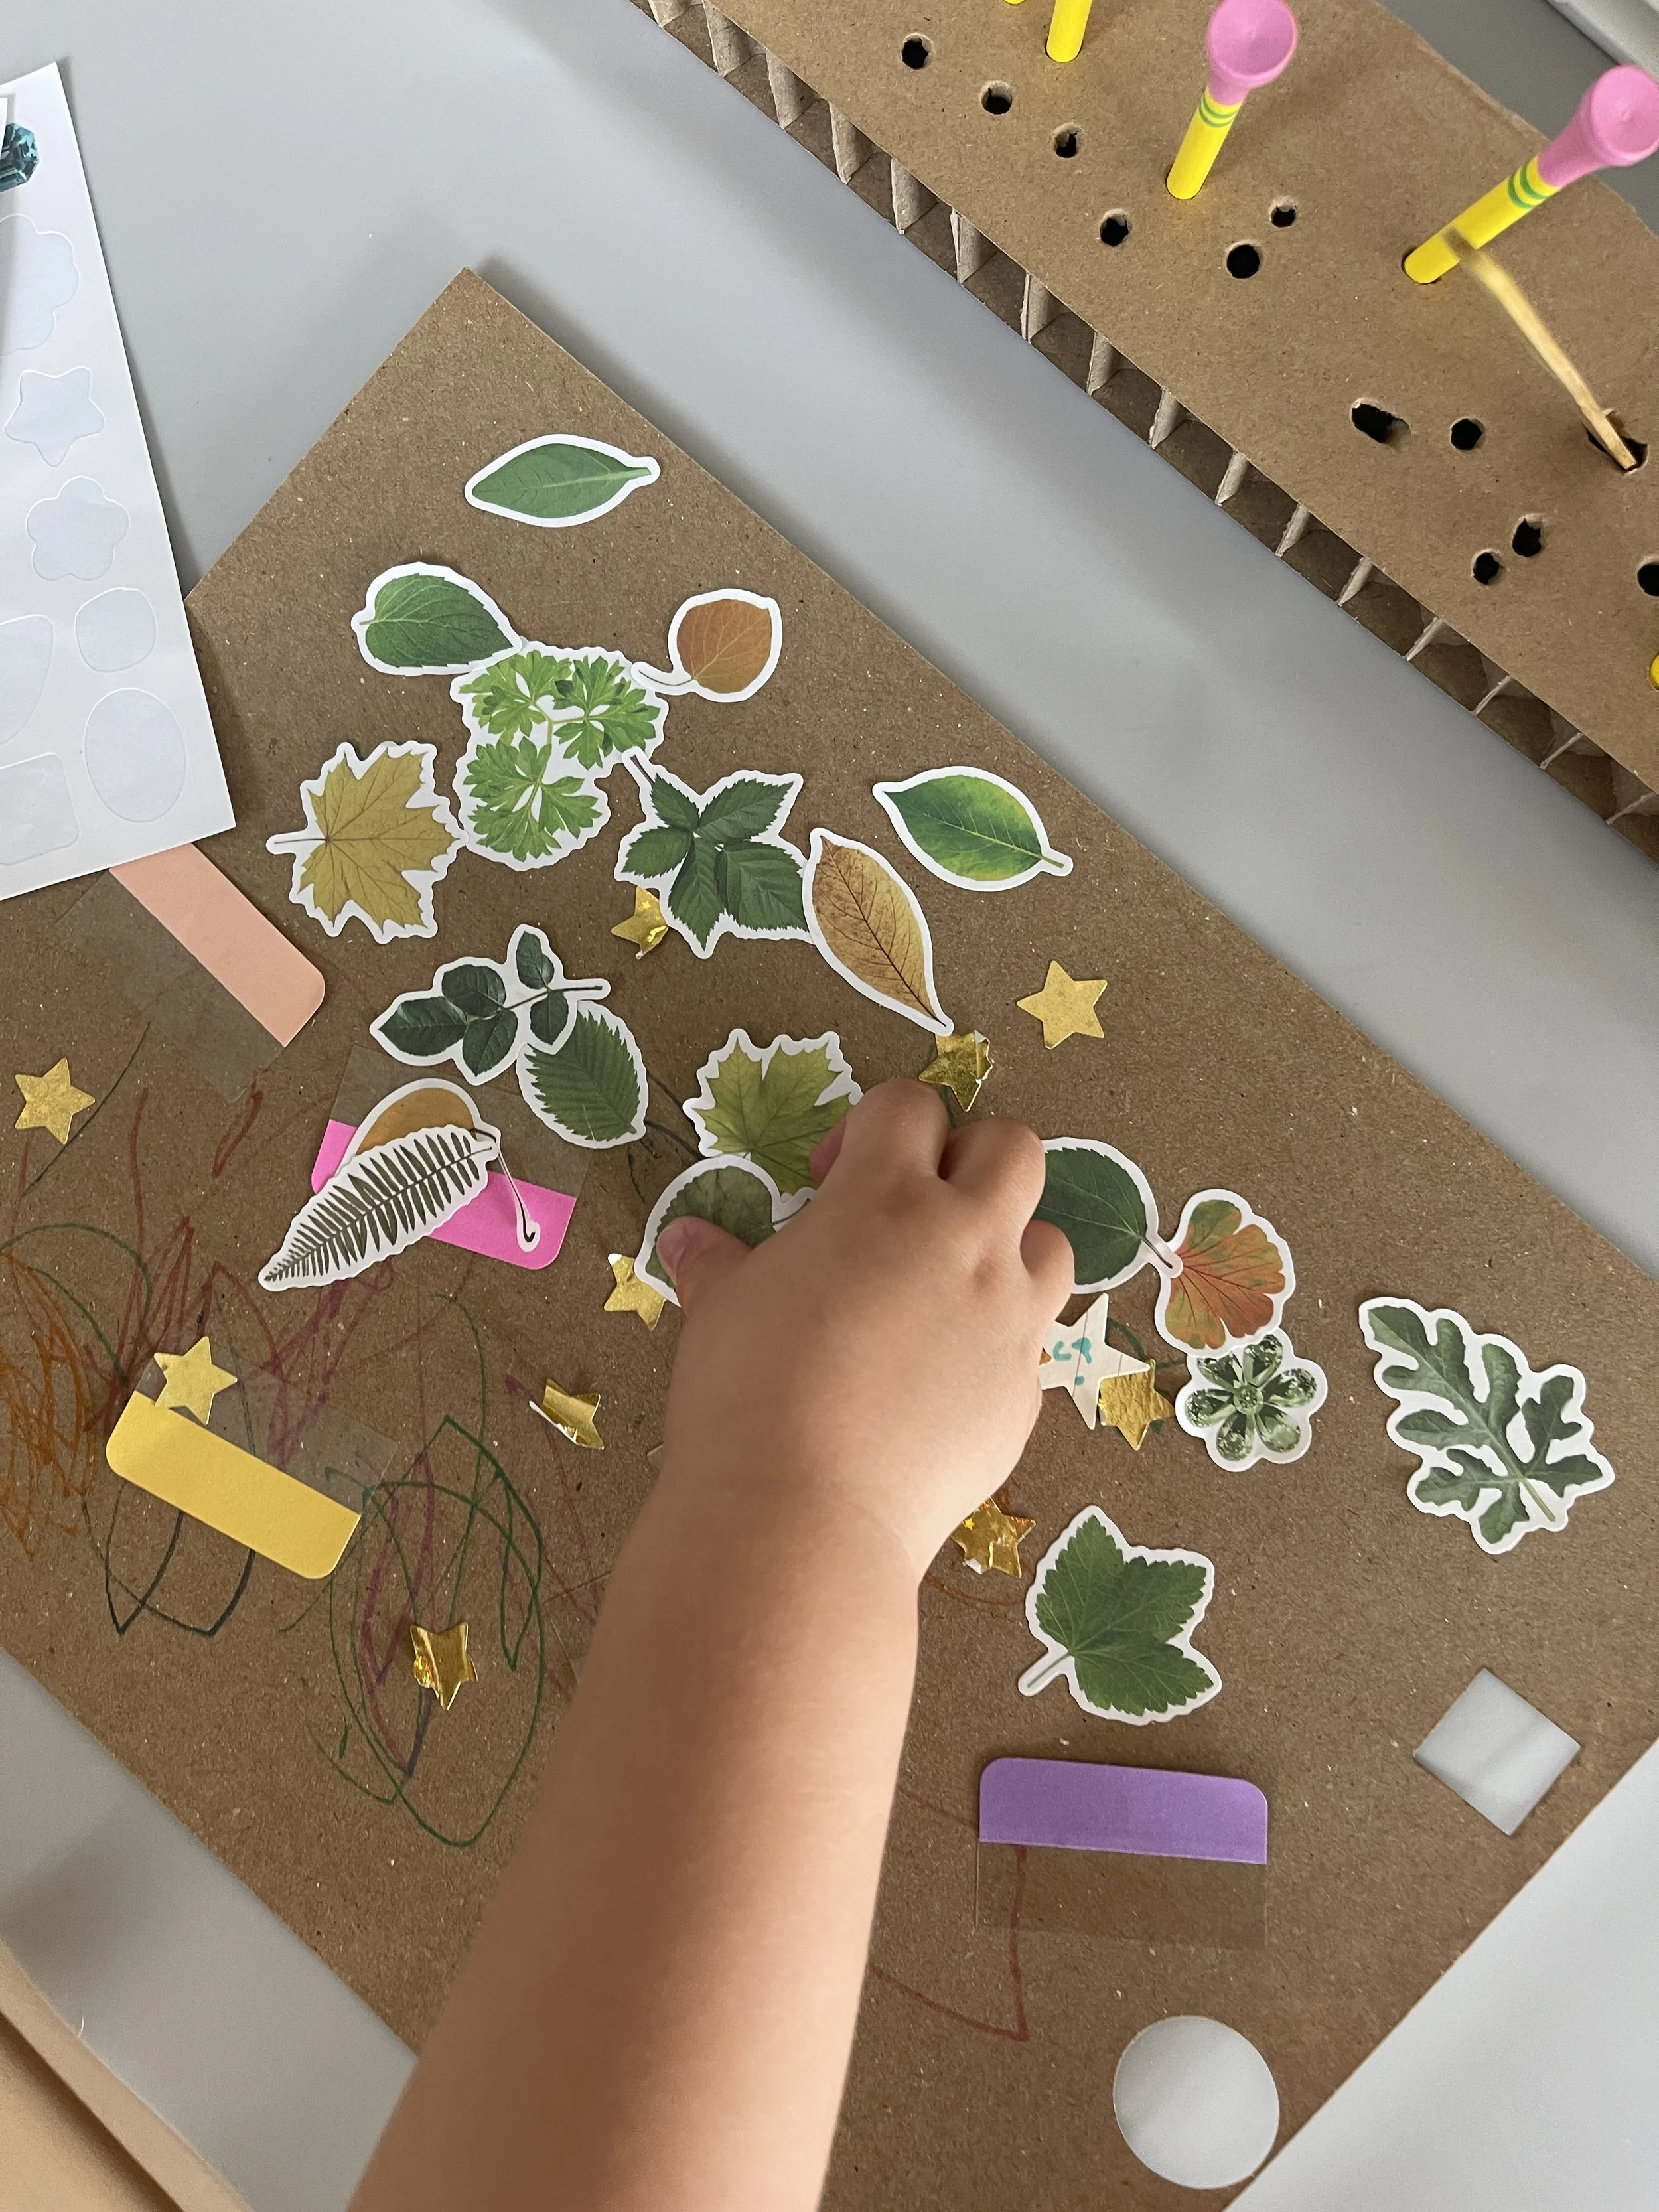
You'll need: washi tape, sticky tabs, and stickers (leaf and star stickers are our favorites), a piece of cardboard or cardstock as the base, and clickable markers.
This is the one I reach for first with a child who's unsure about art, because there's no glue at all. Everything sticks by itself. Your child peels, places, and presses, and they can layer tabs over tape over stickers as long as they like. If they want to add a few marker scribbles underneath, even better.
Peeling stickers takes real concentration for little fingers, and that pincer grasp work is exactly what they'll use for holding a pencil later.
Tip: For younger toddlers, peel the background off the sticker sheet first so the stickers pop up and are easy to grab. You can also pre-tear a few pieces of washi and stick them along the table edge.
2. Collage Shapes
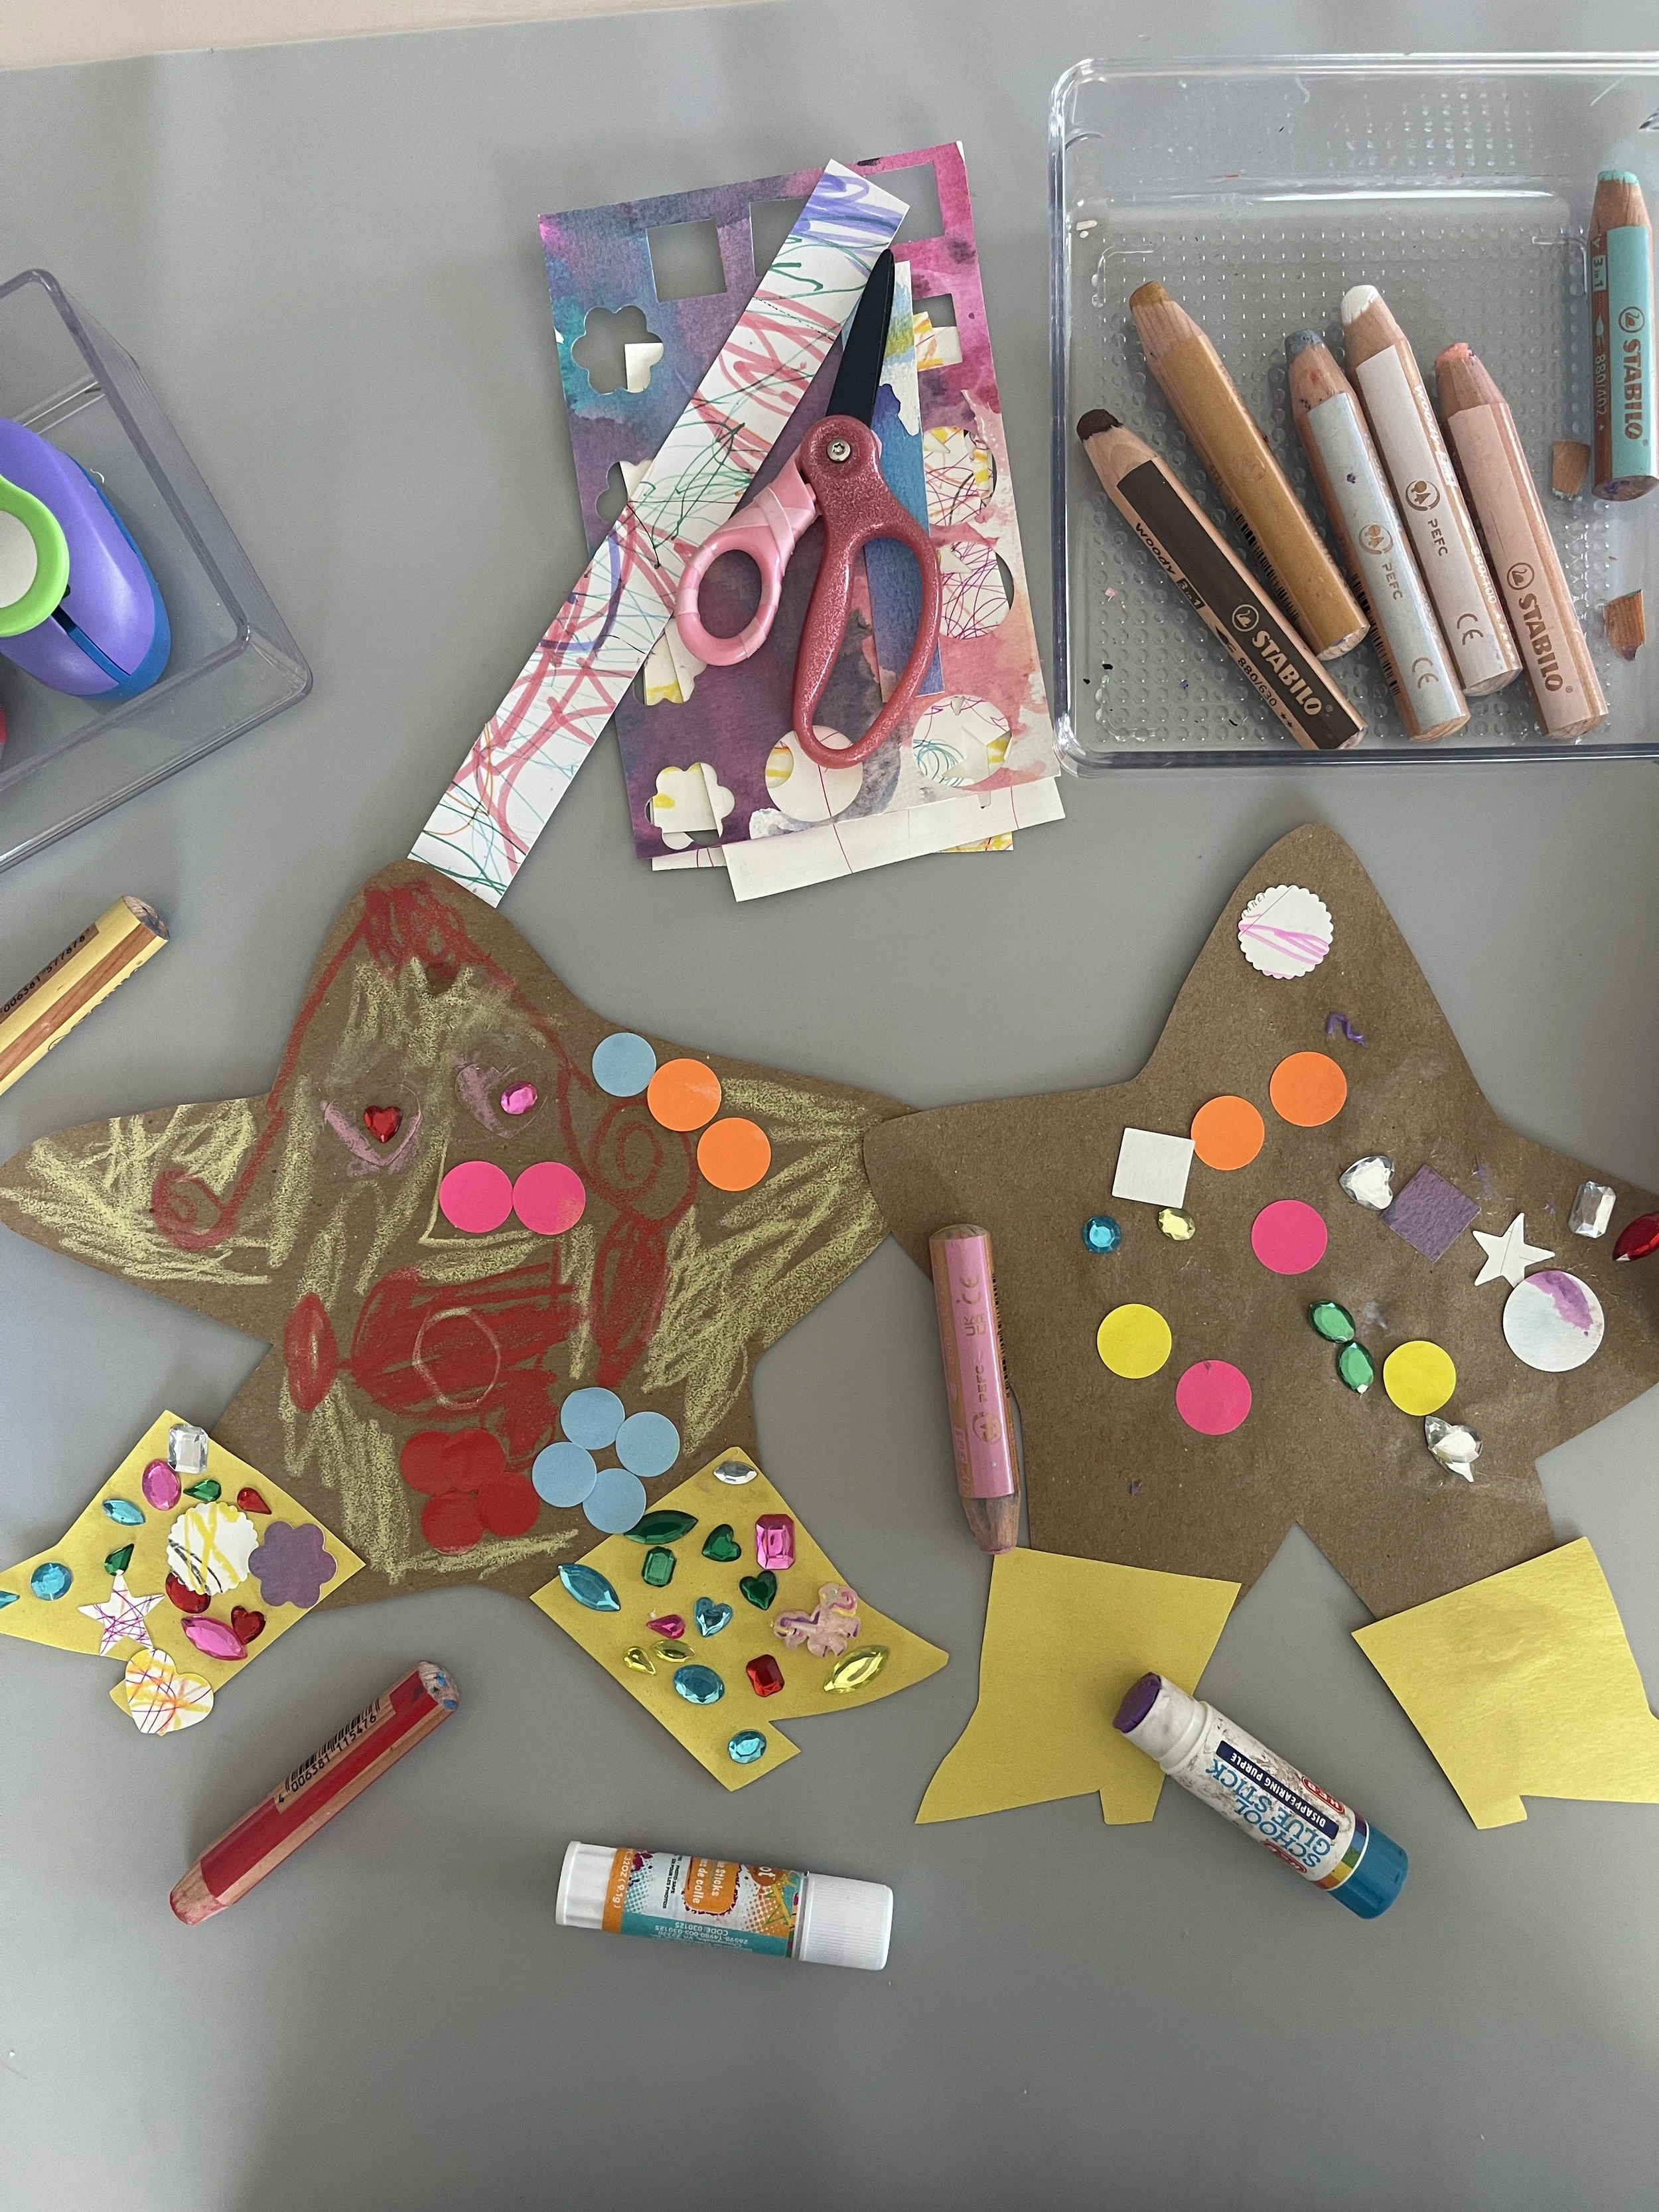
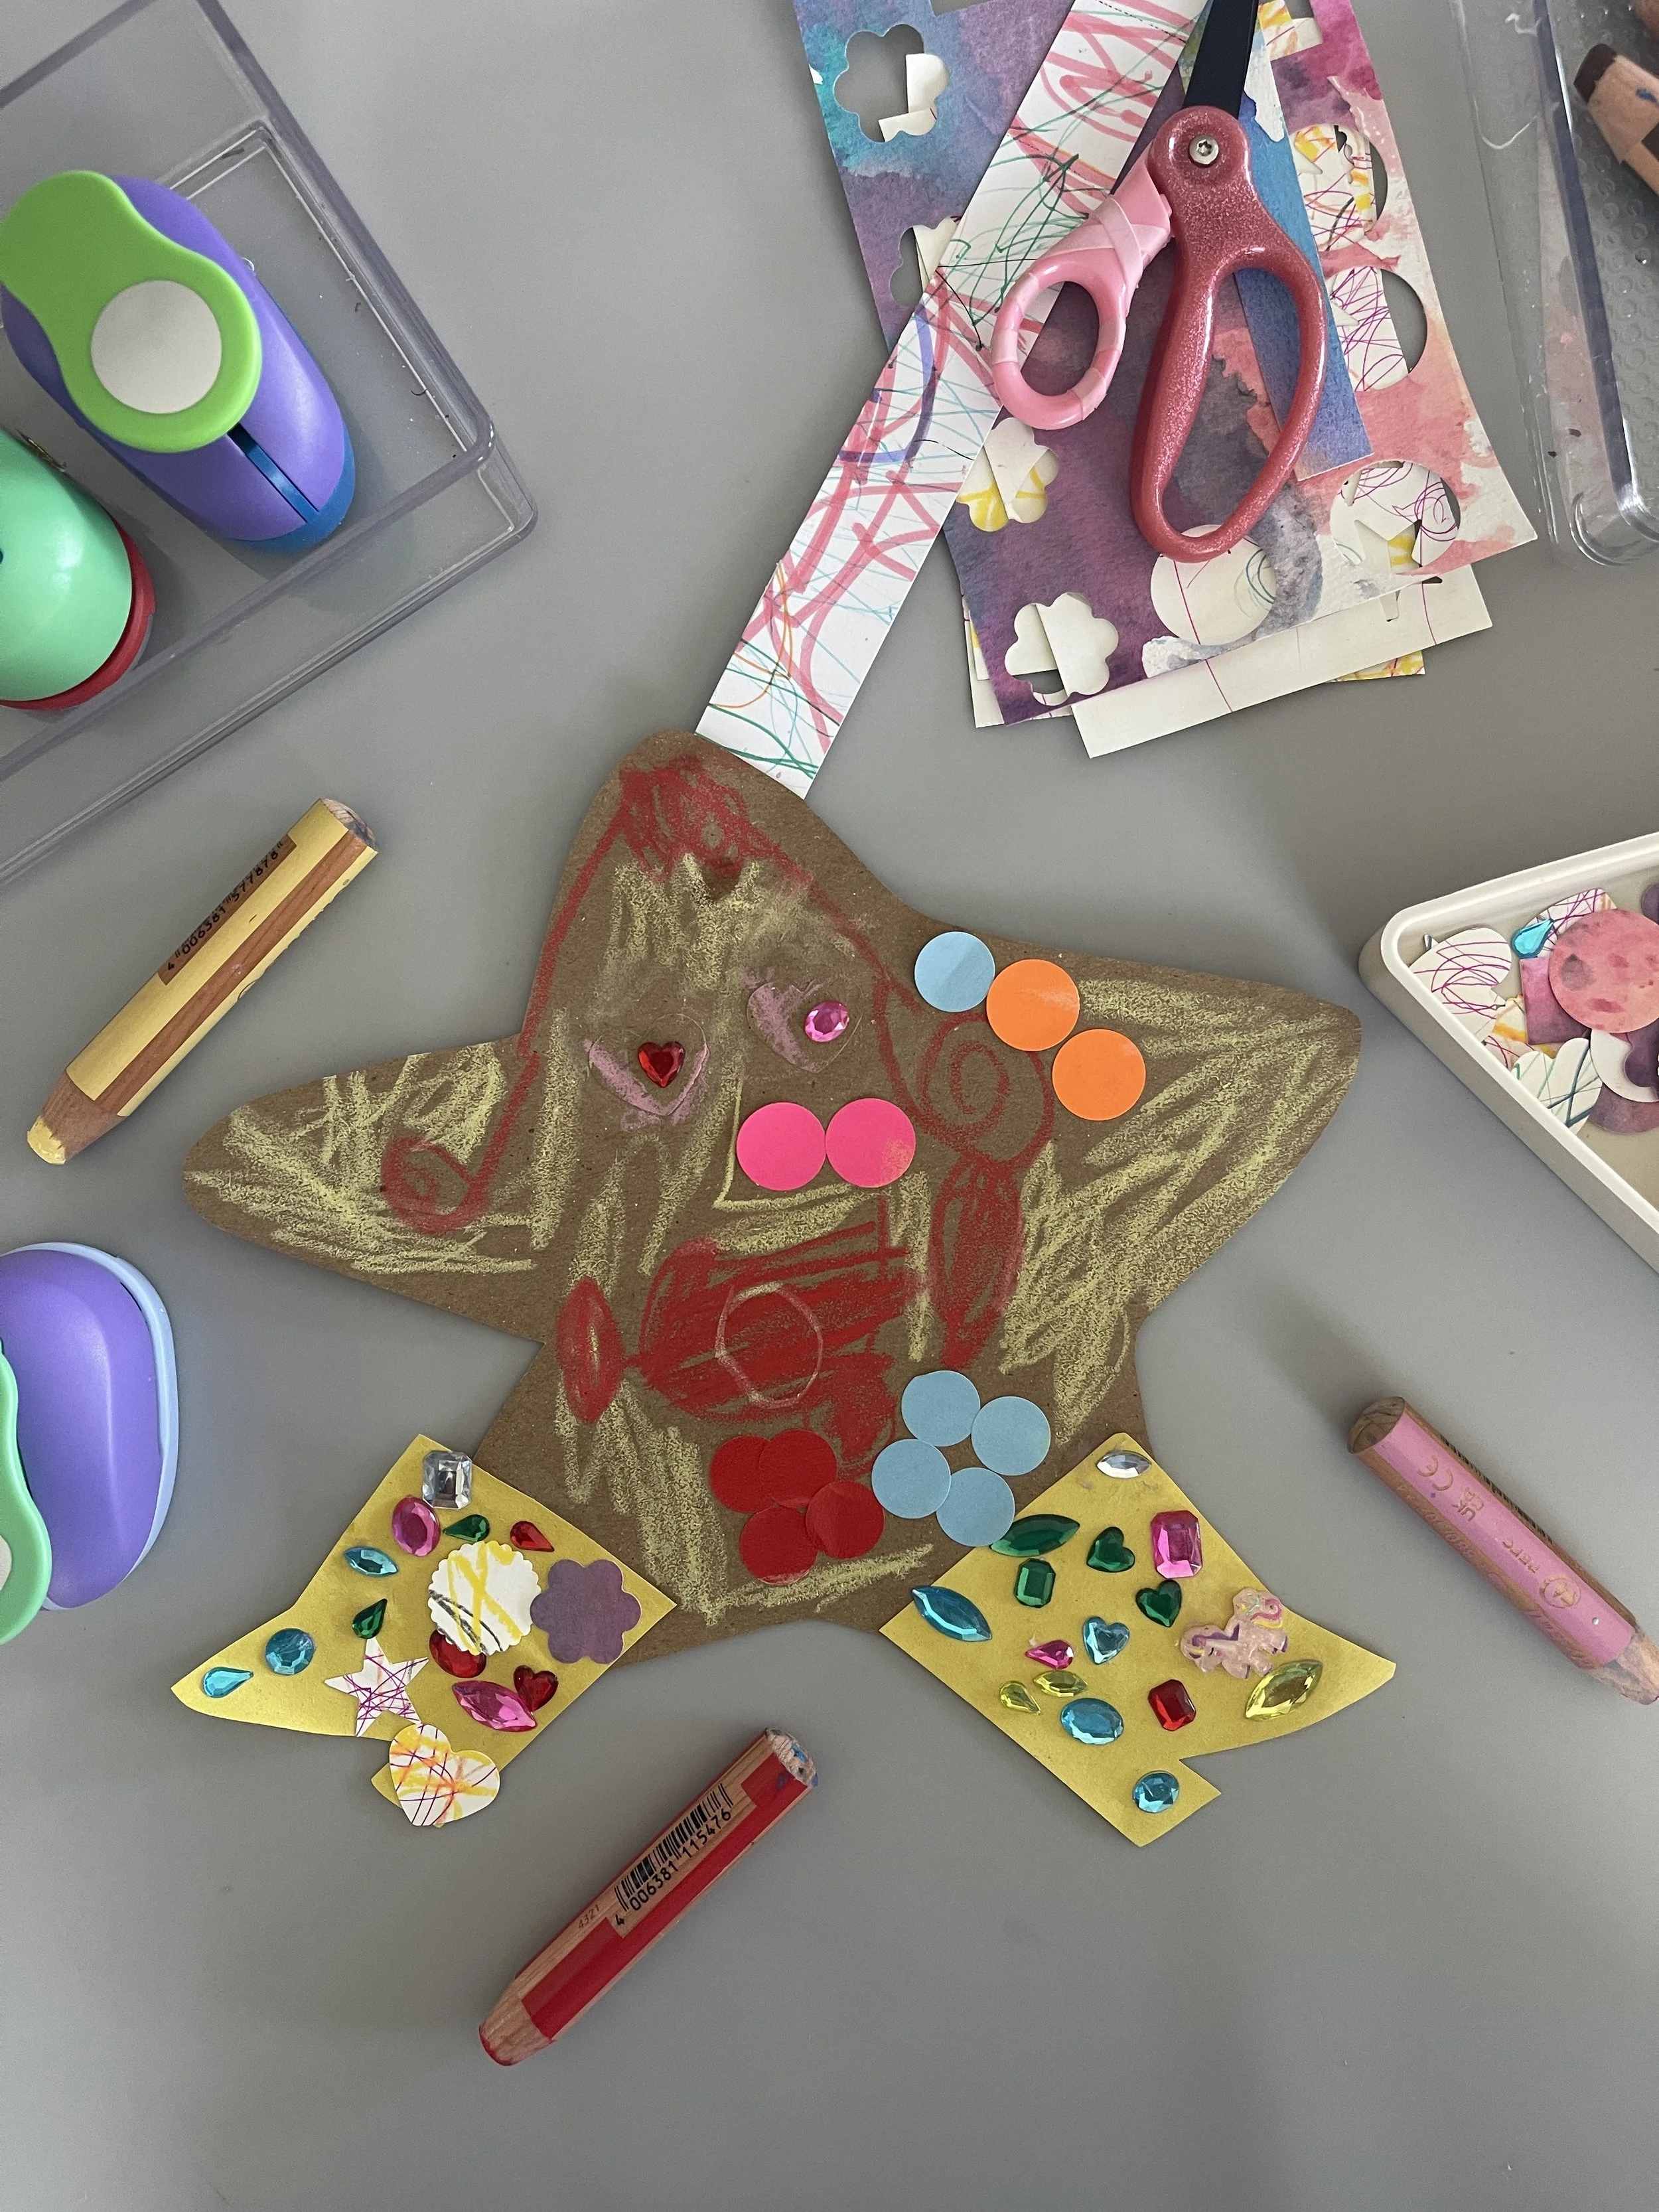
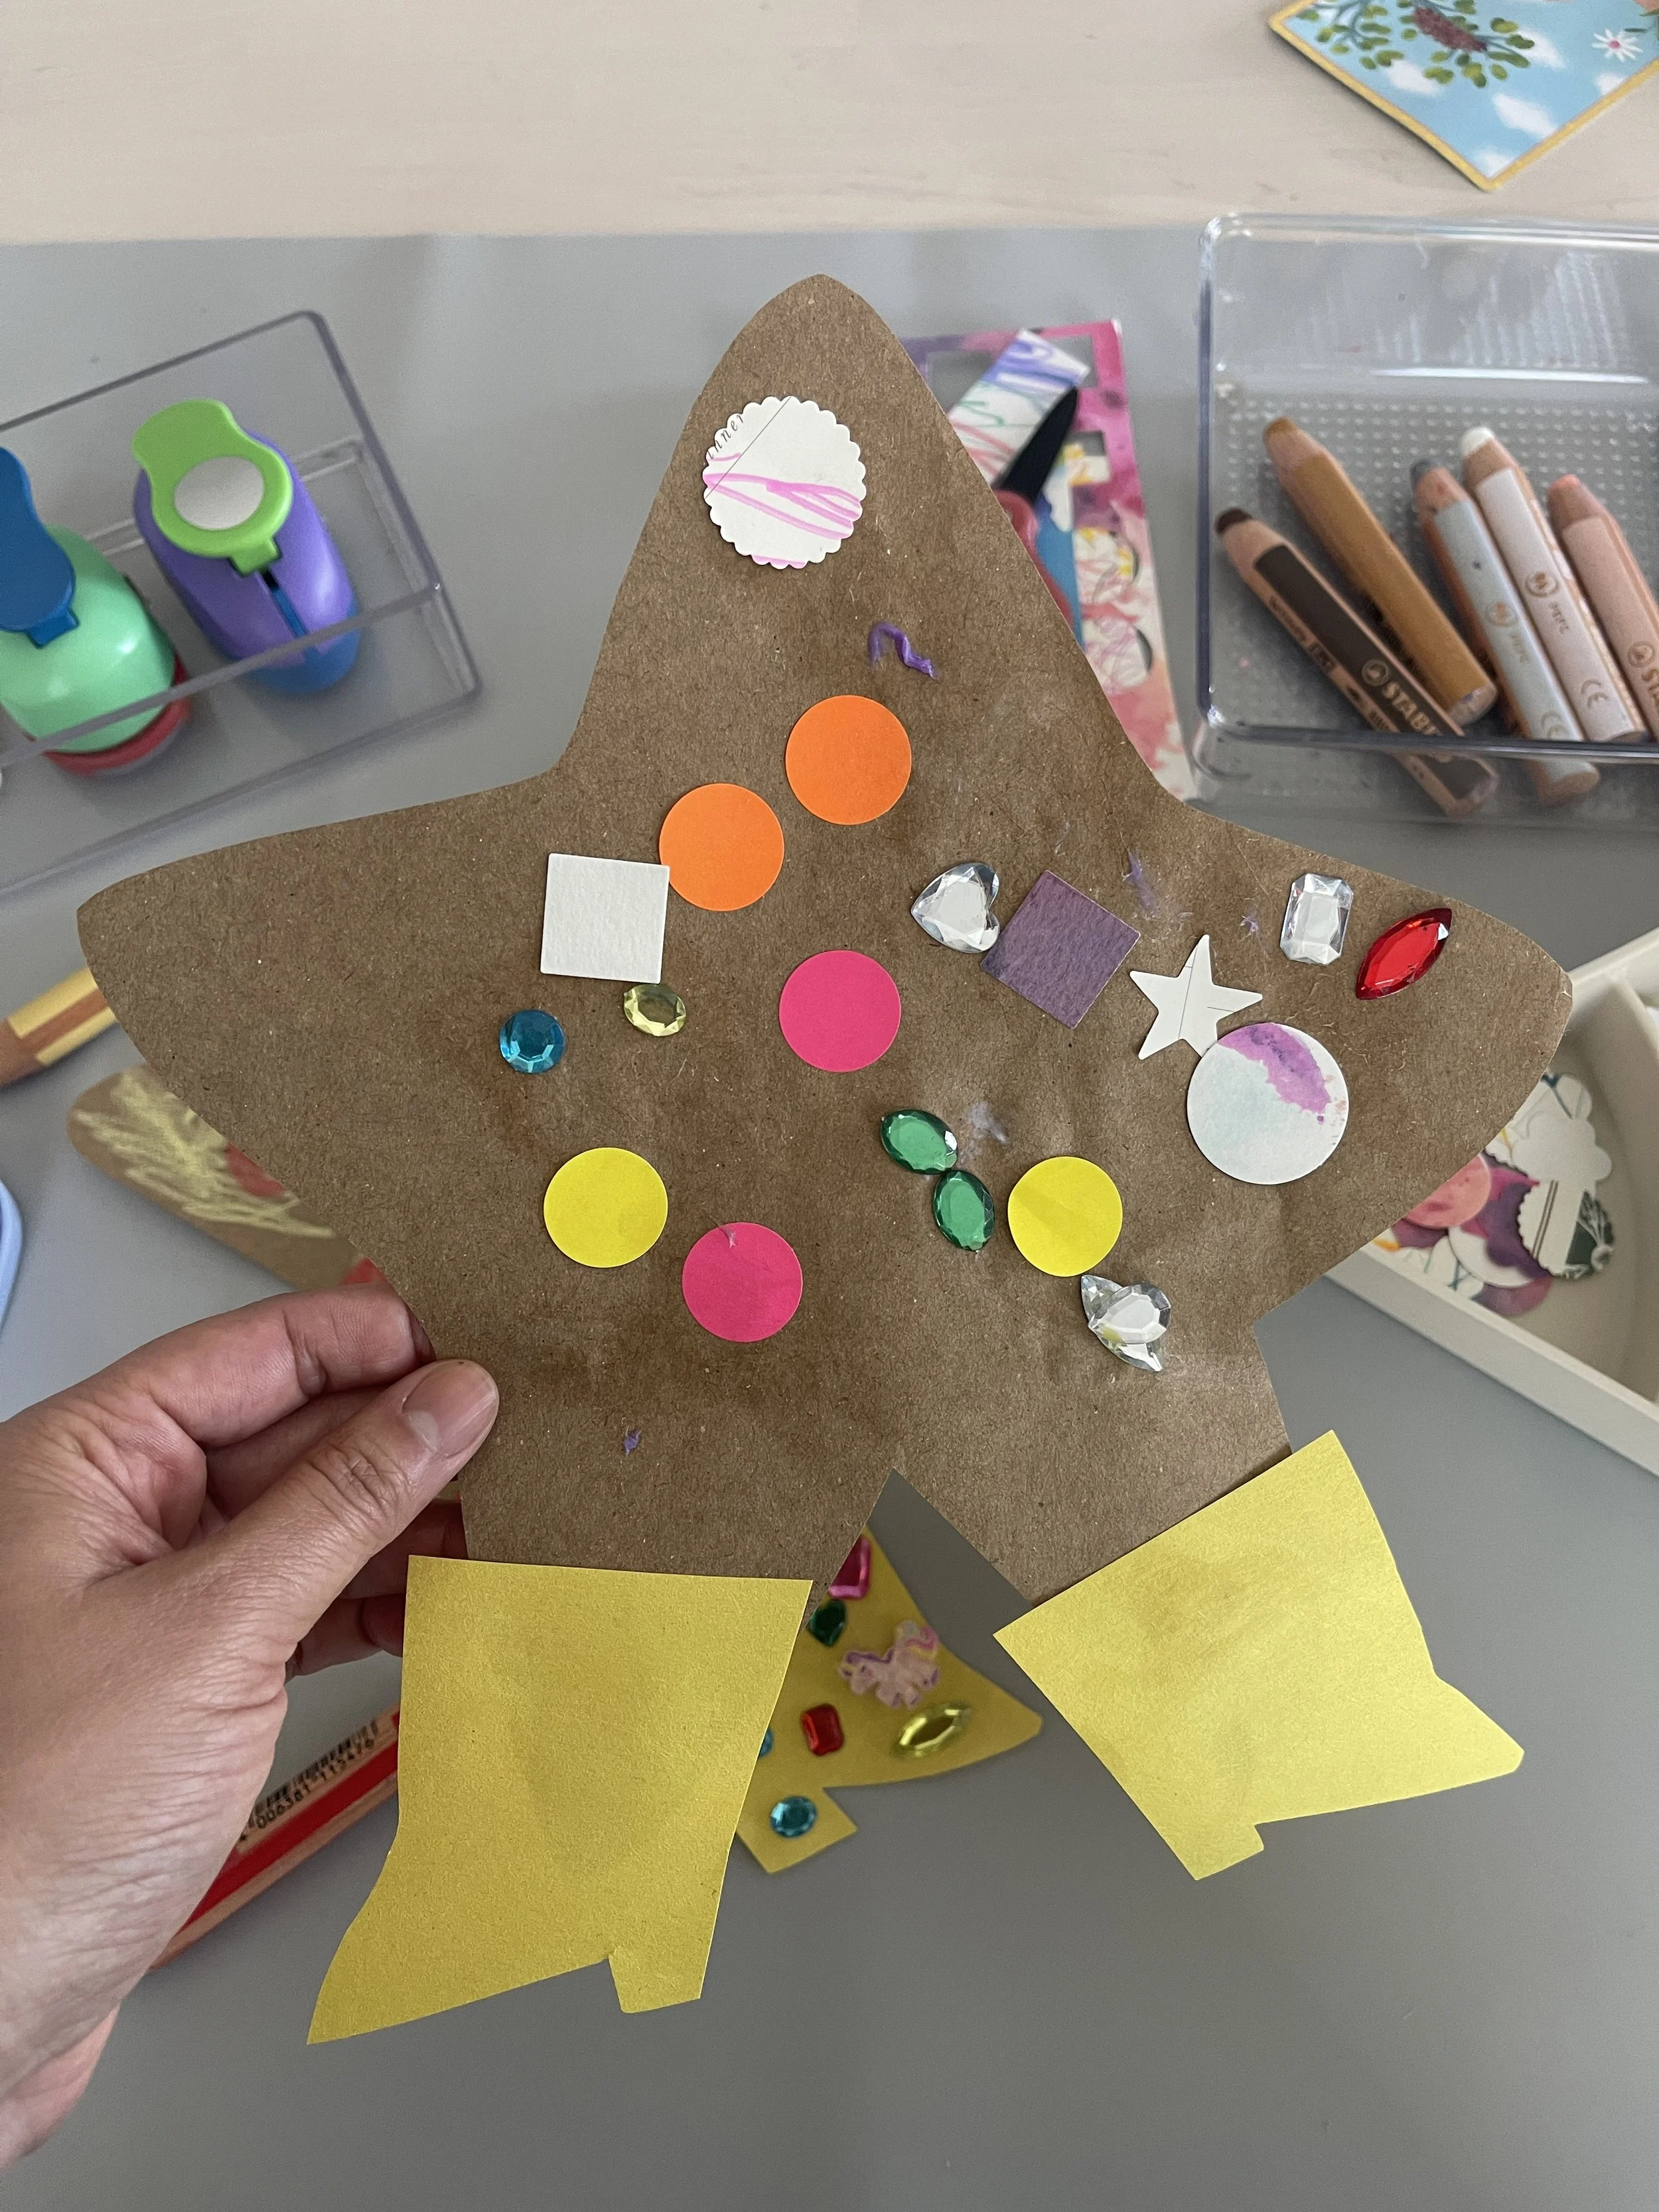
You'll need: a large shape cut from kraft paper (we did stars), plus gems, paper punches, paper scraps, construction paper, color pencils (these Stabilo chunky color pencils are our favorite), dot stickers, and glue sticks.
Giving children a shape instead of a blank rectangle is a small change that makes a big difference. A star feels like a thing to fill, and children who stall on a blank page often dive right in.
This is also my favorite way to reuse old artwork. Those watercolor paintings and scribble drawings stacking up on the counter? Run them through a paper punch and they turn into little circles, flowers, and hearts ready for the next collage. Squeezing the punch builds hand strength too, and most children find it very satisfying.
Tip: Glue sticks with disappearing color (purple going on, clear when dry) help children see where they've put glue, so they aren't rubbing it all over the paper.
3. Mixed Media Collage
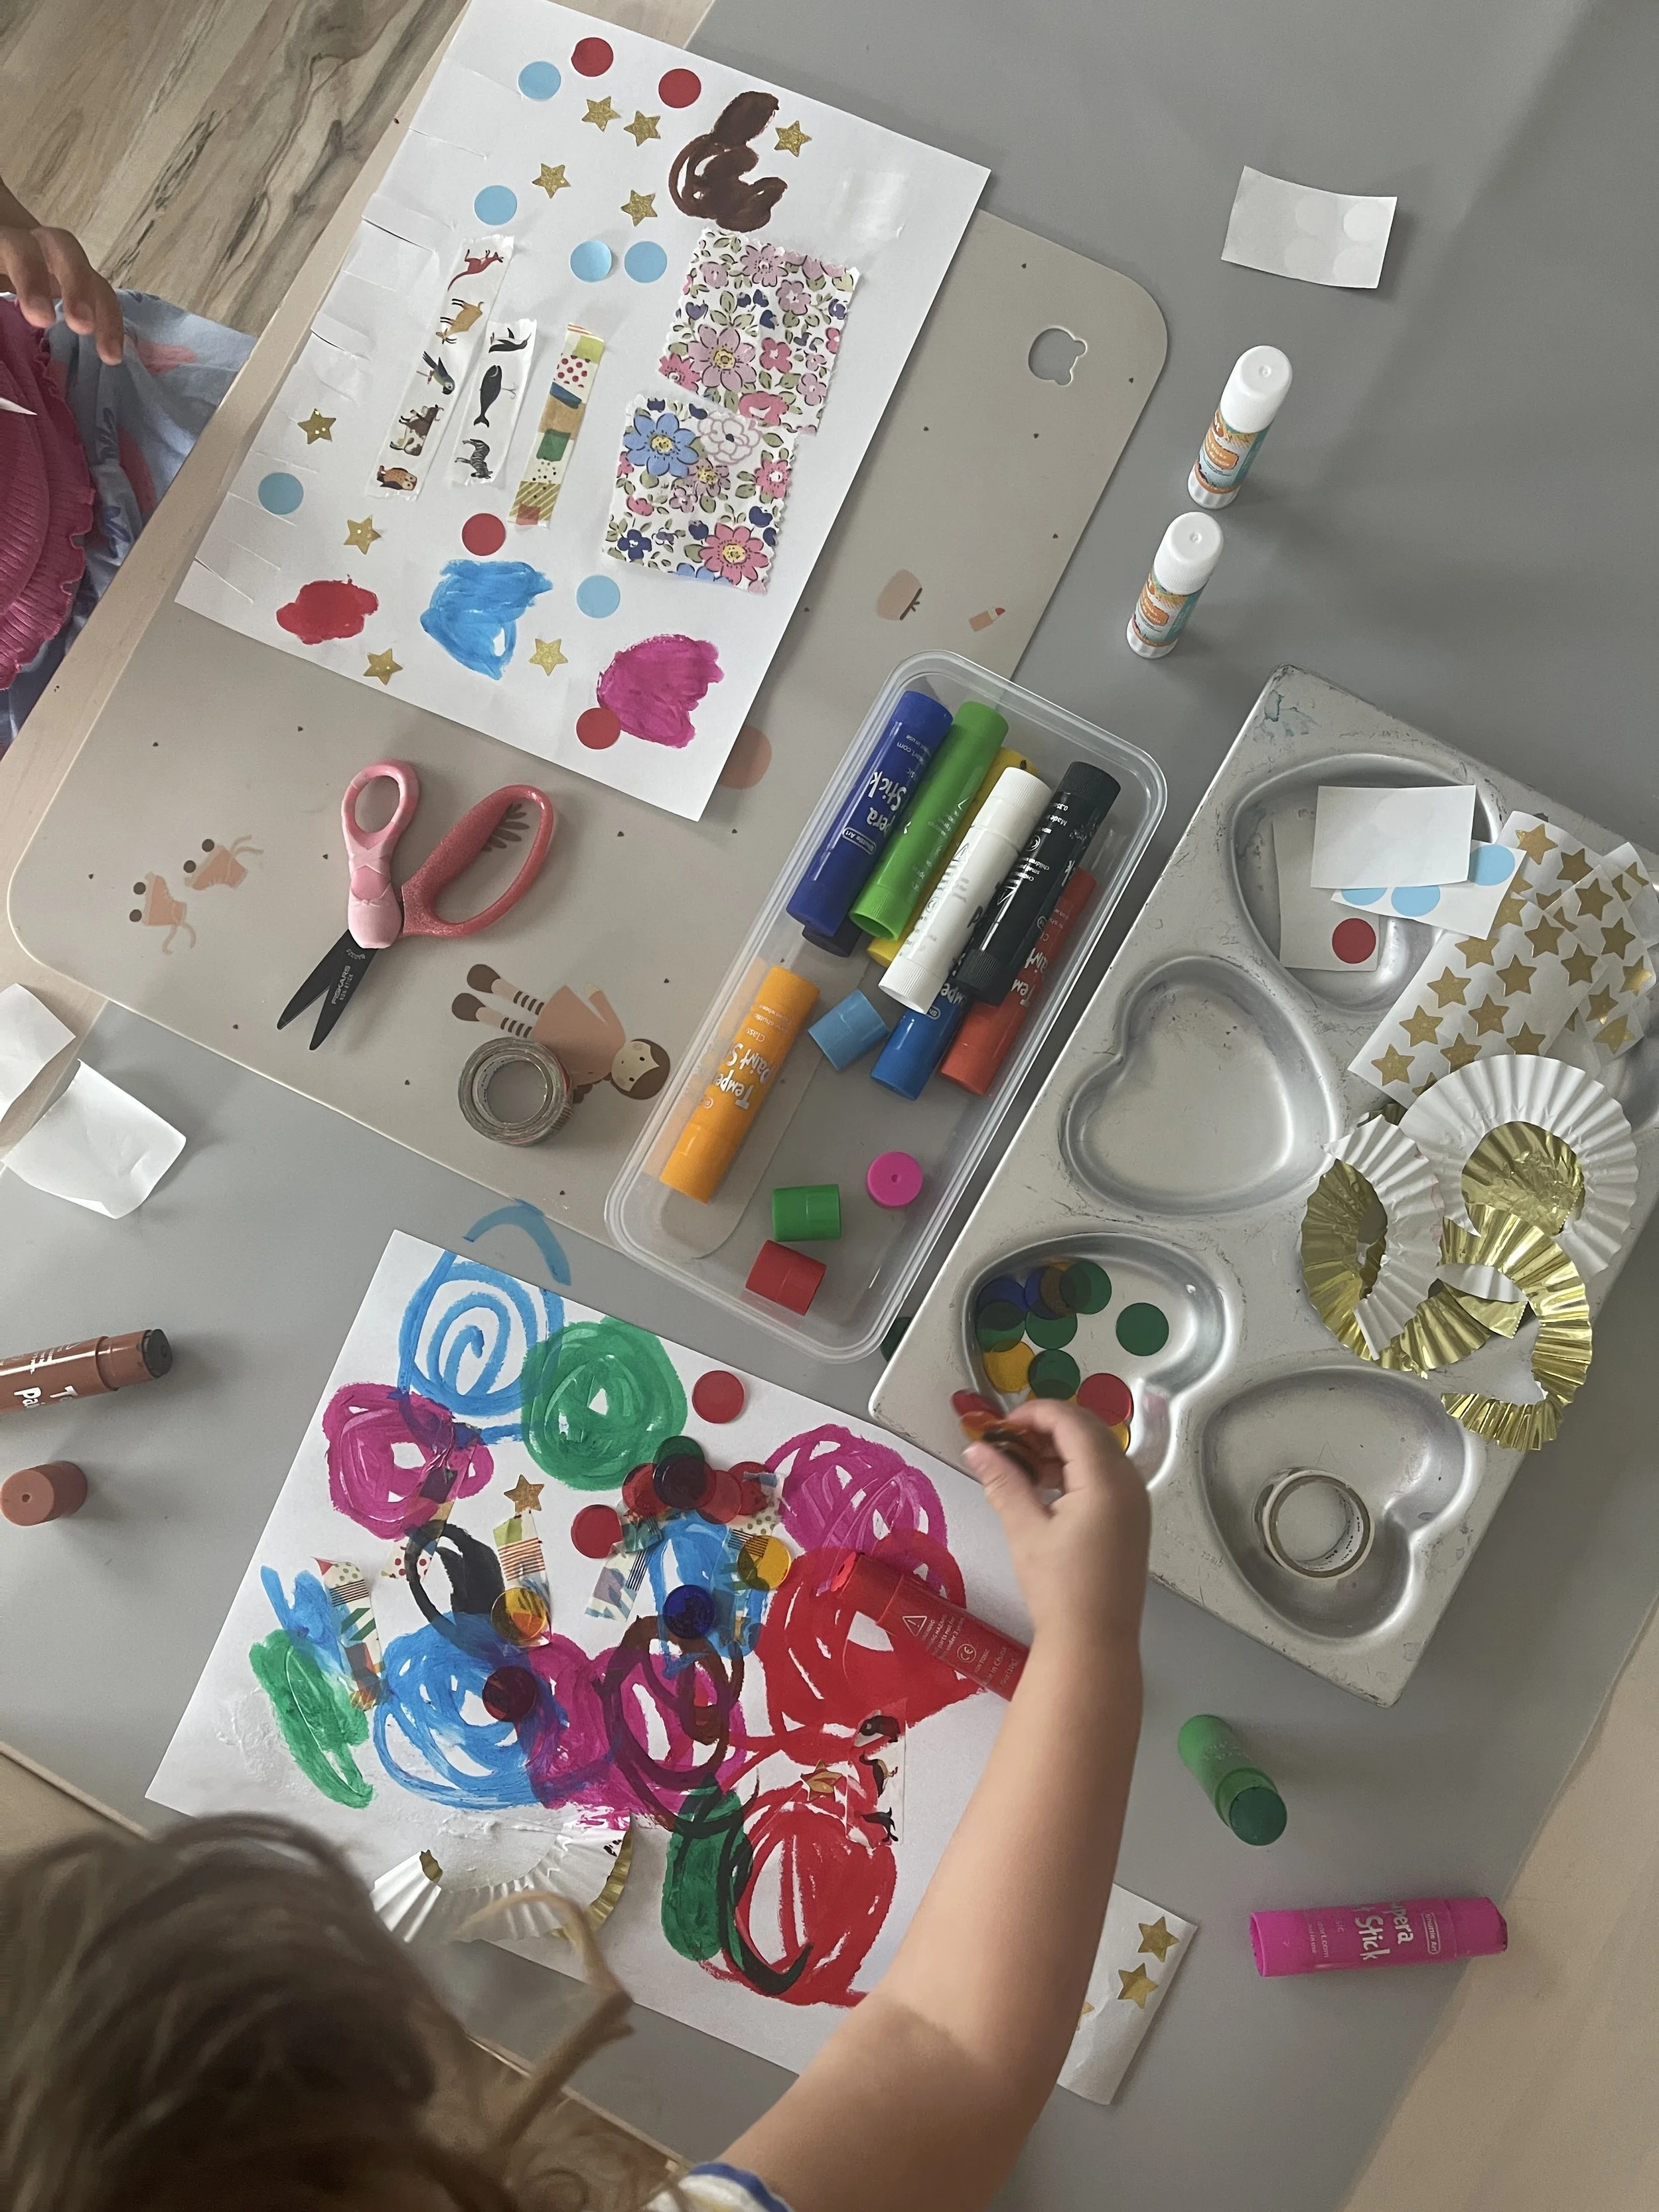
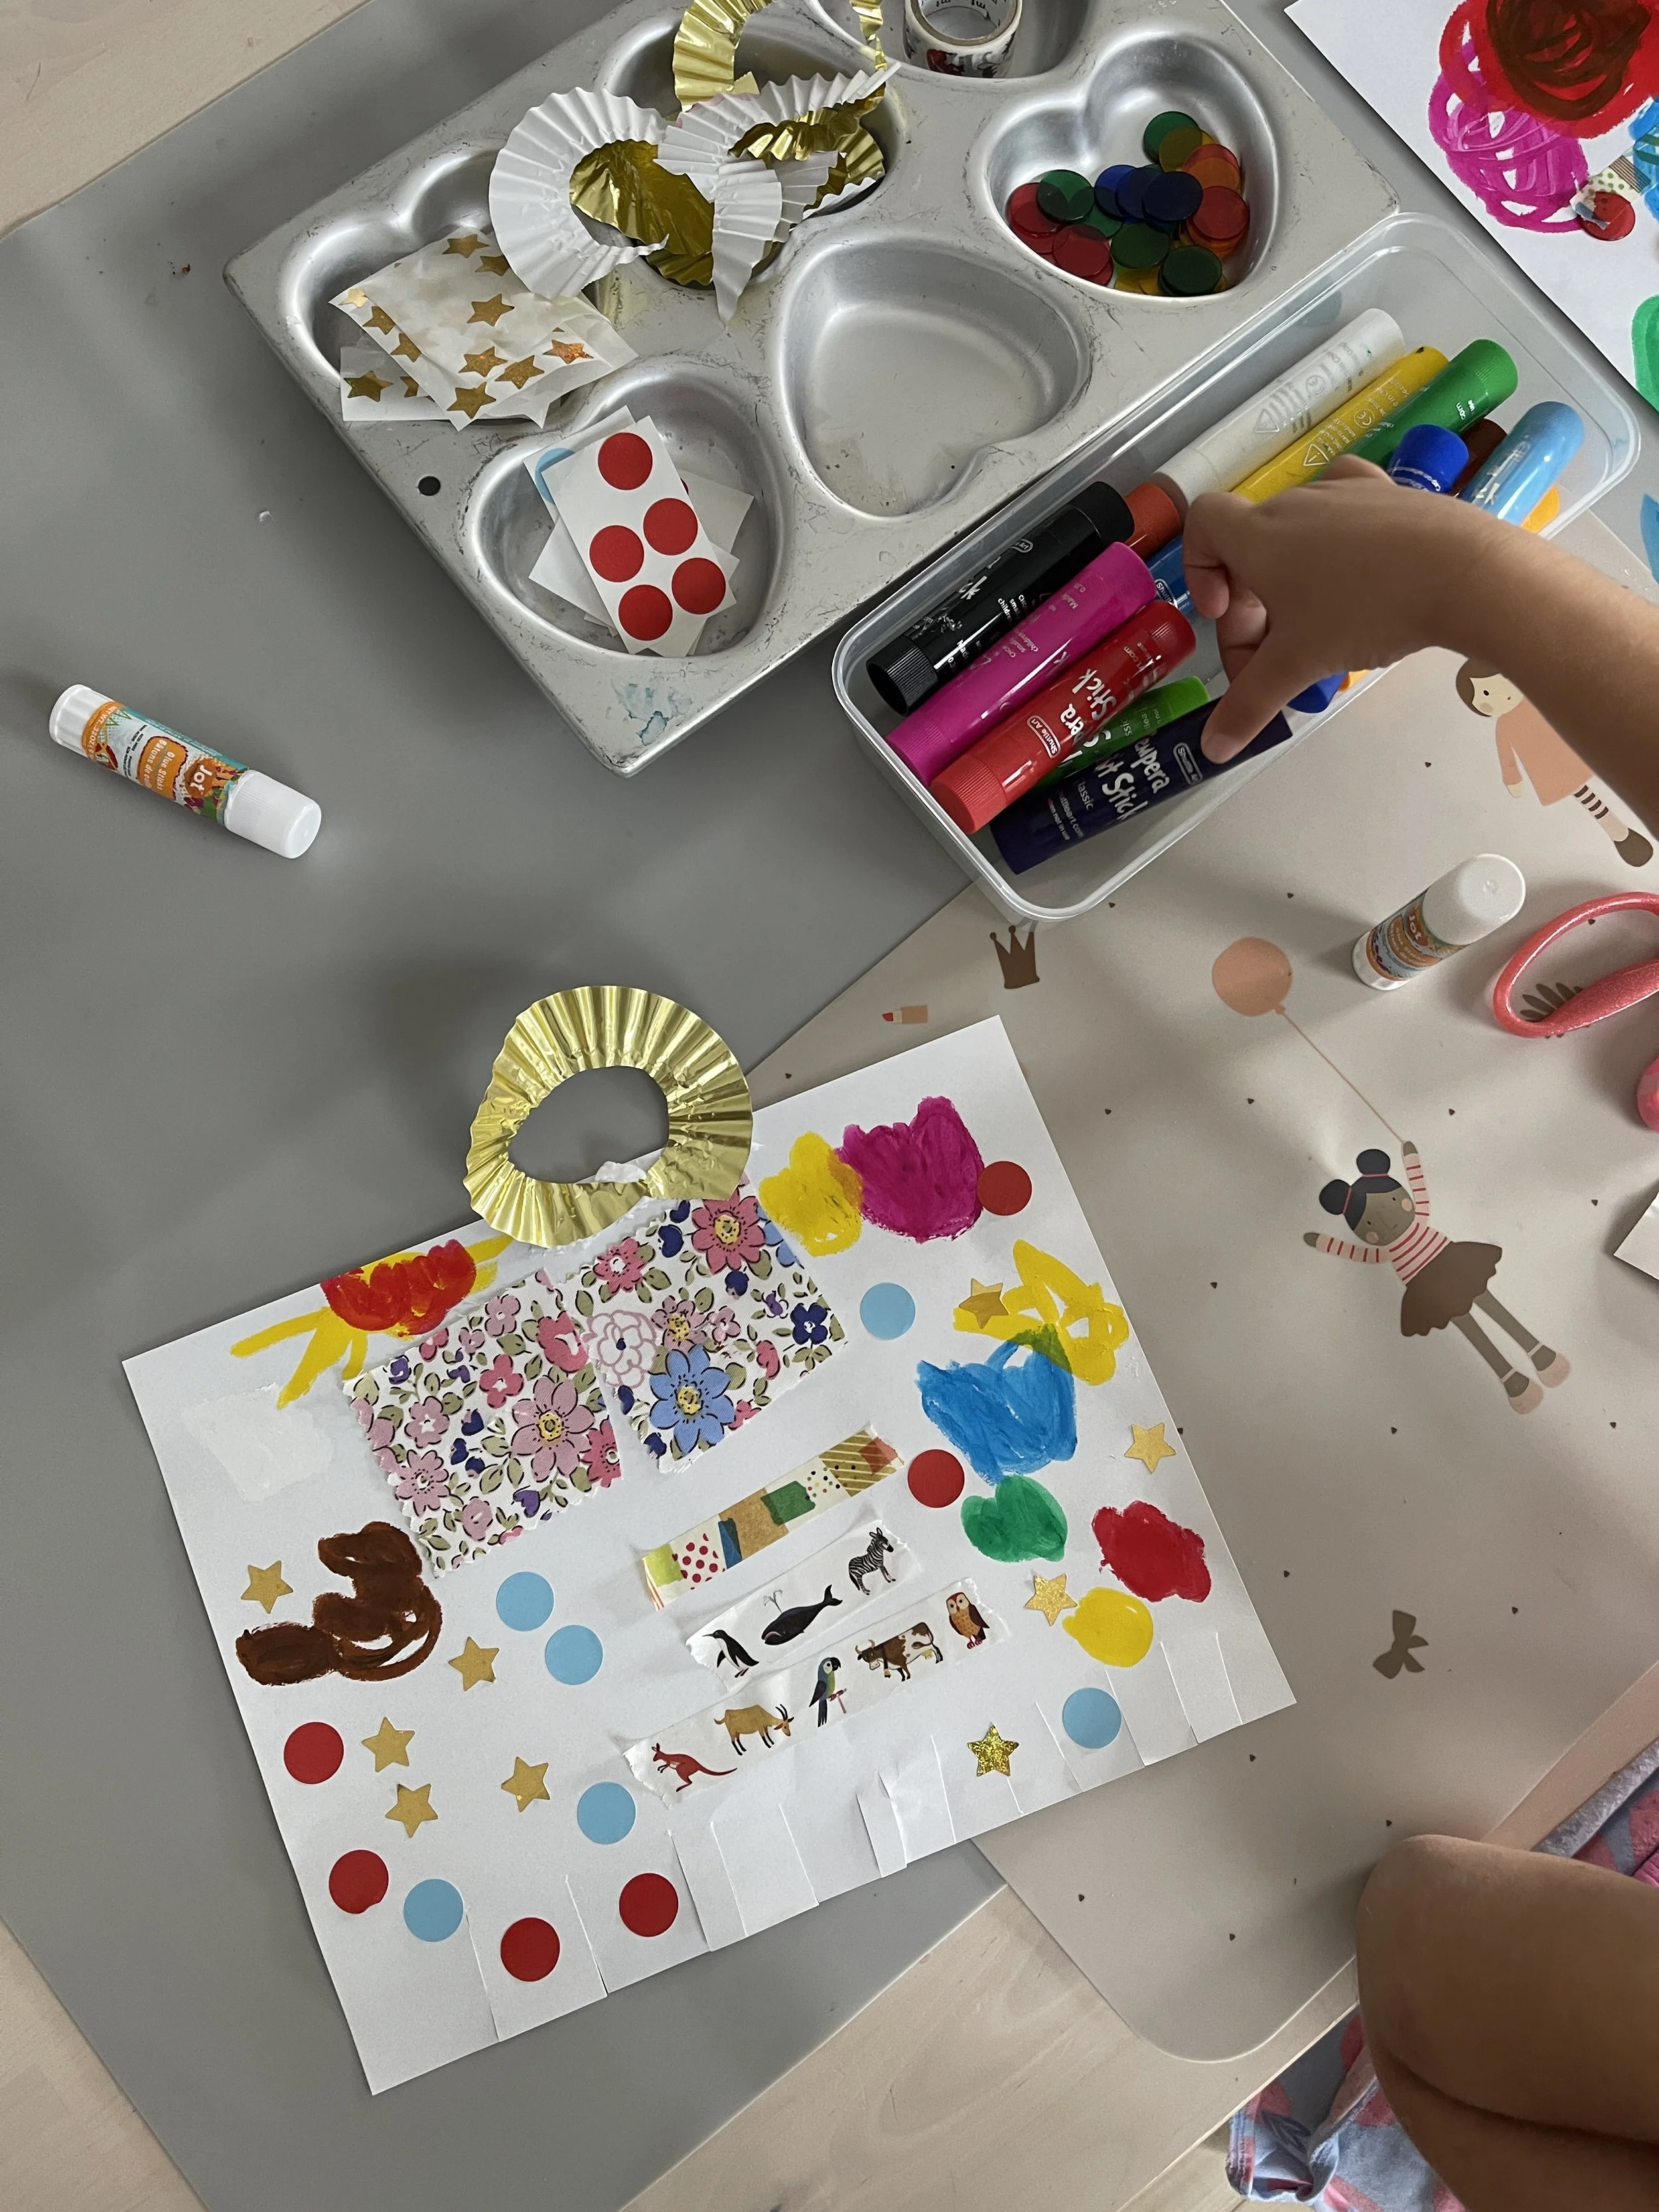
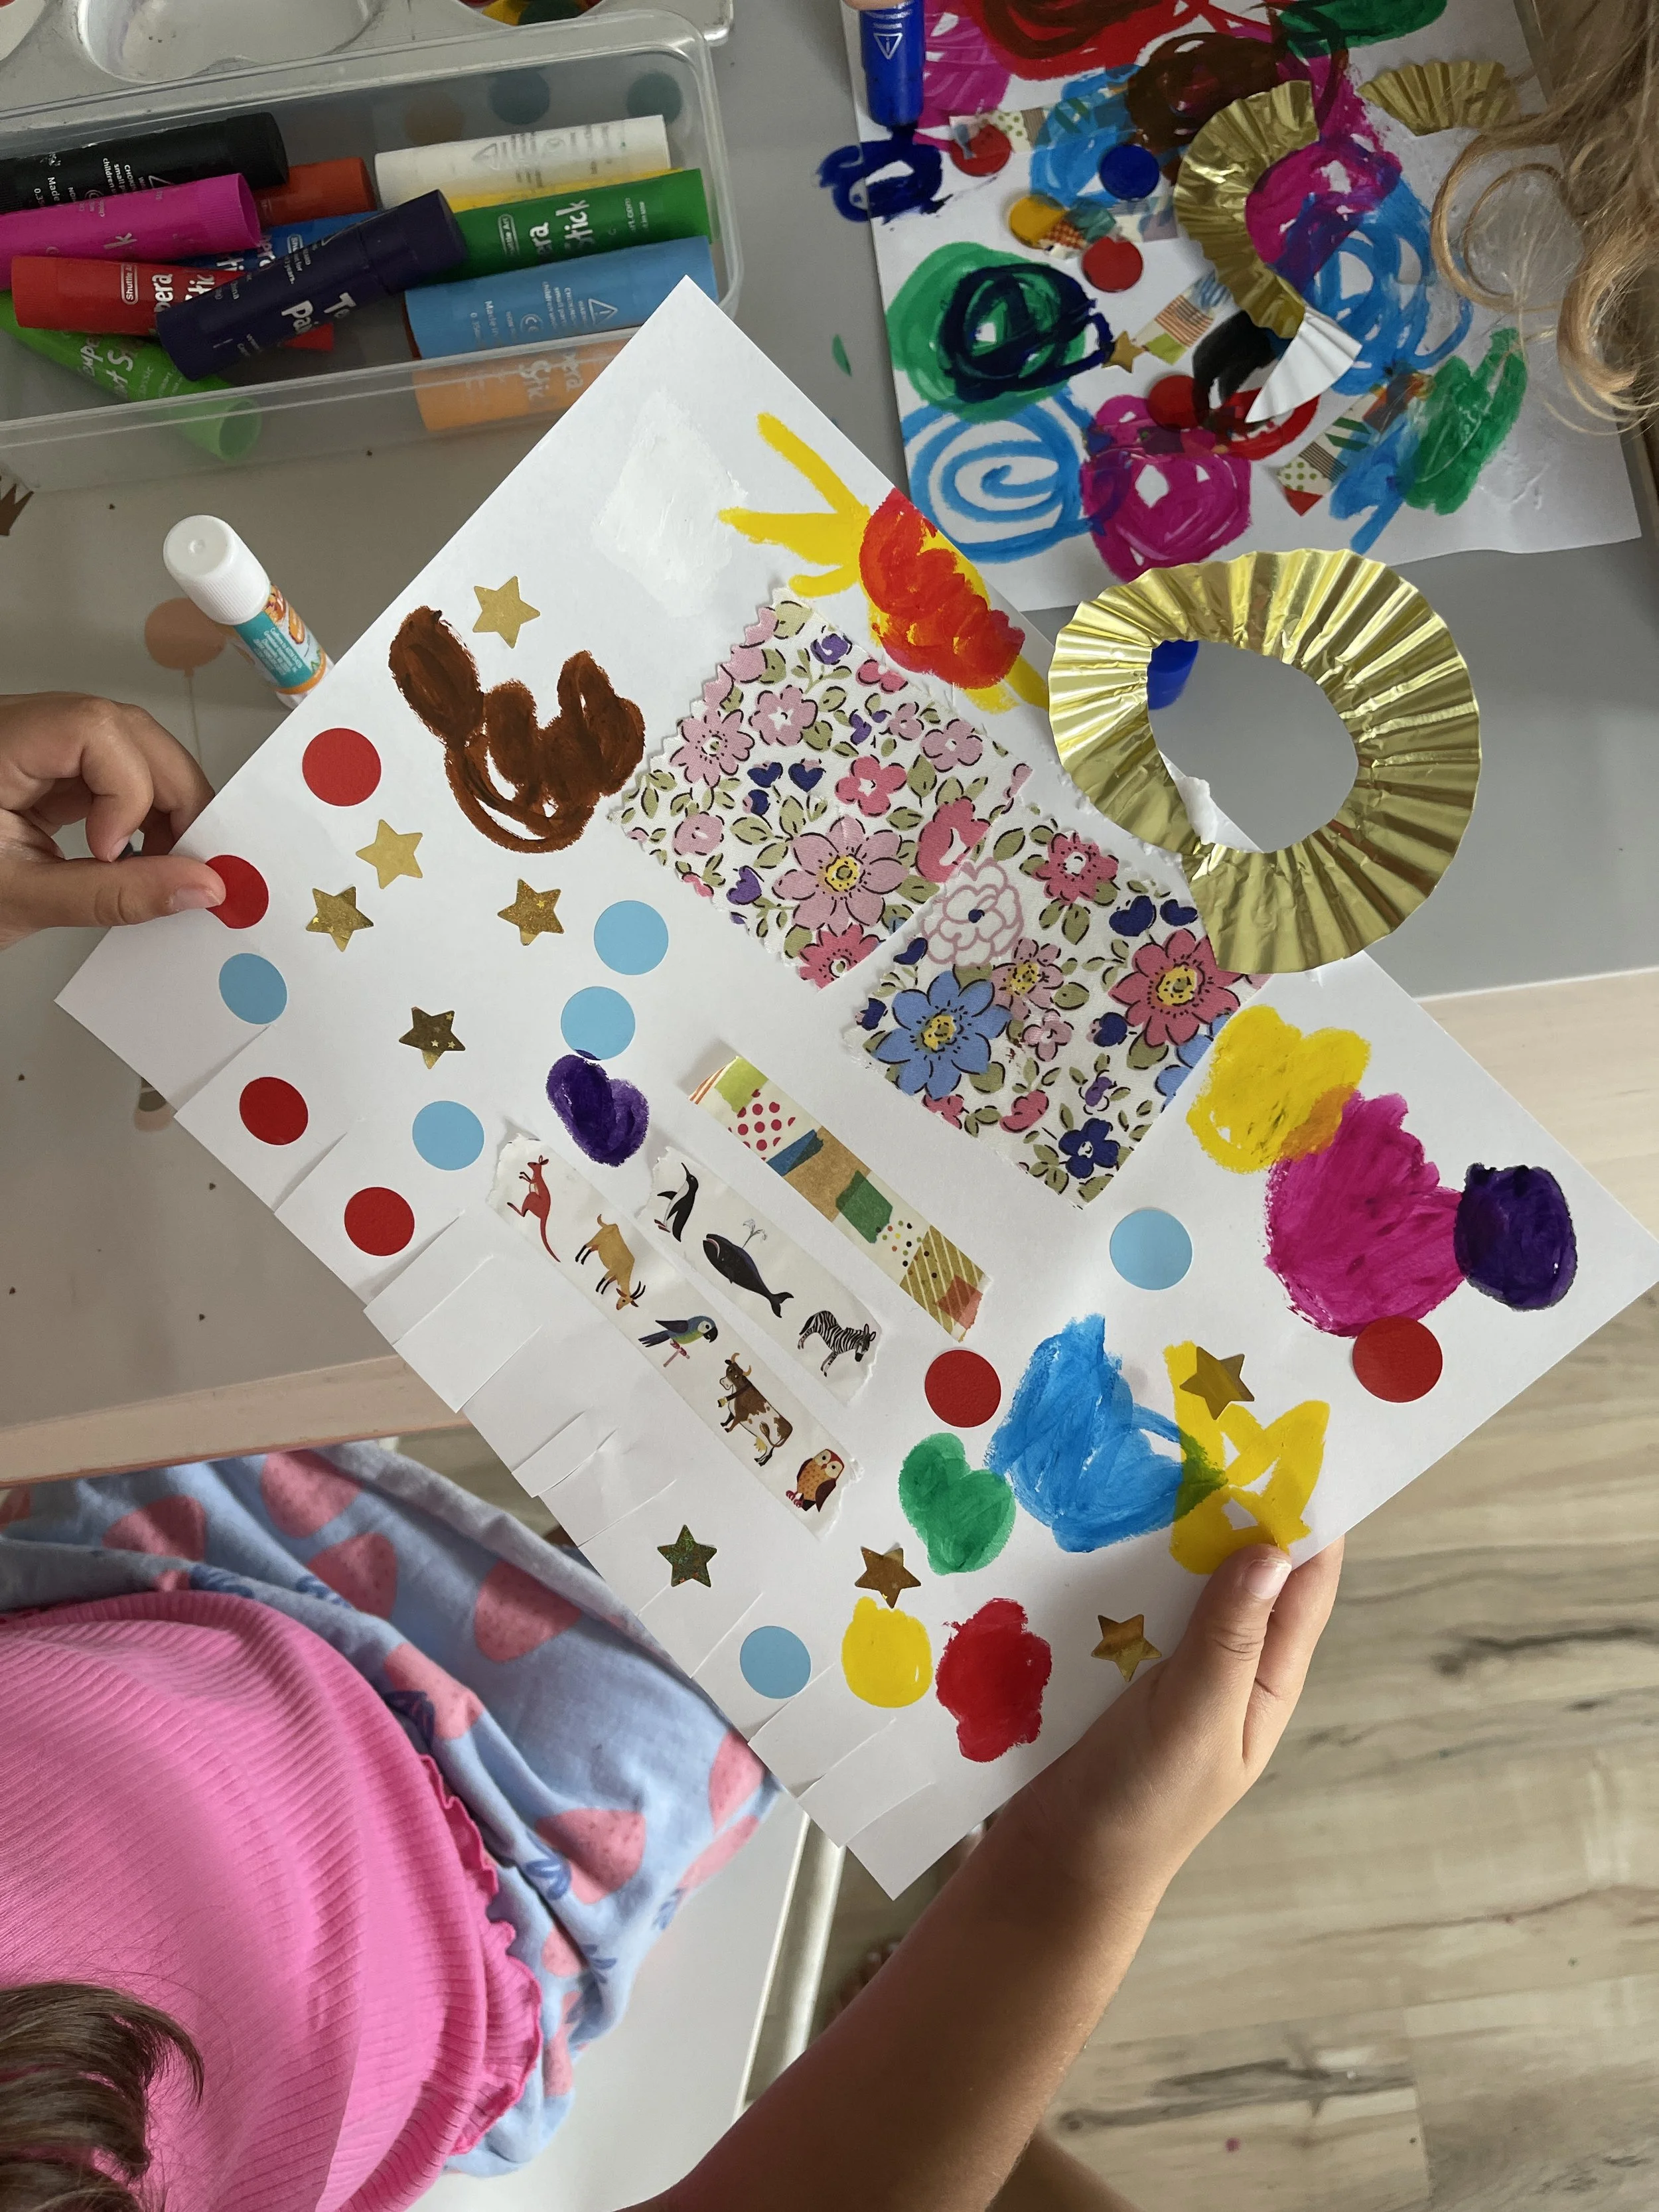
You'll need: paint sticks, fabric scraps, cut cupcake liners, stickers, and washi tape.
If you have a child who wants the look of painting without the feel of it, paint sticks are the answer. They're solid paint in a twist-up tube that goes on like a crayon and dries in about a minute. You get bold, bright color with nothing wet to touch.
Pair them with a few interesting textures, like floral fabric scraps, a flattened gold cupcake liner, or a strip of colorful washi tape, and a simple page becomes a whole little piece. Mixing materials like this teaches children that art isn't one tool. It's whatever you choose to combine.
Tip: Cut the cupcake liners flat or into rings ahead of time. The foil ones catch the light and are always the first thing chosen.
4. Stamp Collage
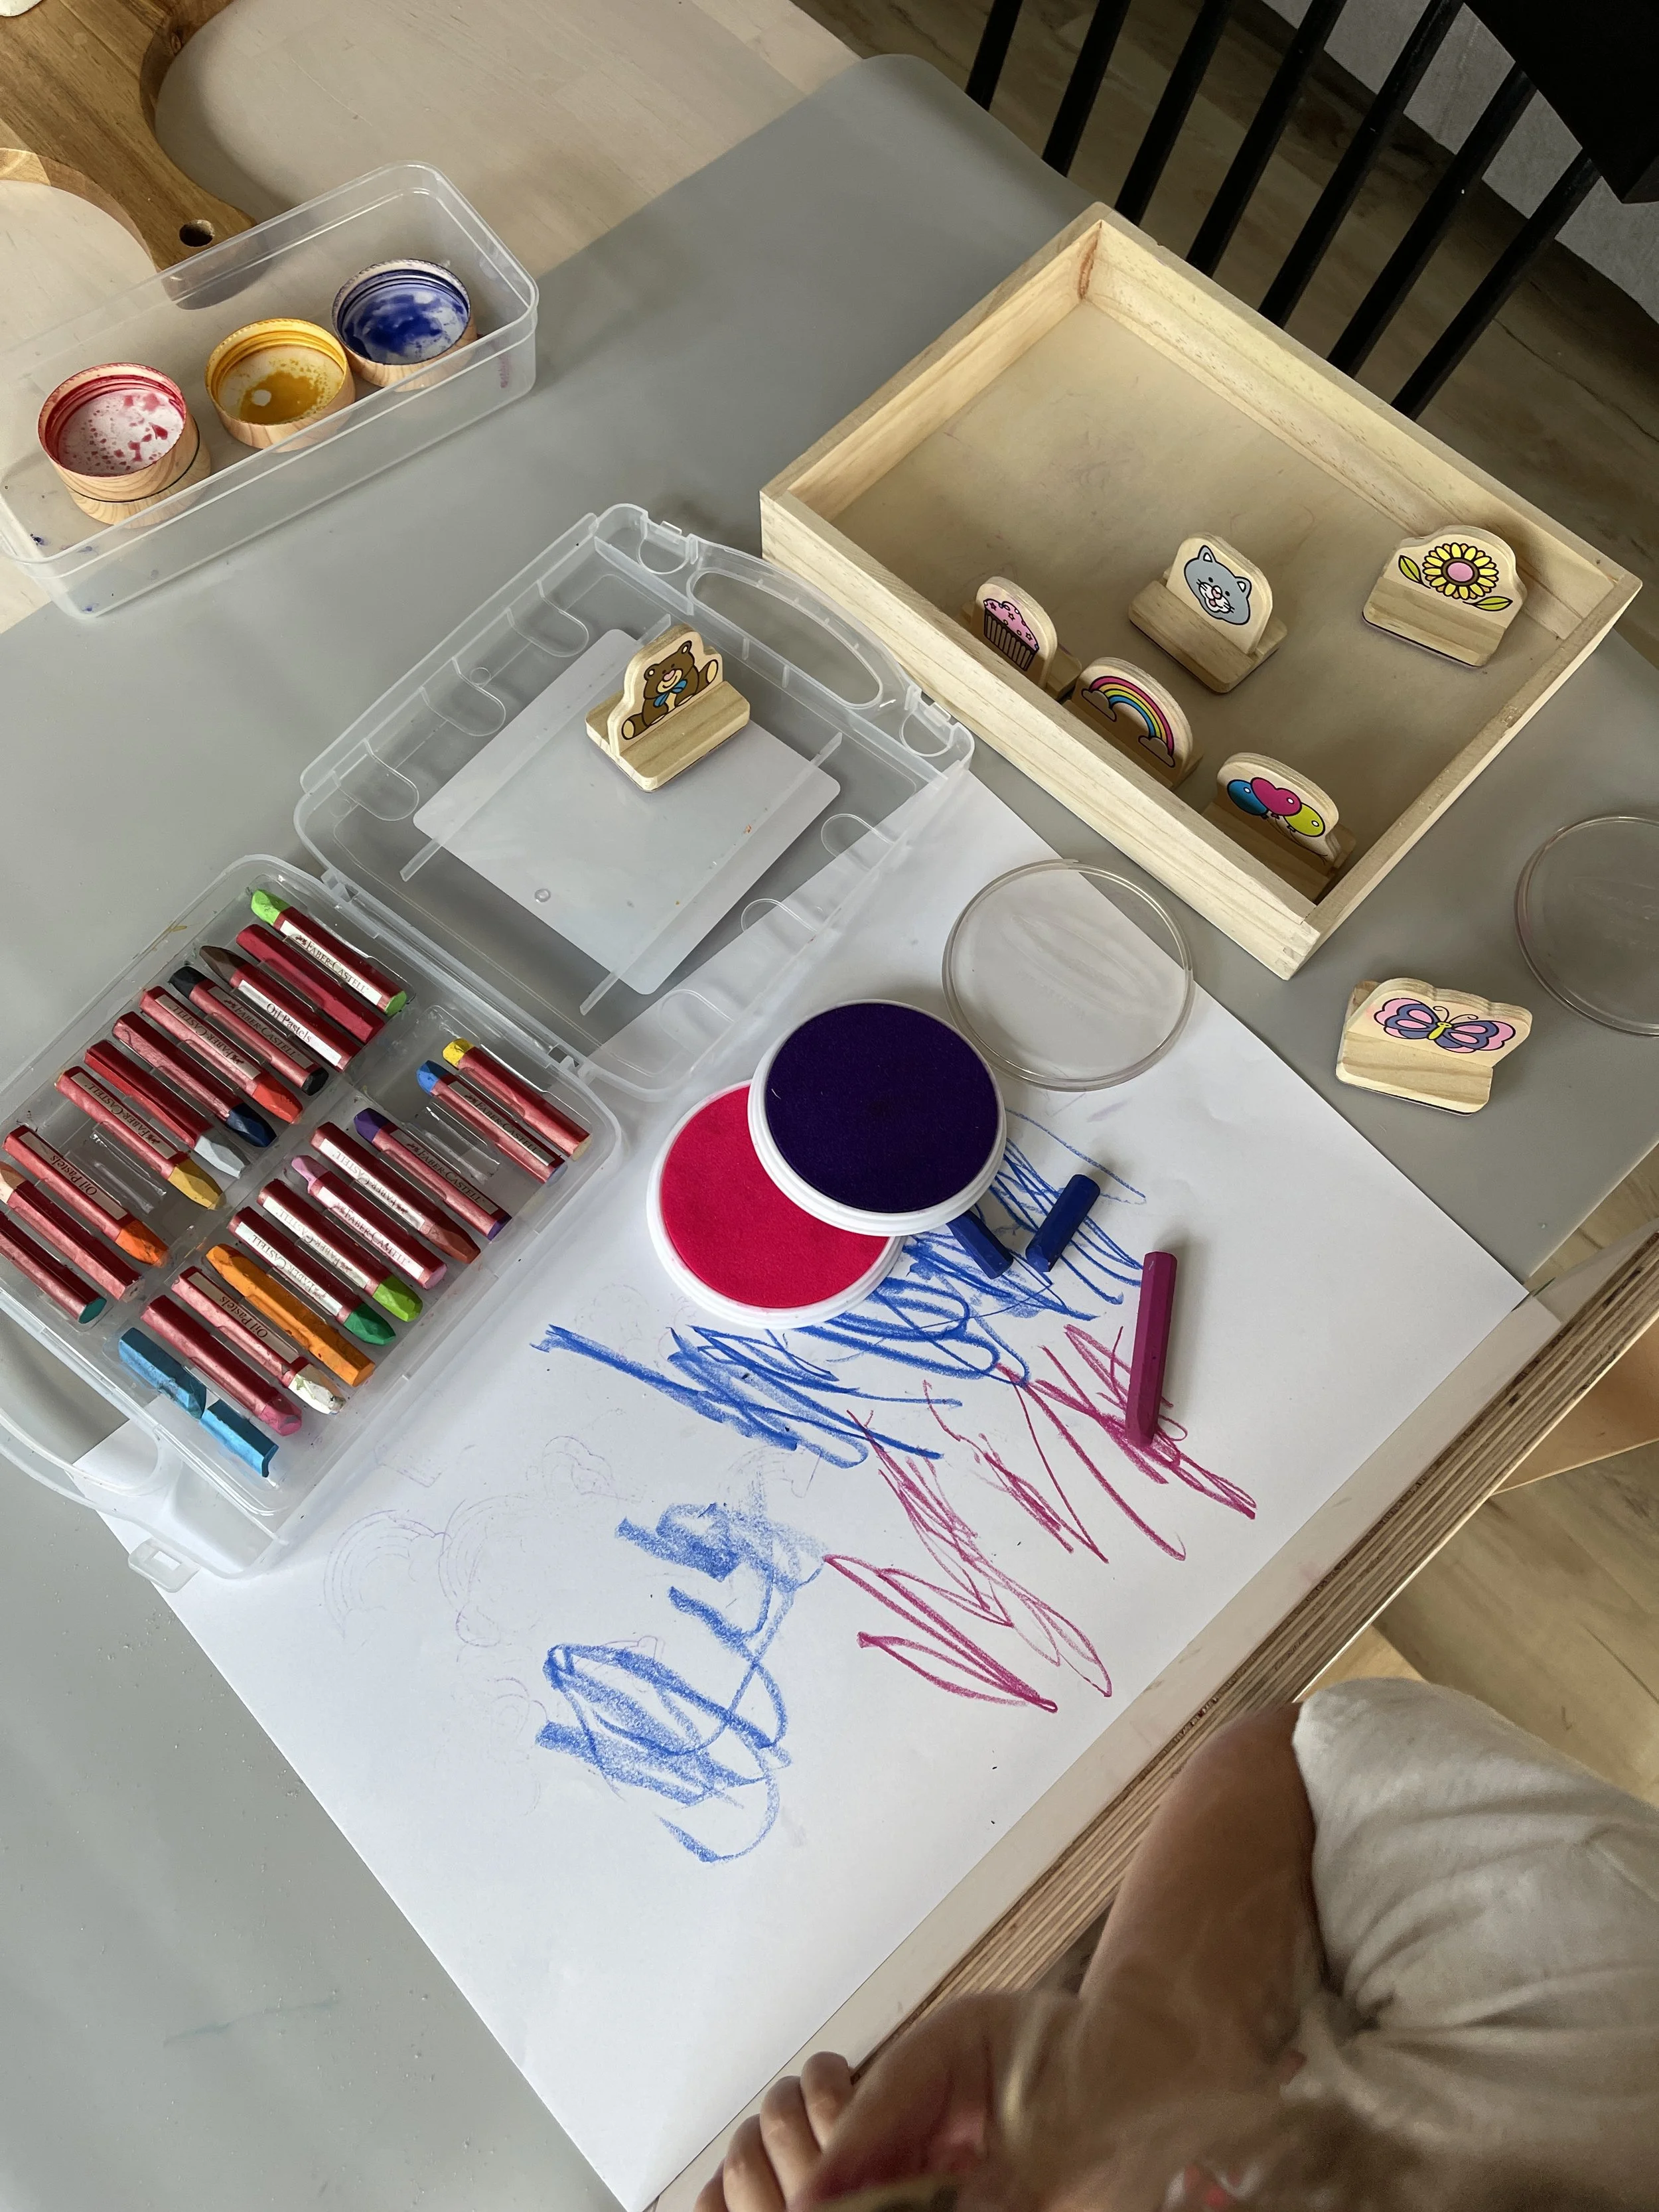
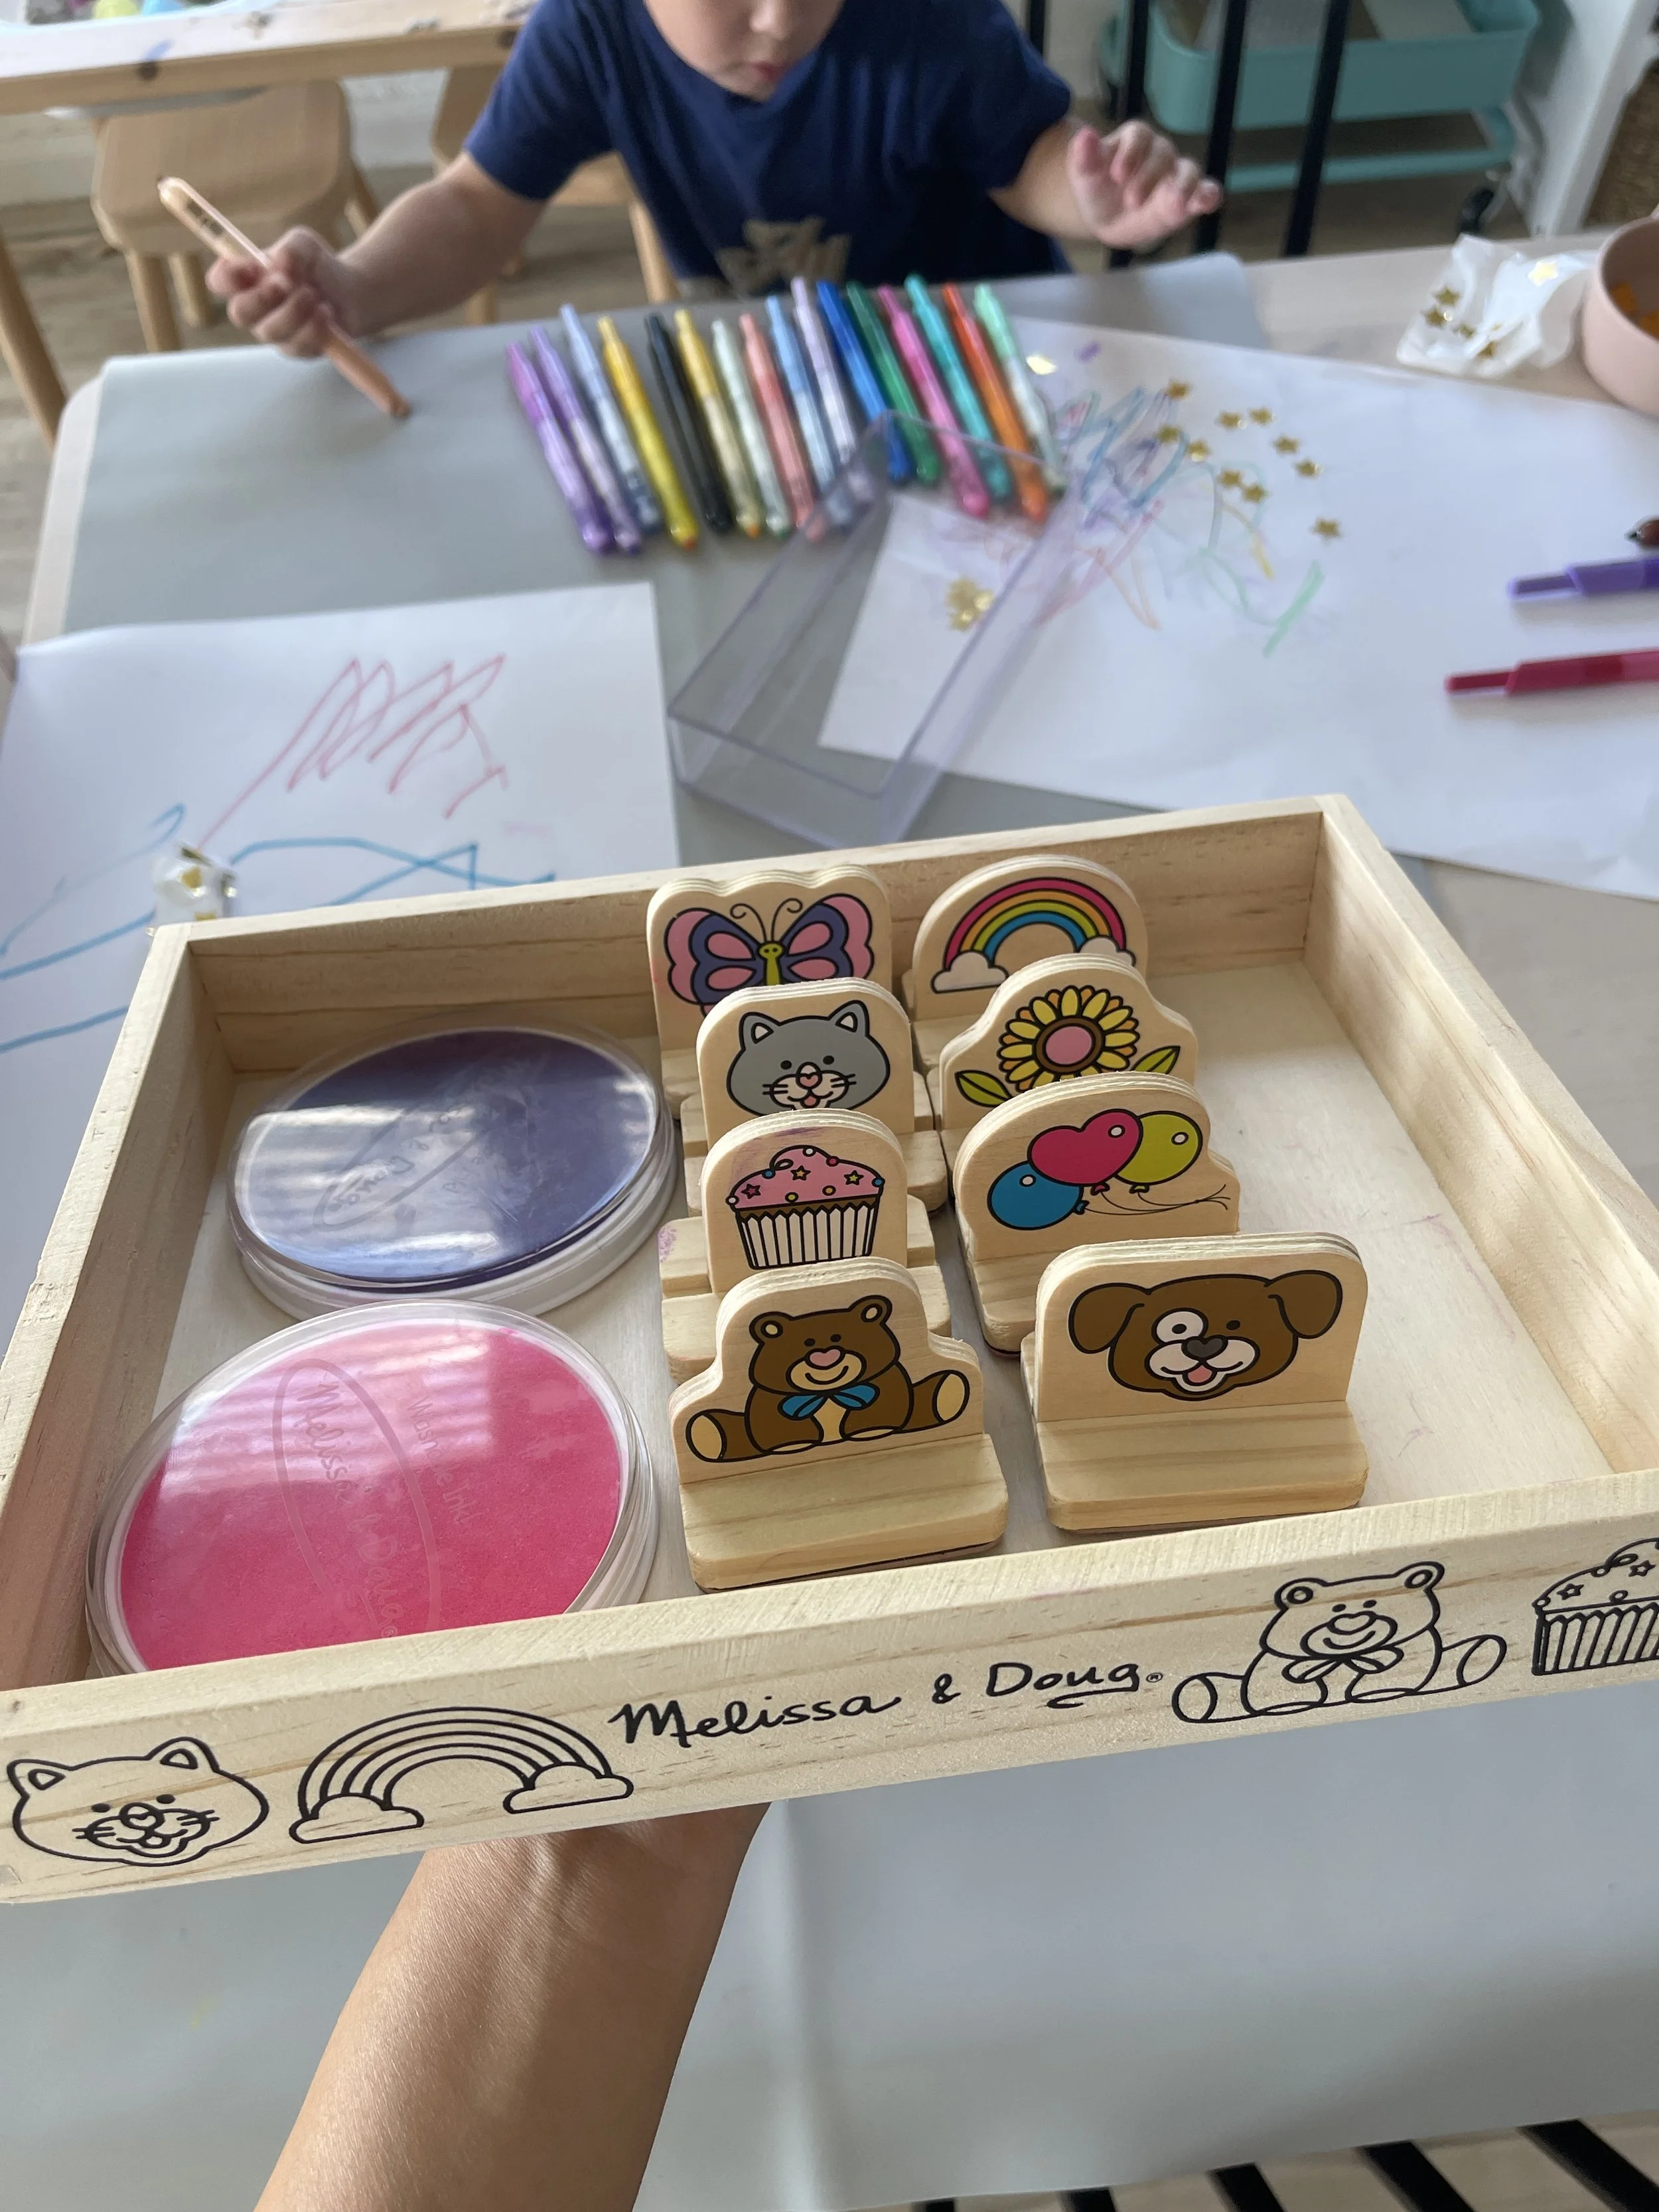
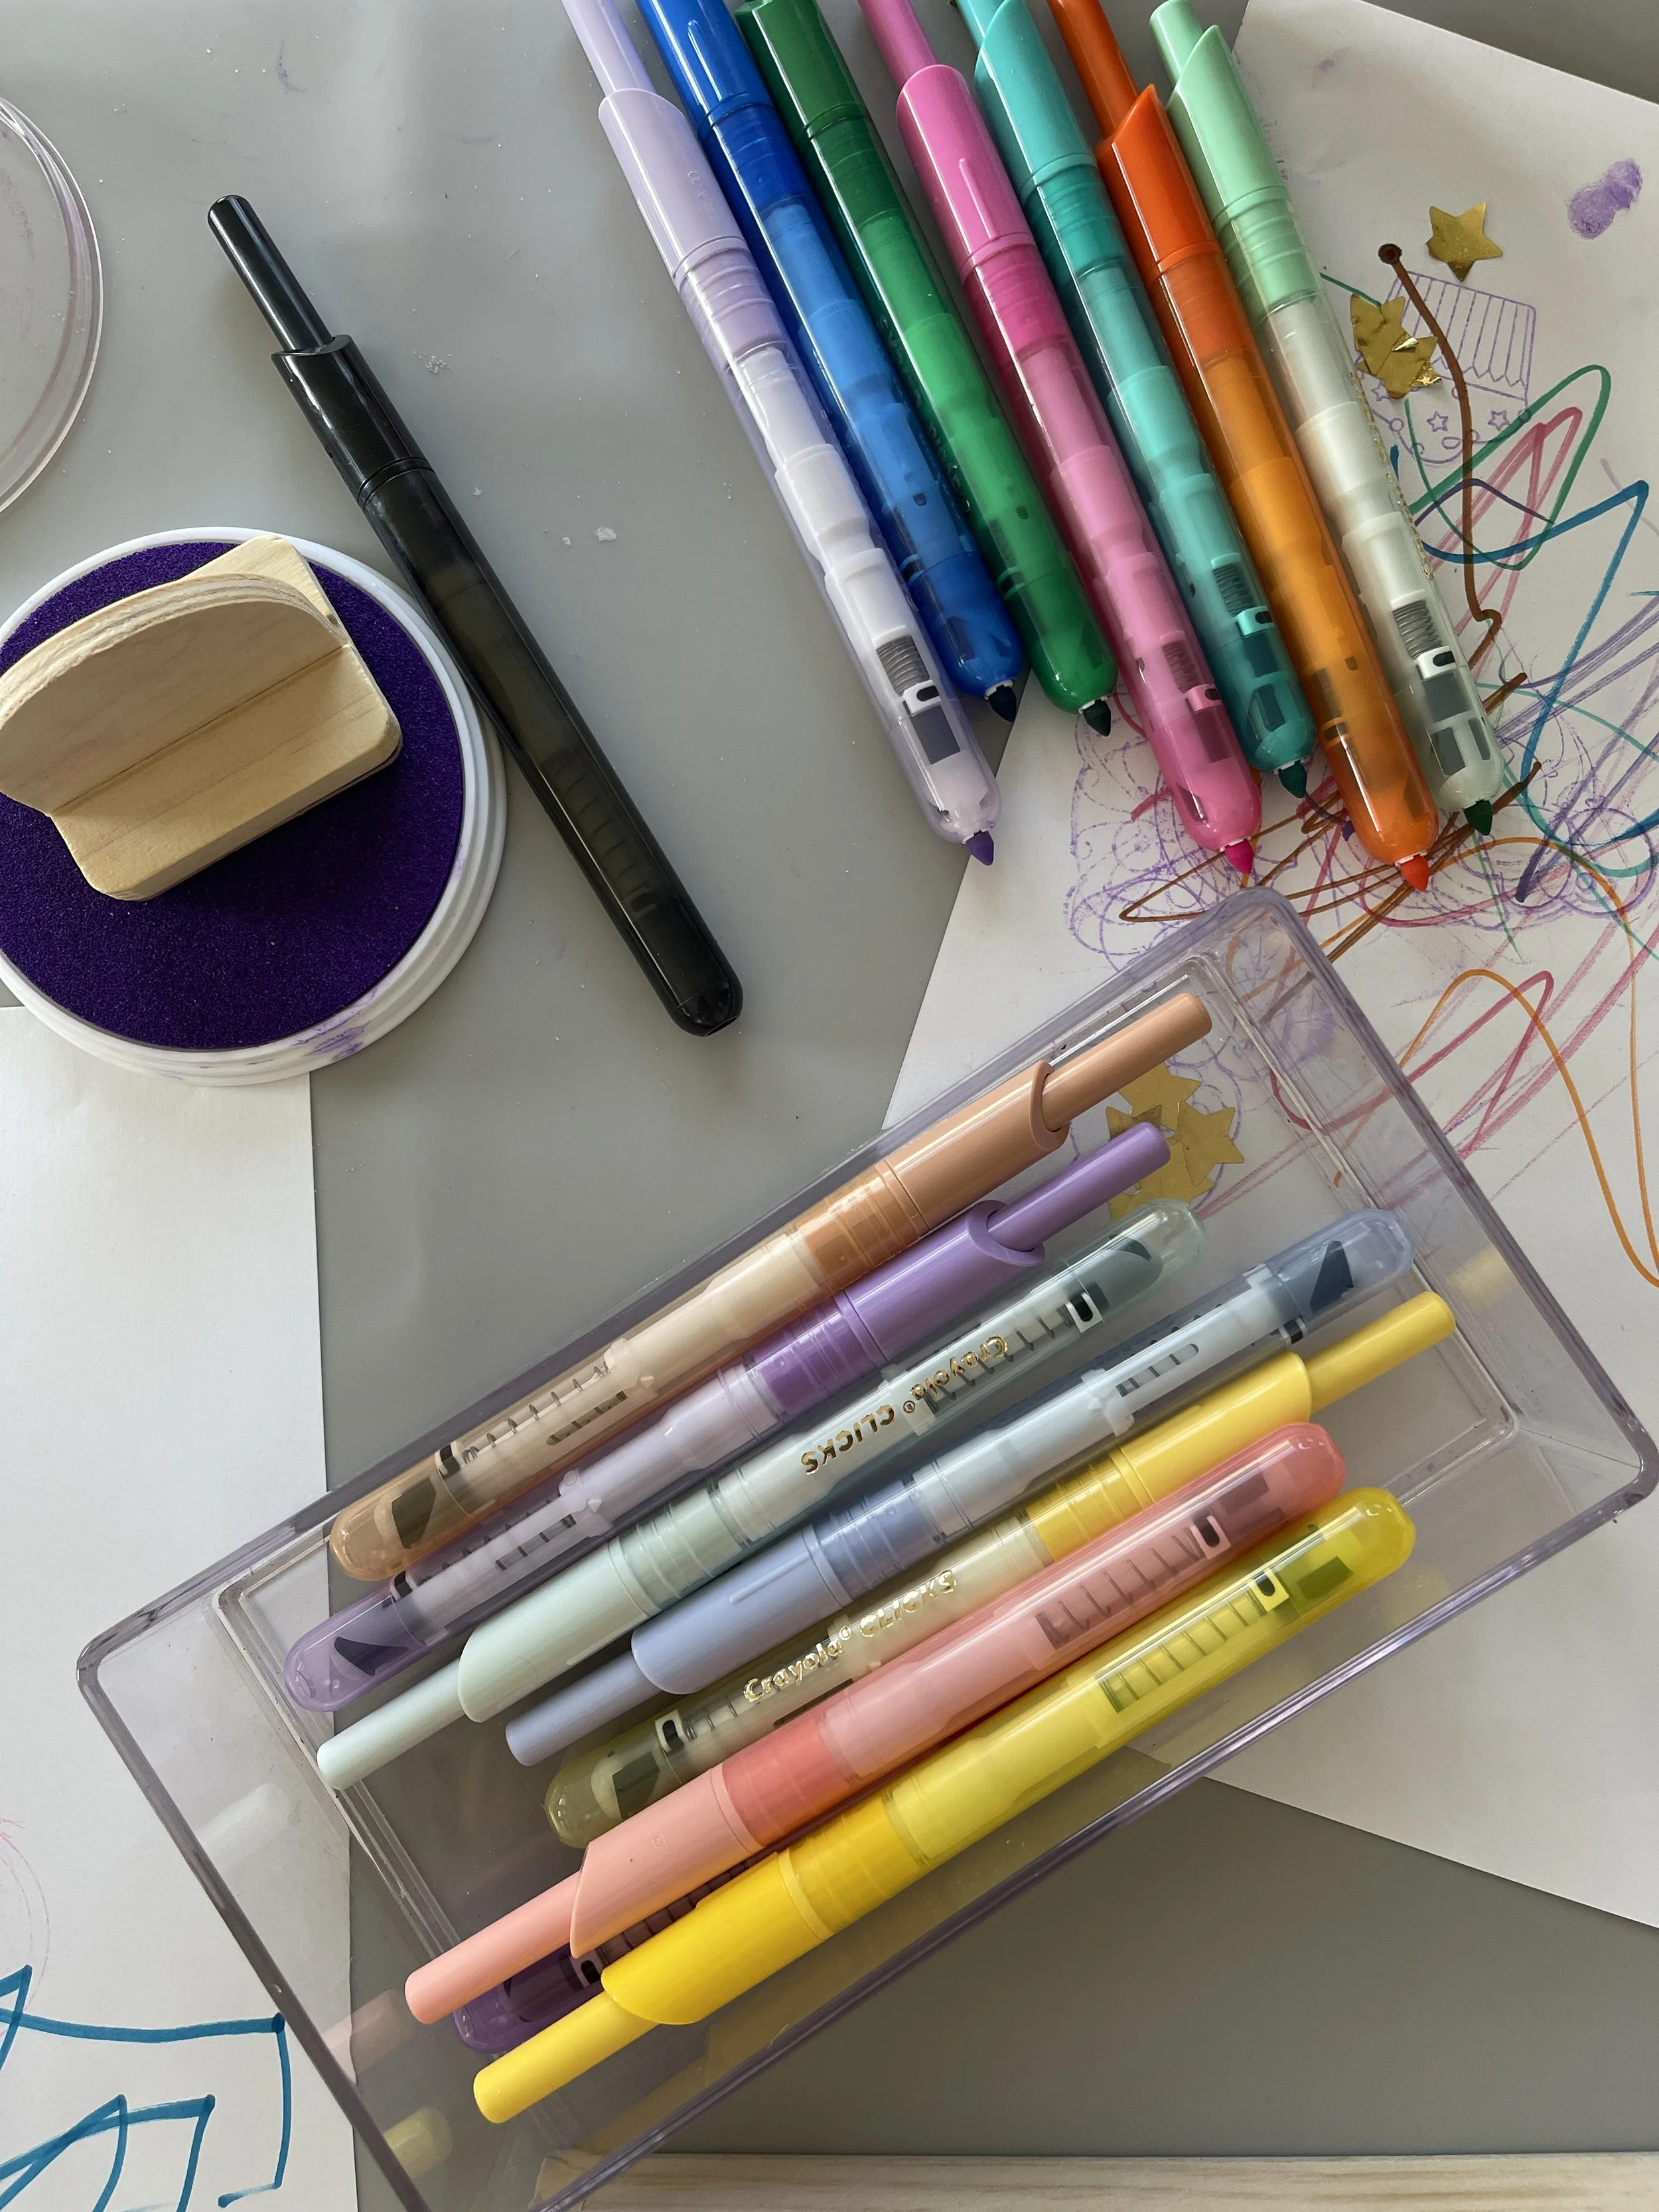
You'll need: stamps and ink pads, clickable markers or oil pastels, stickers, plus a large piece of paper.
Stamps with chunky wooden handles keep little fingers up and away from the ink, which makes this a good fit for children who don't like the feeling of anything on their hands. Large washable ink pads are easier for small hands to hit than the tiny ones.
Let your child stamp, then glue a few stickers around the images, or stamp right on top of them. We sometimes add oil pastels to the mix too, so scribbles, stamps, and stickers all end up layered on one page.
Tip: Keep the ink pad lids nearby and close them when you're done. That way nothing dries out and nothing gets knocked into.
5. House Collage
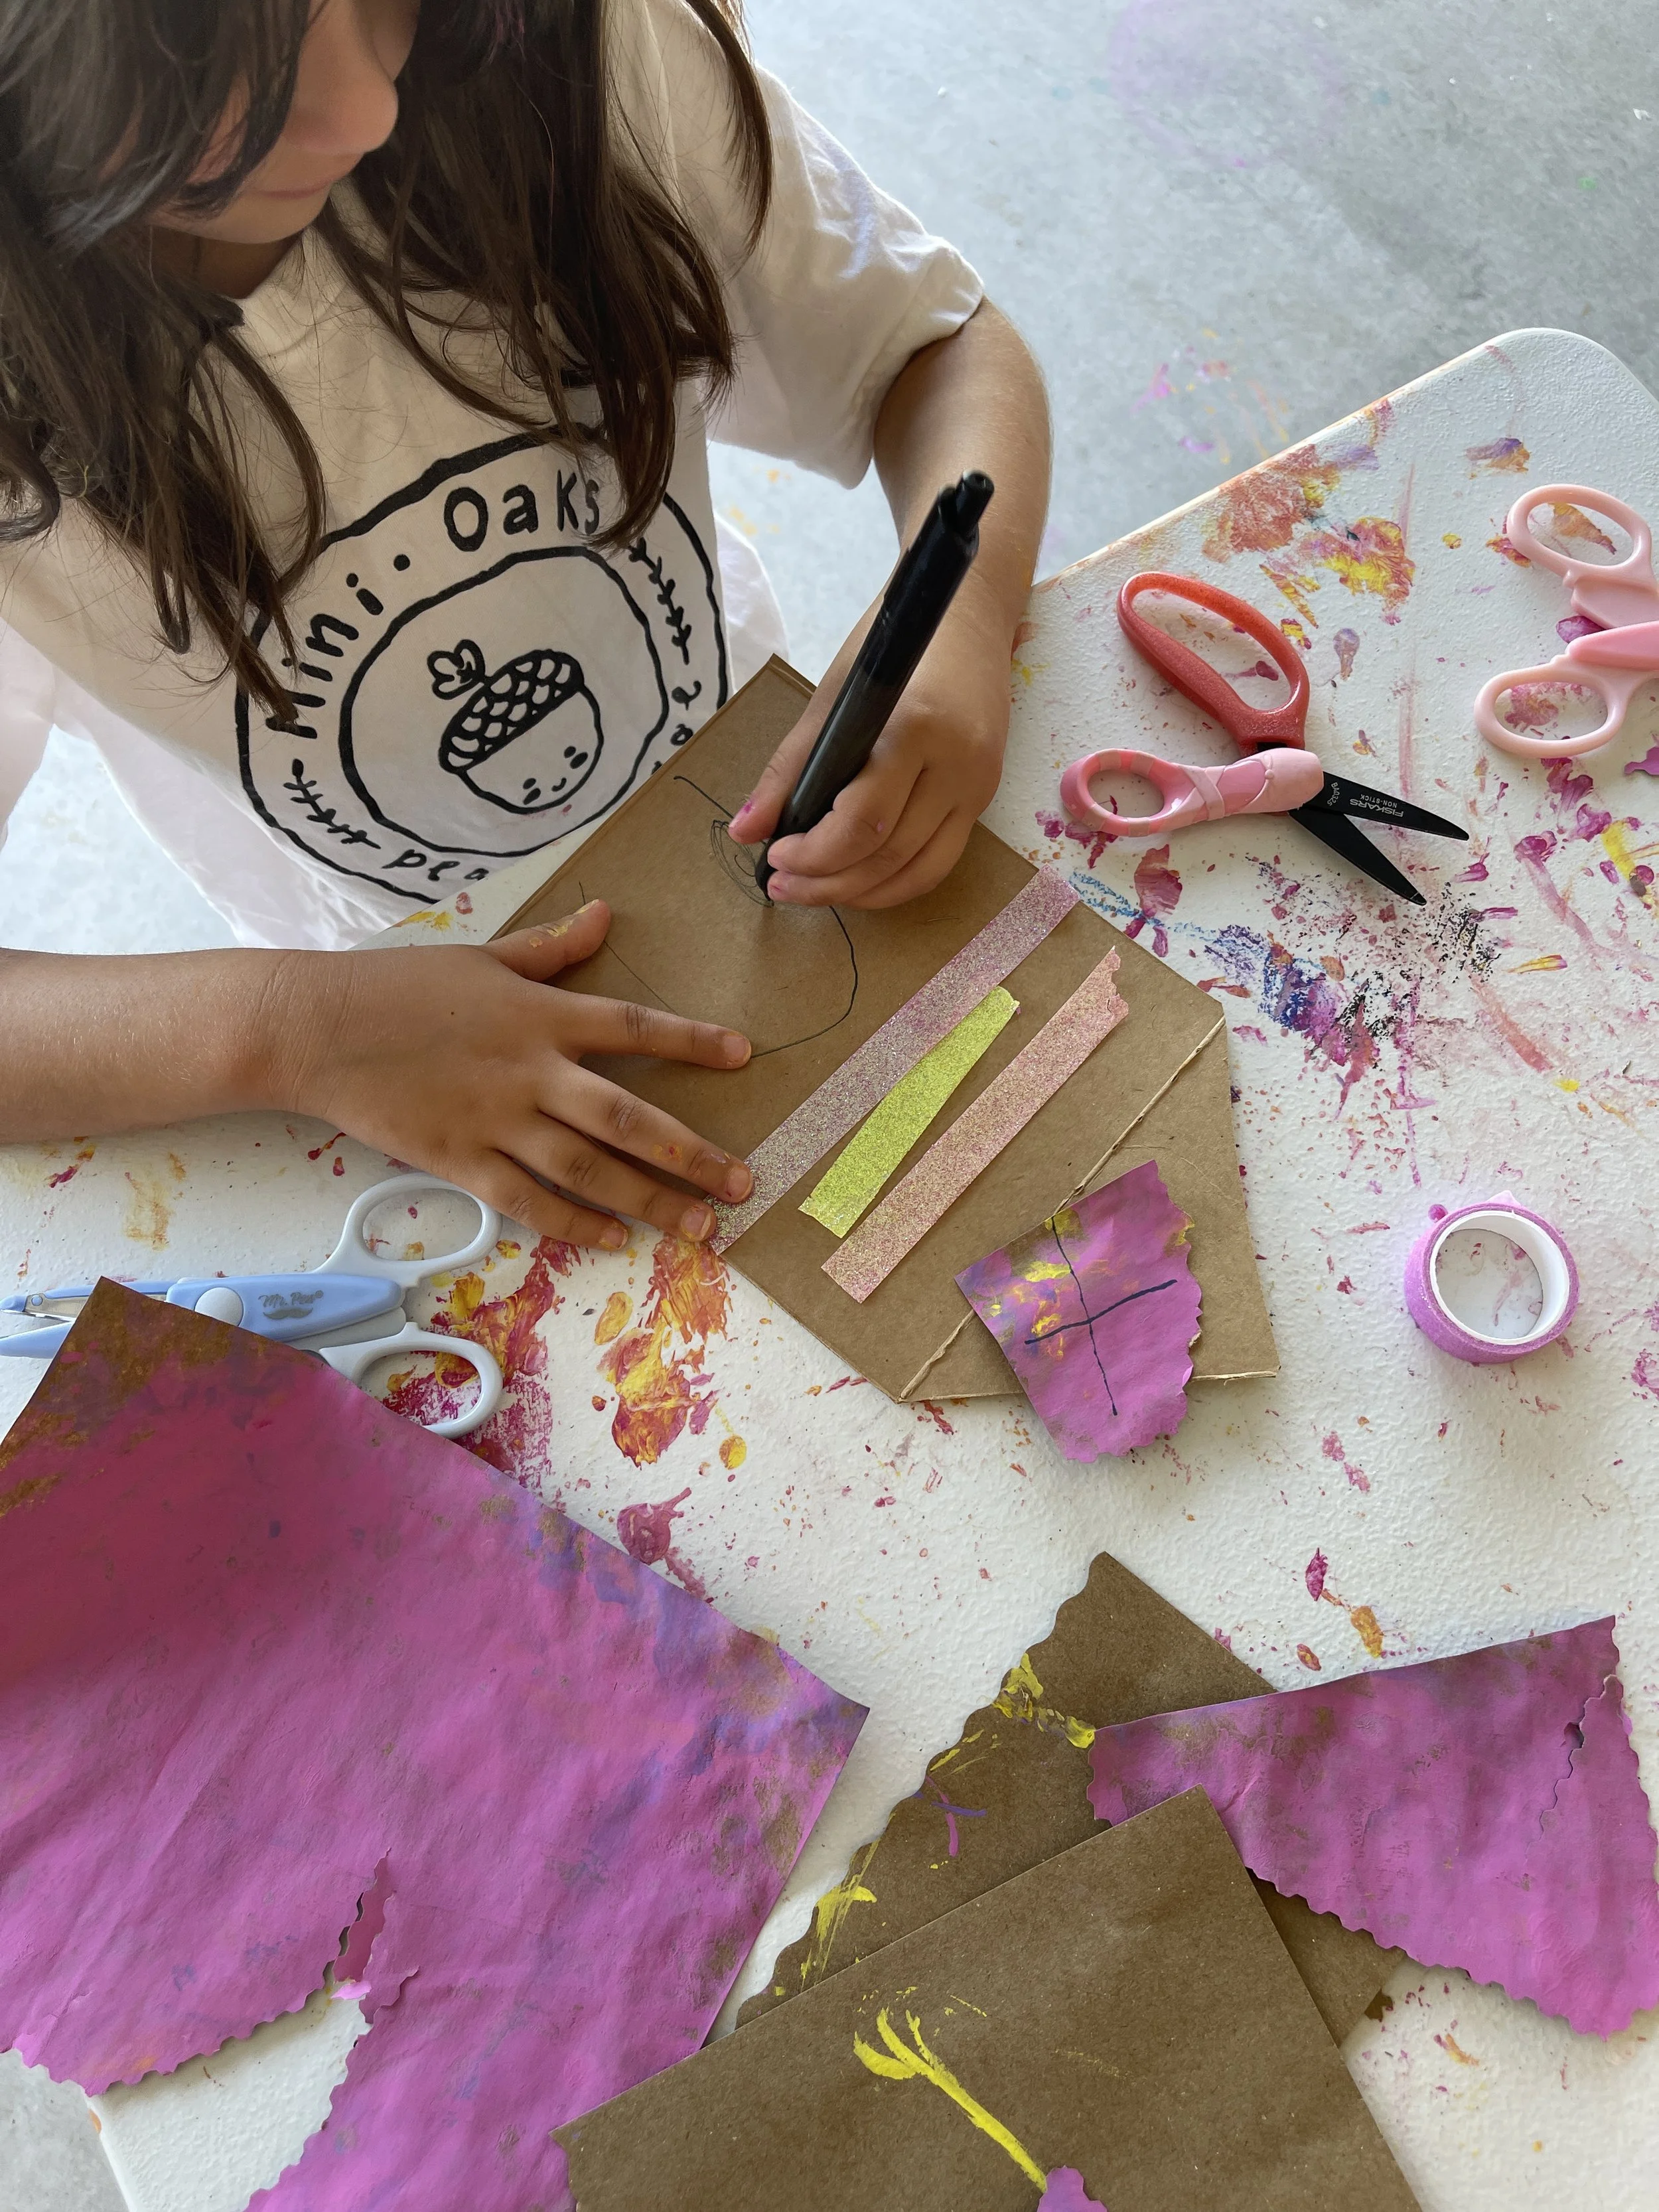
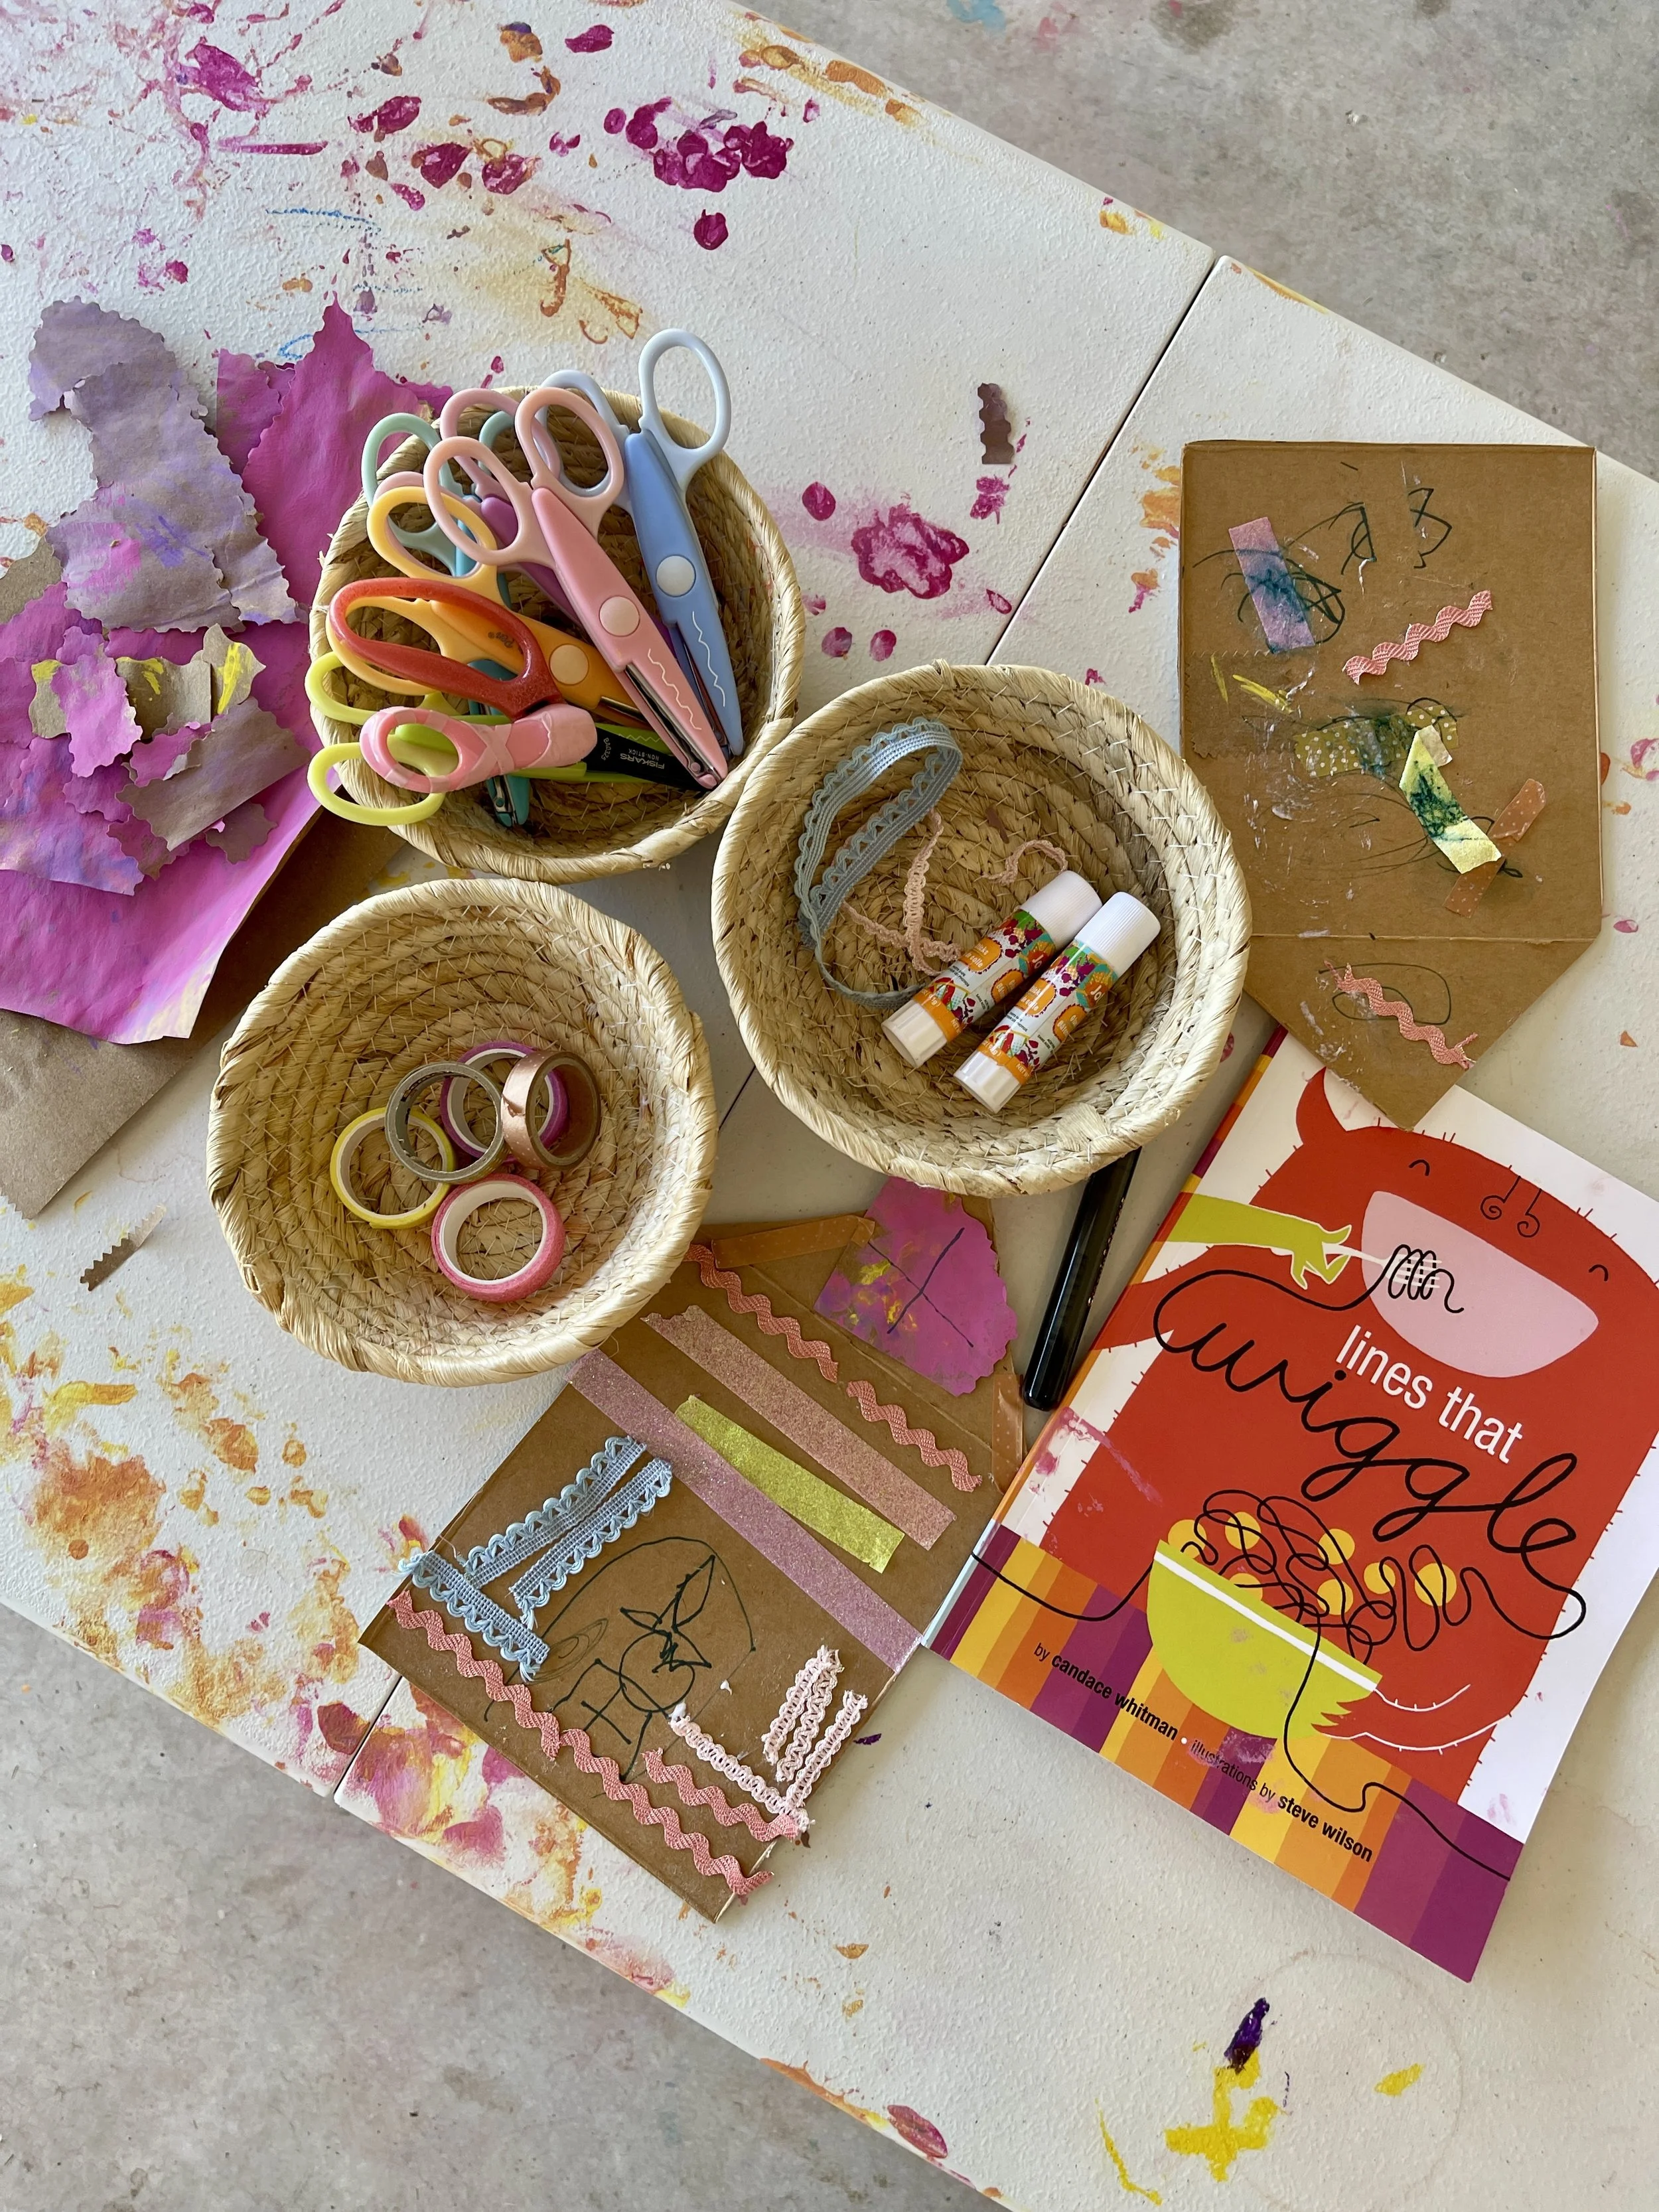
You'll need: cardboard cut into house shapes, glue sticks, fabric trim (ric rac, lace, ribbon), washi tape, markers, and decorative scissors.
Cut a simple house shape from a shipping box (a rectangle with a pointed roof is plenty) and let your child decide what goes on the walls. Ours ended up with wiggly ric rac, glitter tape, and a family drawn in marker right in the middle.
We paired this one with Lines That Wiggle by Candace Whitman. After reading, the trim became "wiggly lines" and "zigzag lines," and the collage turned into a way to explore line without any drawing pressure at all.
Tip: Decorative scissors with wavy or zigzag edges make any paper scrap look special. They're also a little more forgiving for new cutters, since a wobbly cut just looks like part of the pattern.
6. Crayon Collage
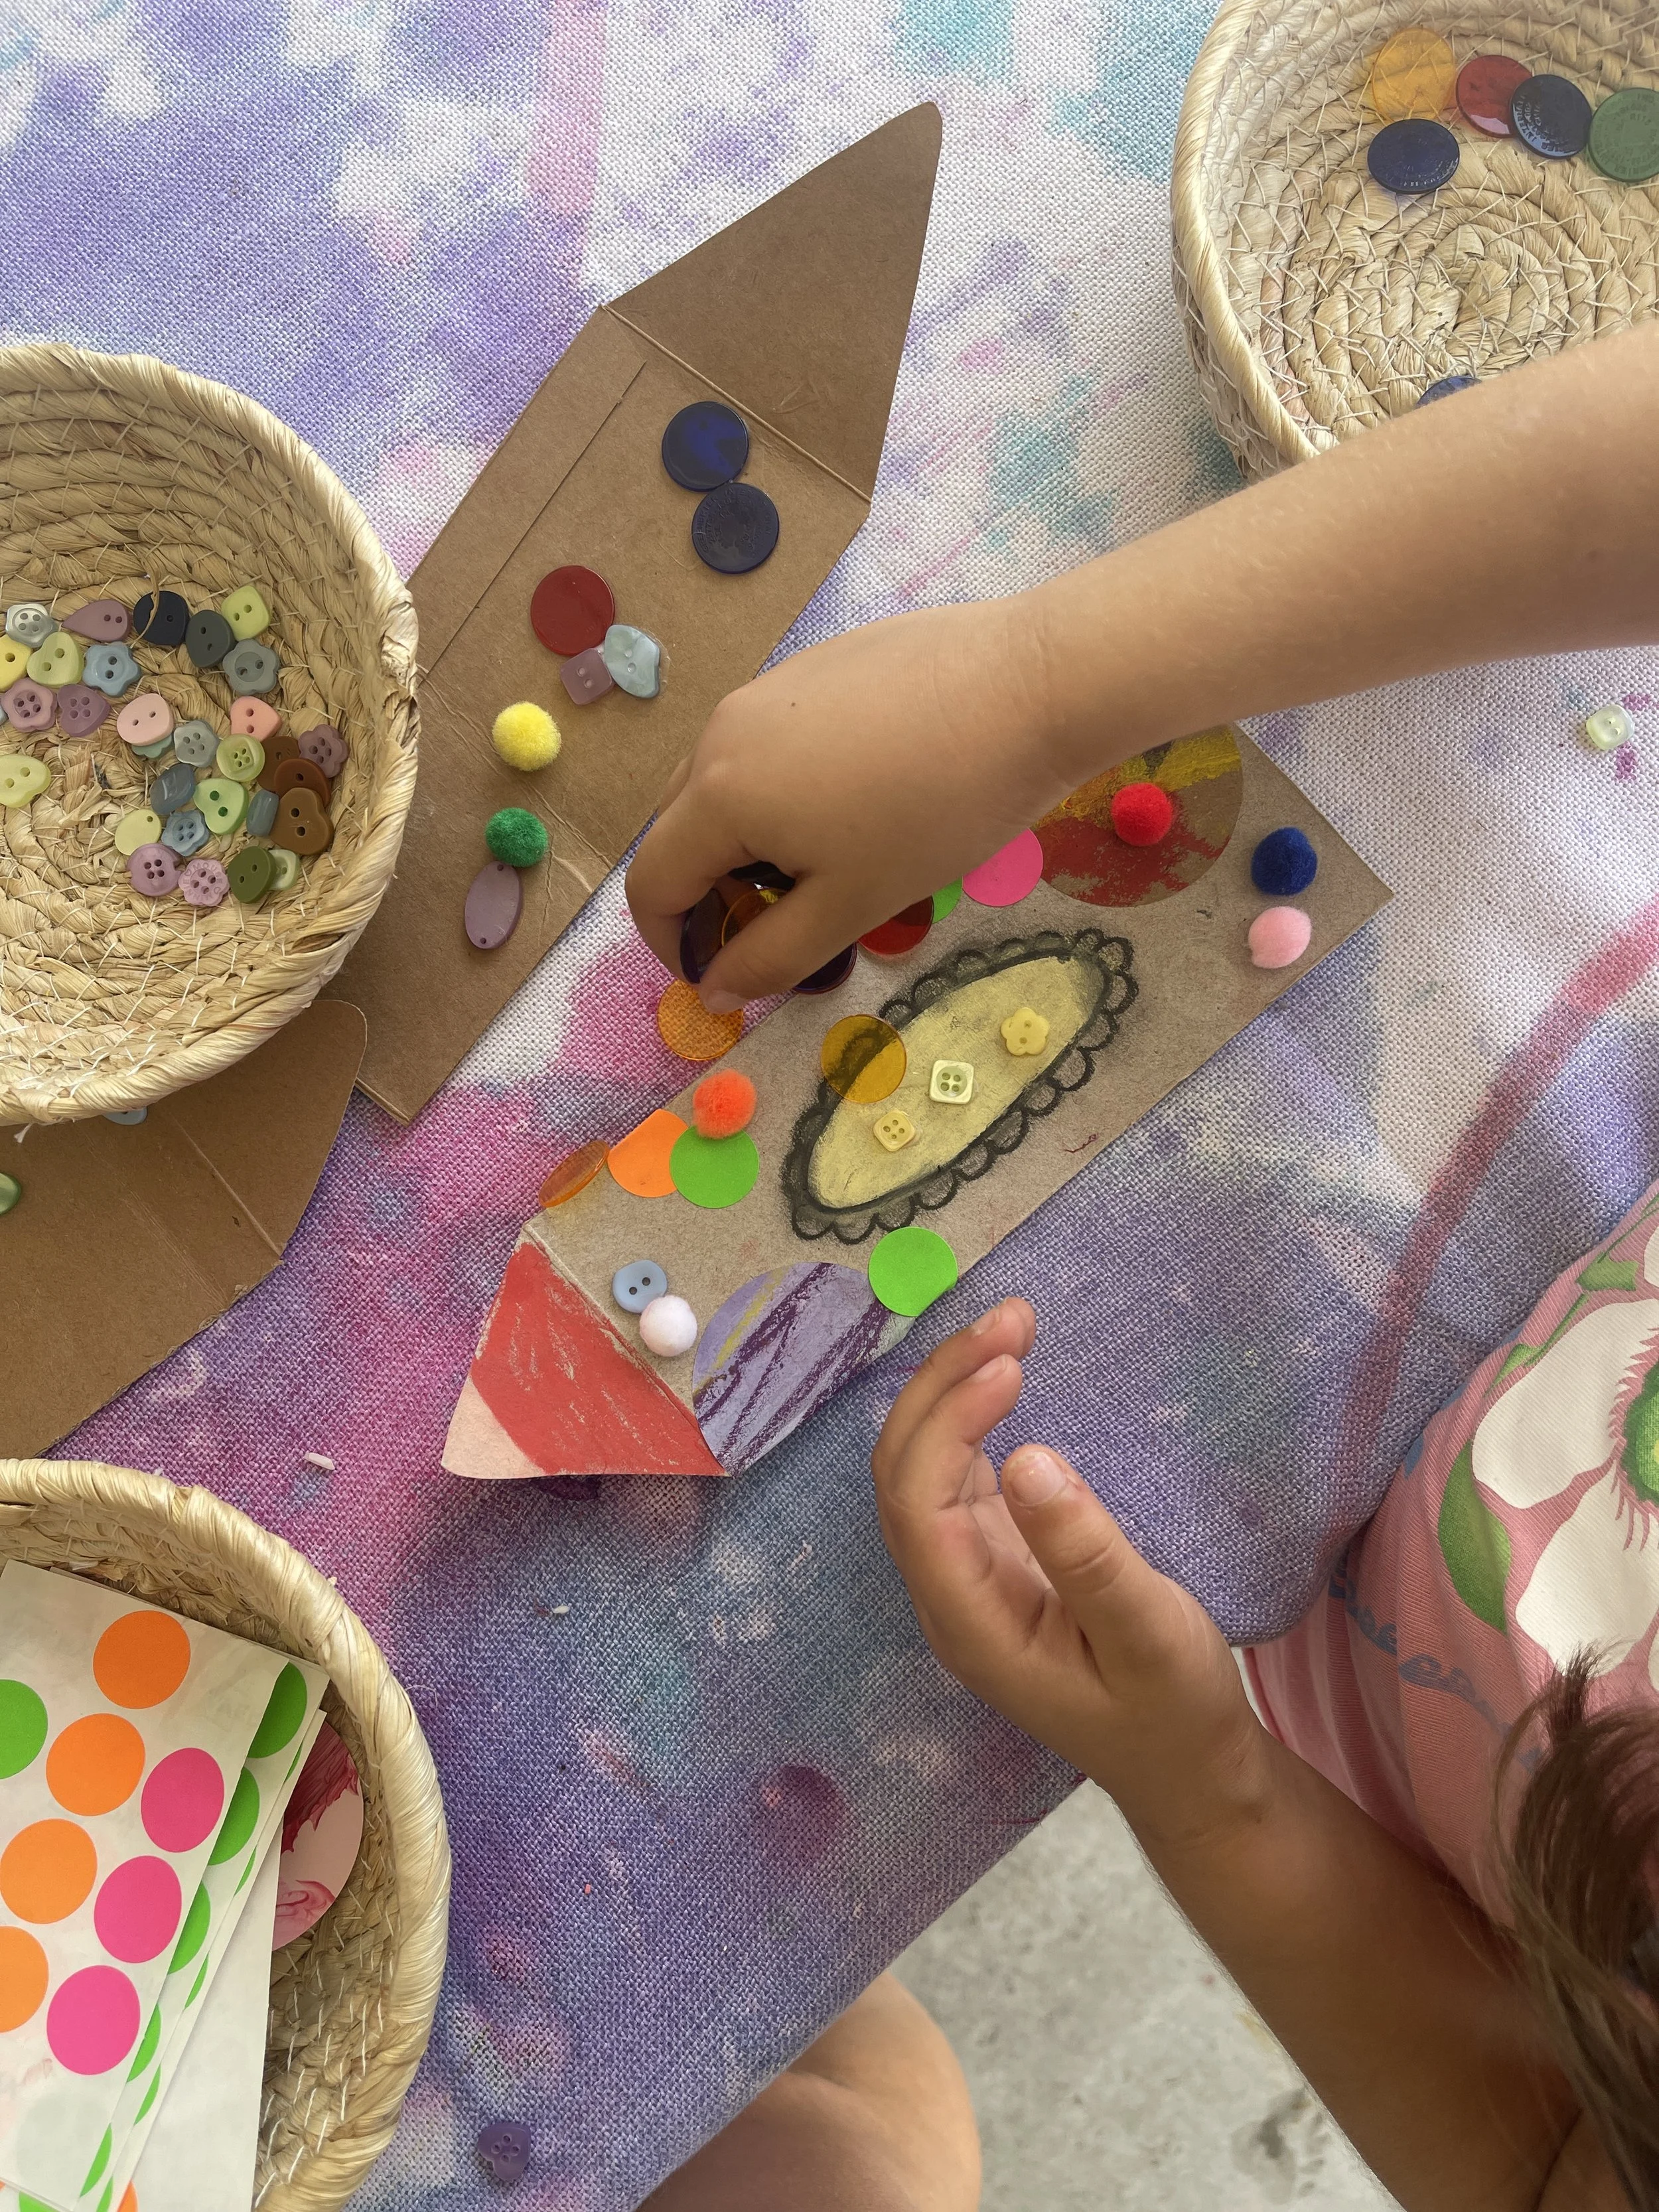
You'll need: colored pencils or crayons, buttons, pom poms, bingo chips, dot stickers, and cereal box cardboard cut into a crayon shape.
Cut a cereal box into a long crayon shape and set out a few small baskets of loose parts. Your child can color the cardboard, then arrange buttons, pom poms, and translucent bingo chips on top.
Here's what I love most: the loose parts don't have to be glued down. Your child can arrange, rearrange, and start over as many times as they want. For a child who gets upset when something "goes wrong," nothing being permanent takes all the pressure off. If they want to keep it, add dot stickers or a little glue at the end.
Tip: Use shallow baskets or bowls, one per material. It keeps pom poms from rolling everywhere and makes cleanup a sorting game.
7. Toilet Roll Art
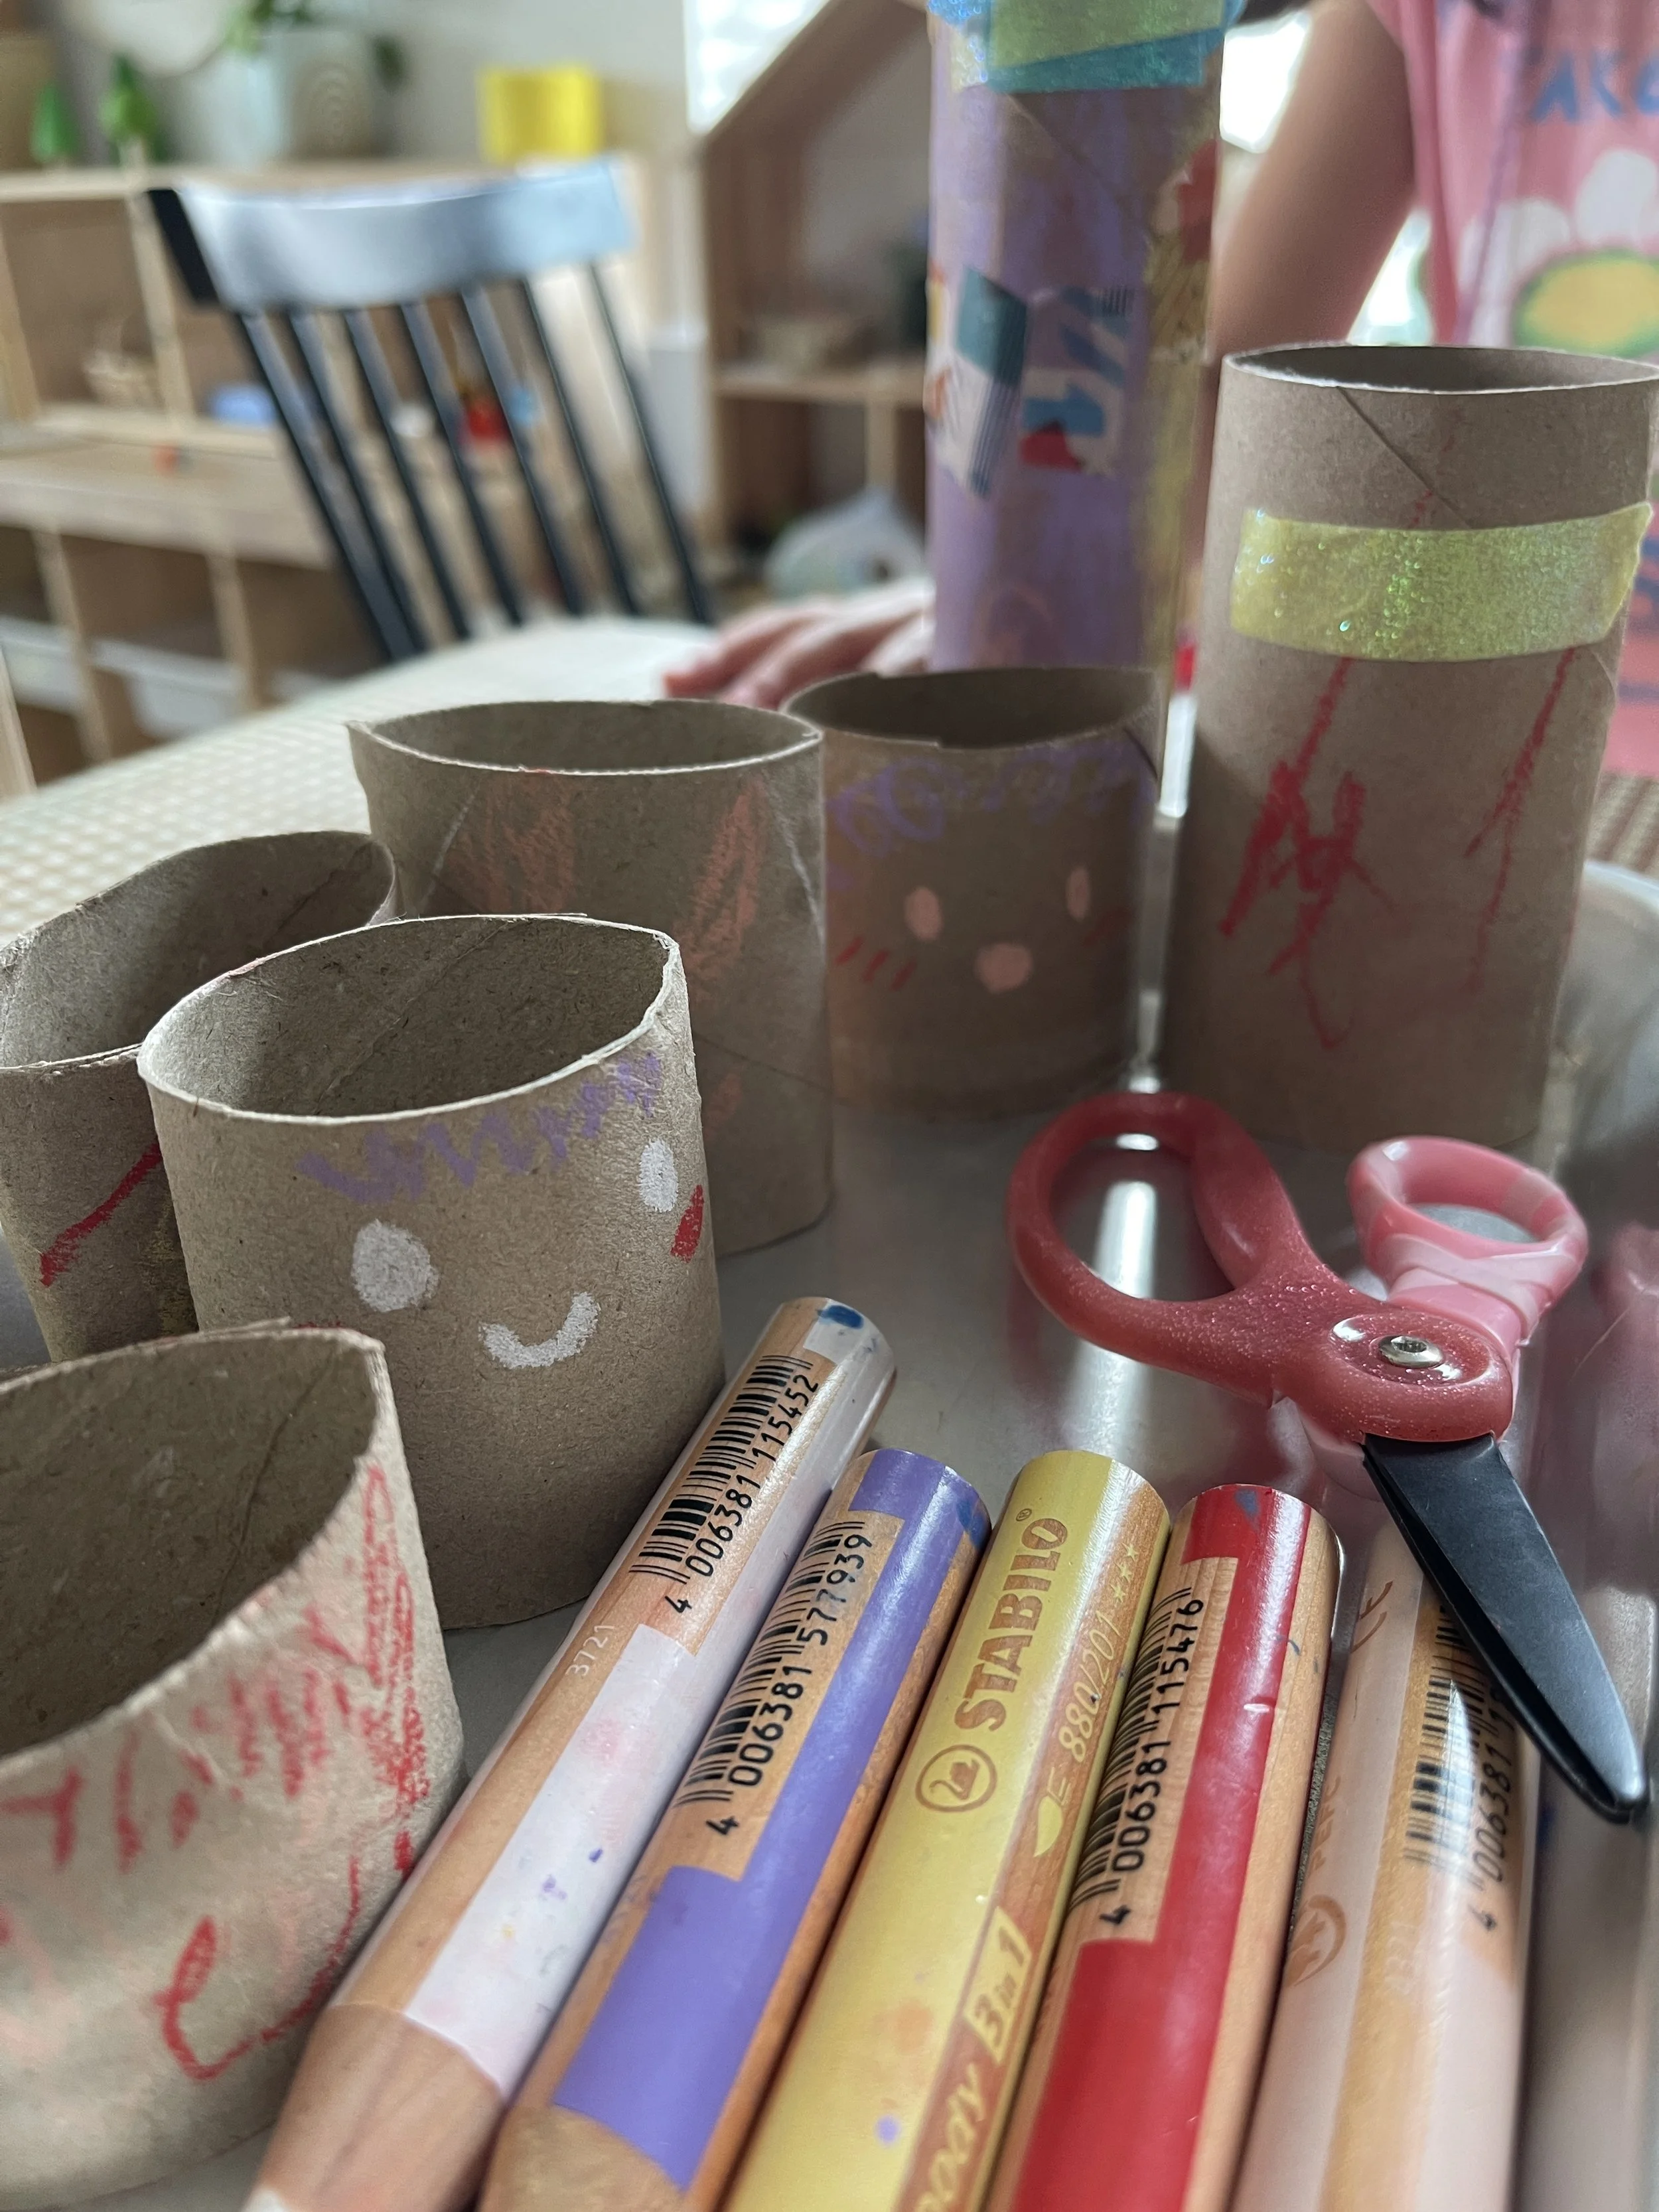
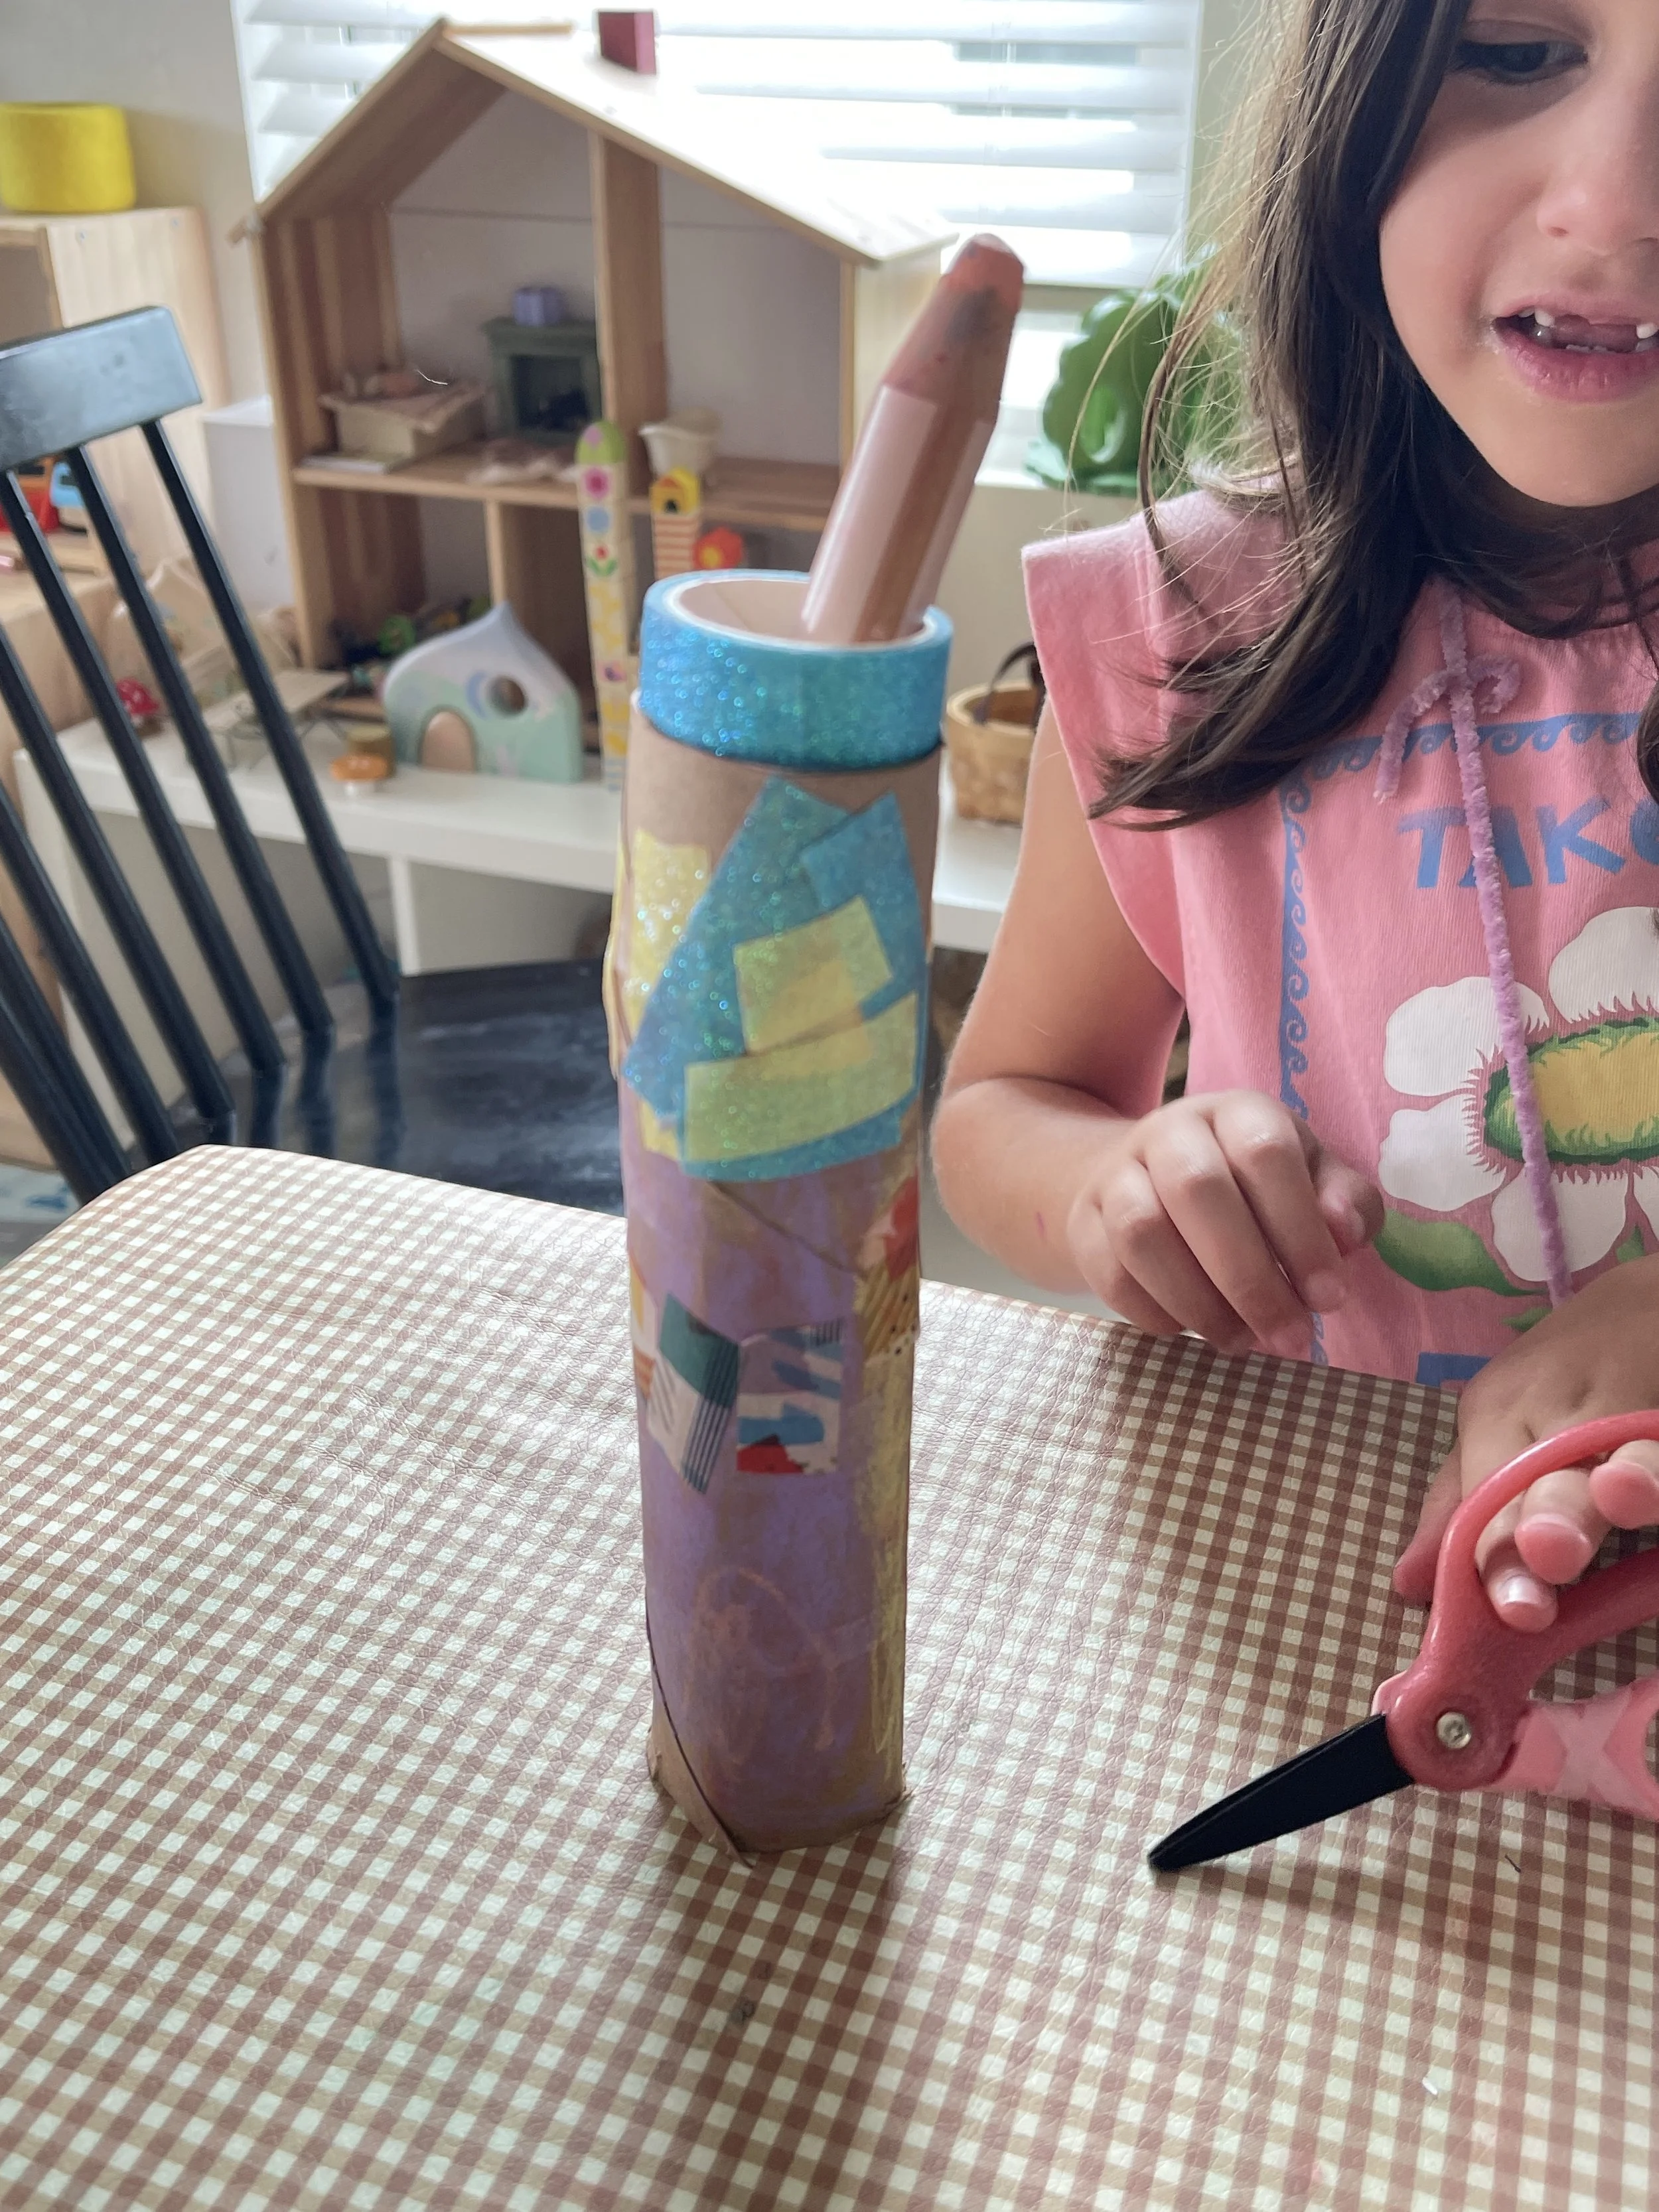
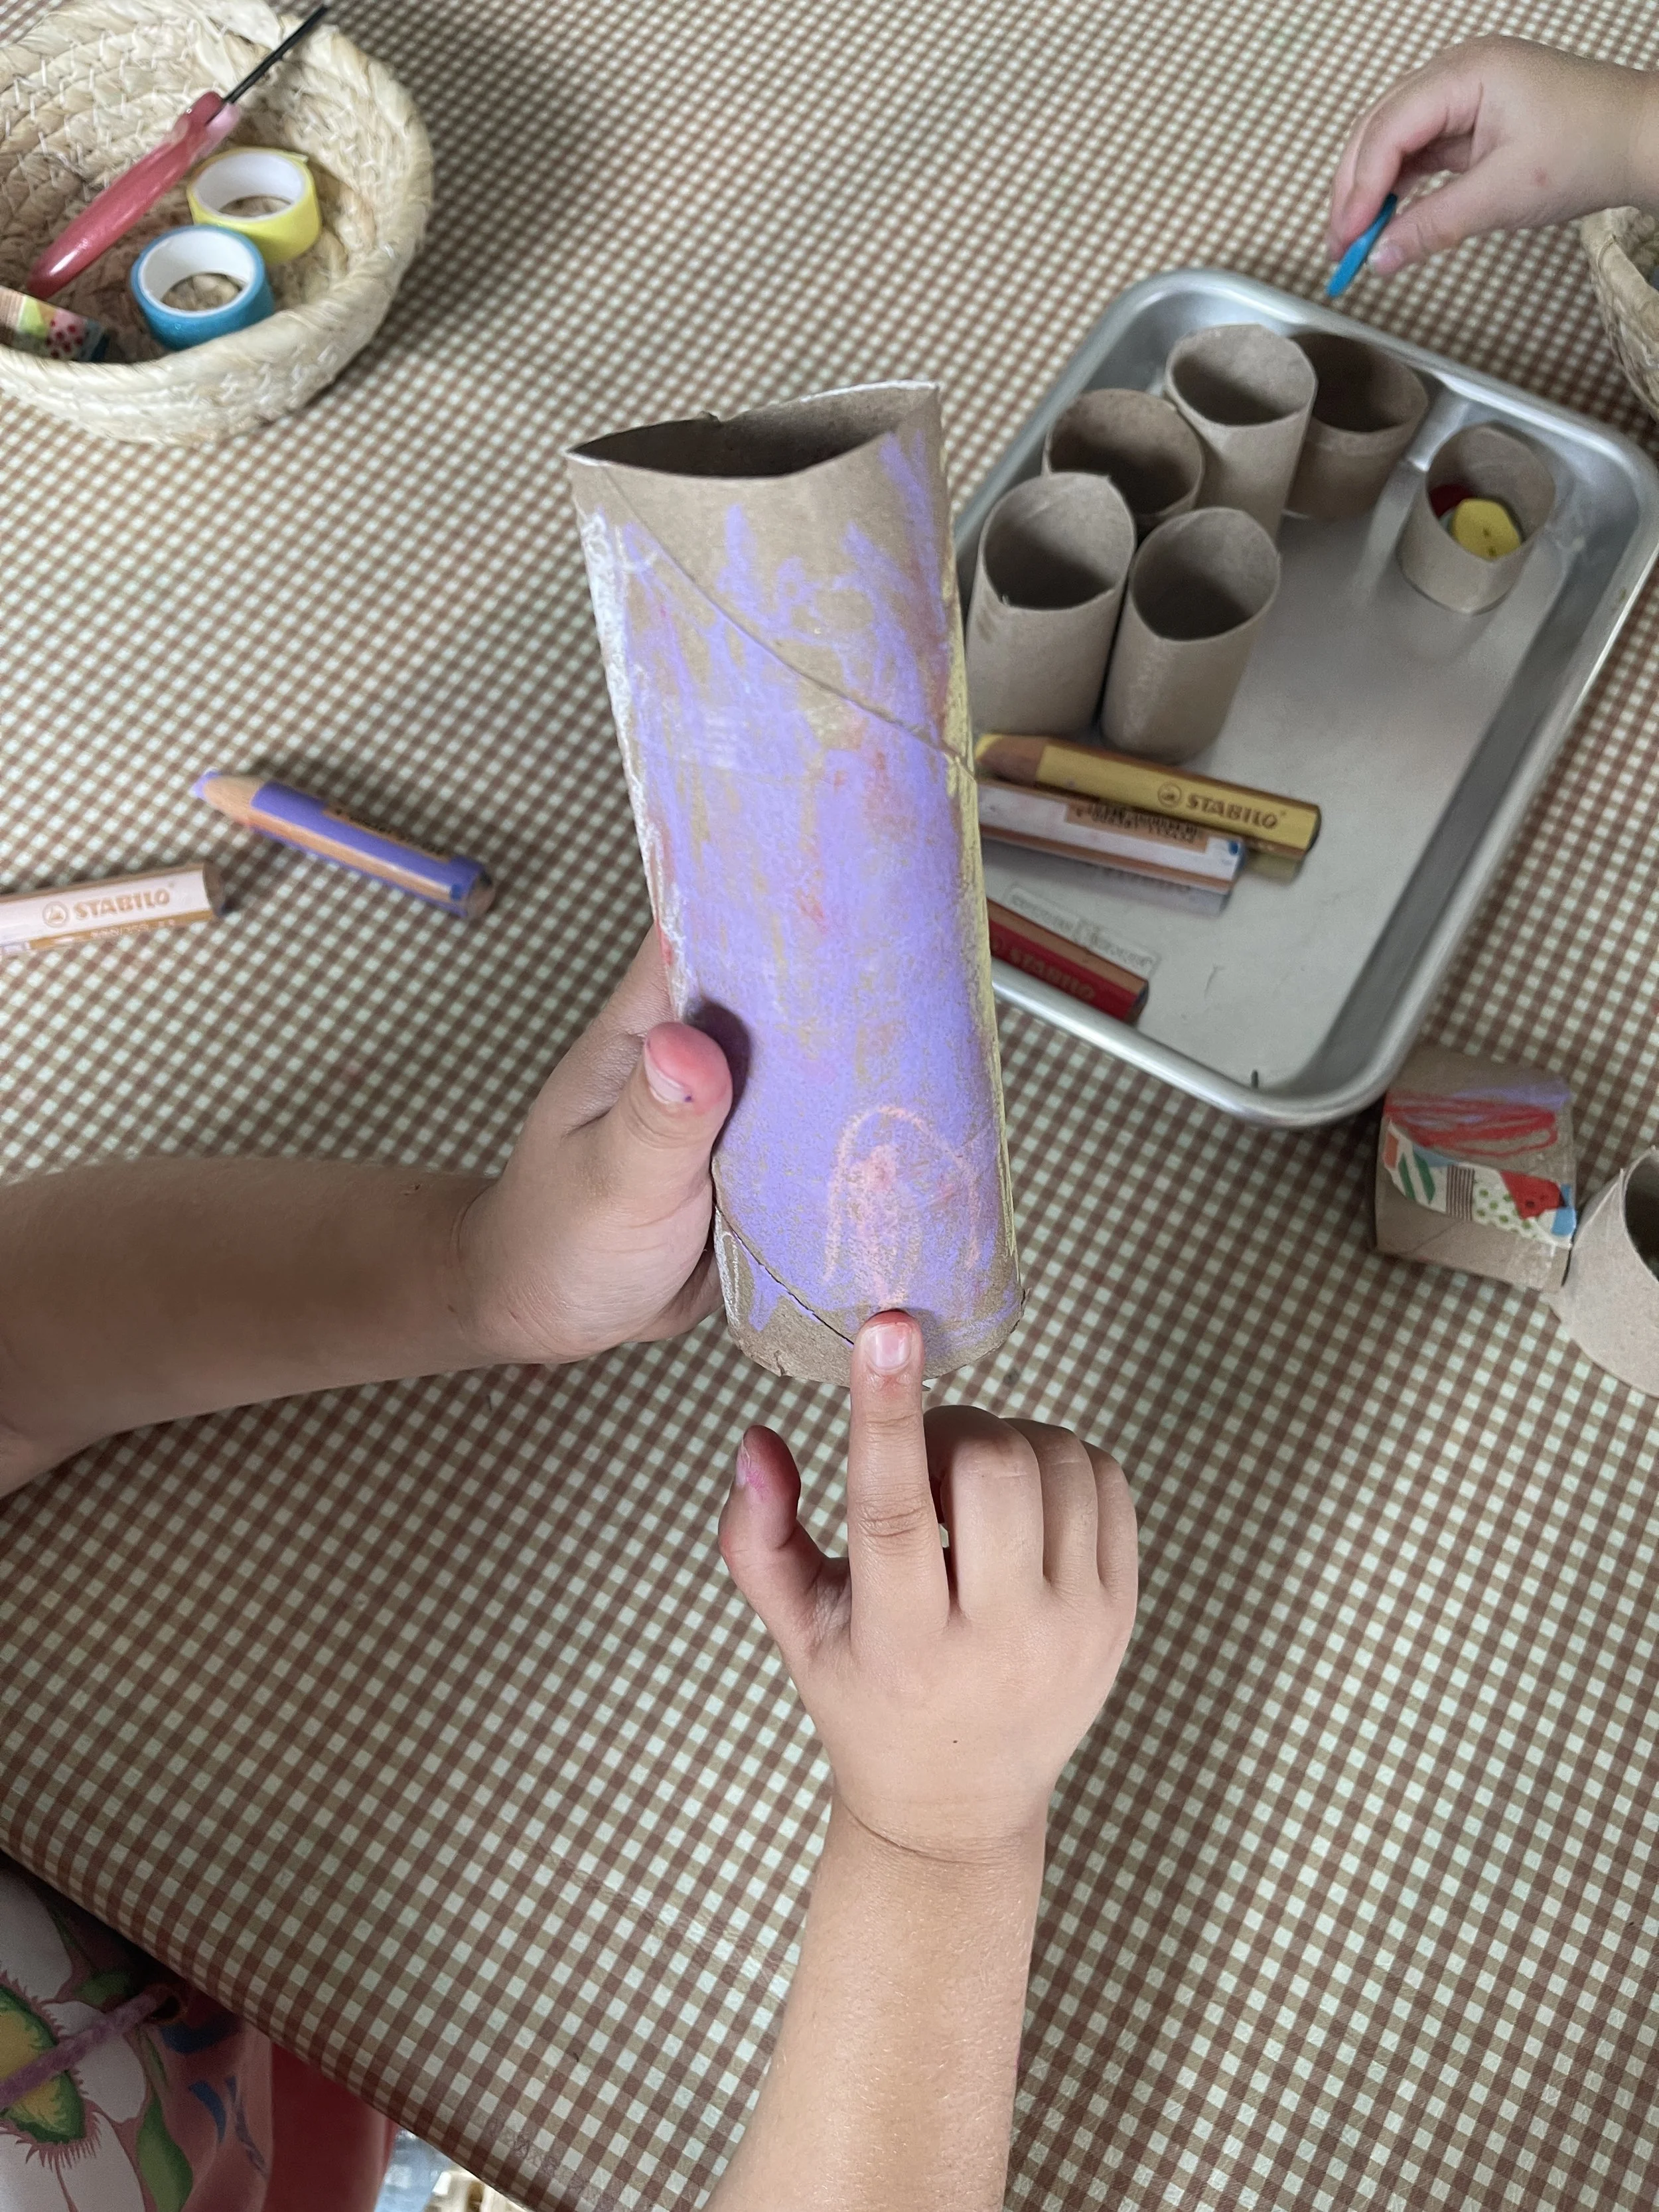
You'll need: toilet rolls, colored pencils, washi tape, and scissors.
Toilet rolls are one of the most underrated art materials in your house, and they're free. Children can draw faces on them, wrap them in washi tape, or cut them into shorter rings. Ours turned into a whole little family of characters, which led straight into pretend play once the art part was done.
Cutting a toilet roll is also great scissor practice. The cardboard is stiffer than paper, so children have to slow down and really work those snips.
Tip: Chunky colored pencils that also work like watercolor crayons show up beautifully on brown cardboard. We use them dry for this one, so there's no water involved.
8. Color Wheel Hunt
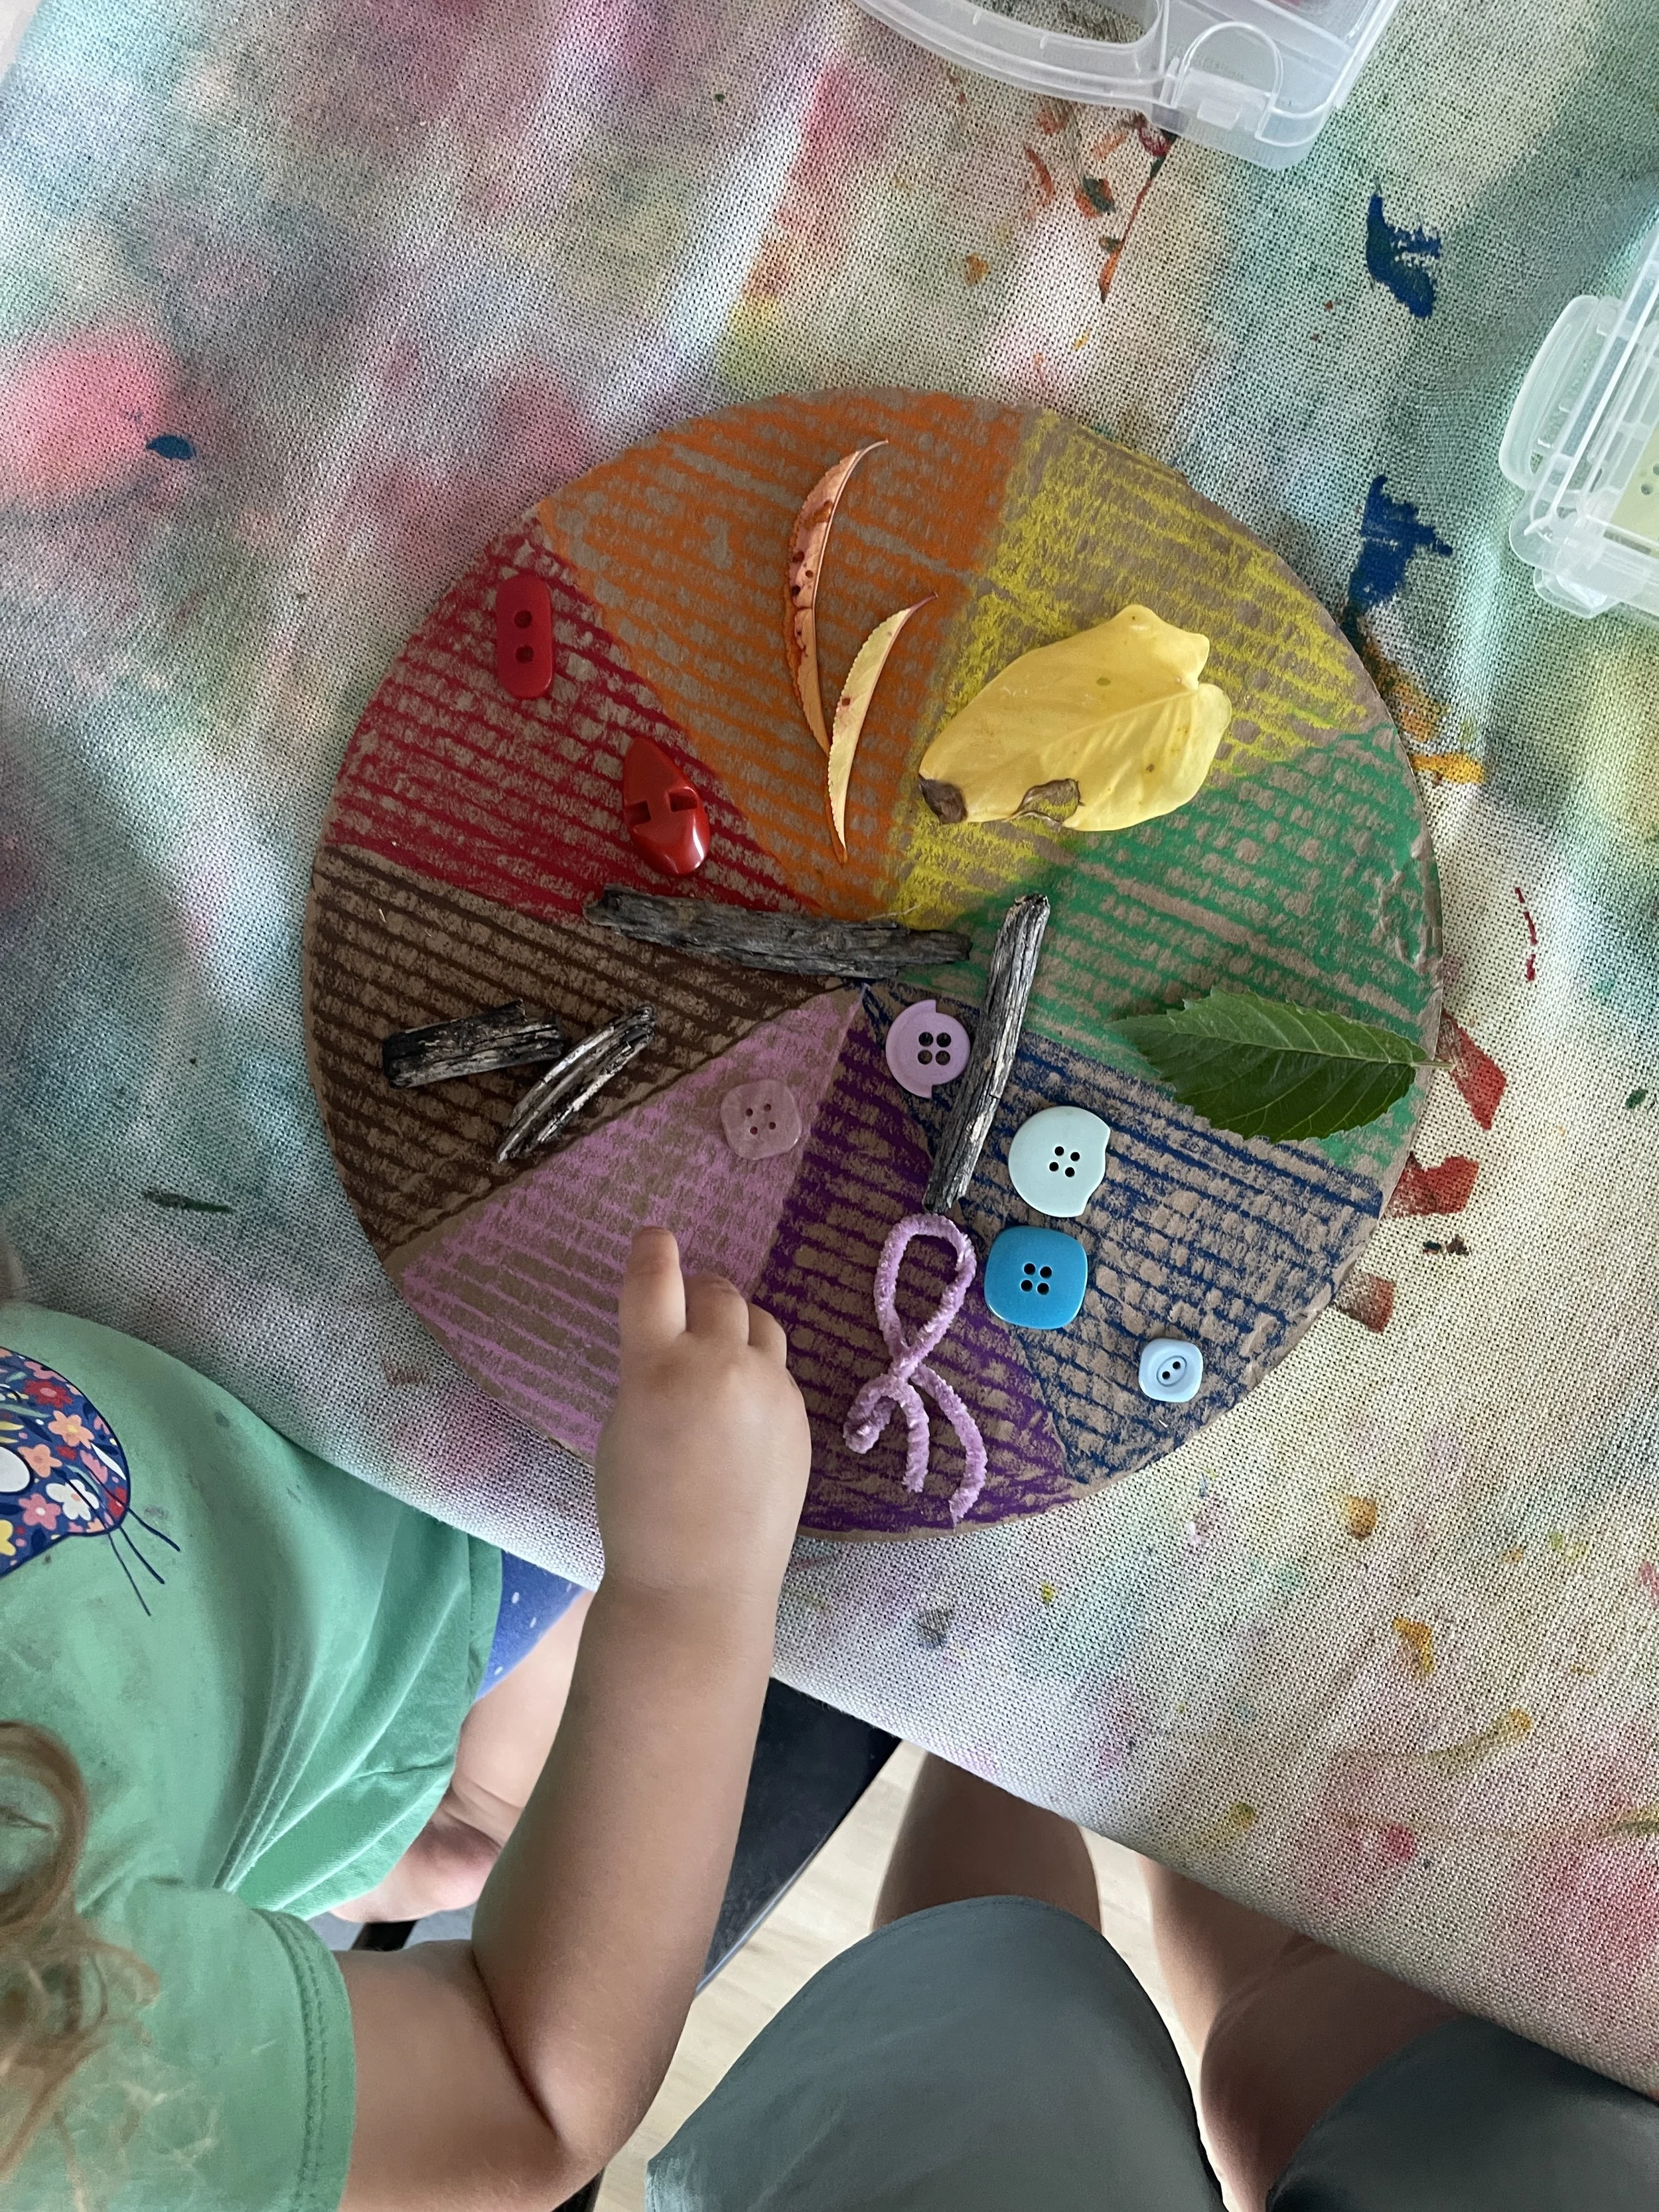
You'll need: a round piece of cardboard, oil pastels, nature bits in every color, yarn, and large buttons.
Divide a cardboard circle into sections and color each one with oil pastels: red, orange, yellow, green, blue, purple, pink, and brown. Then send your child on a hunt around the house or yard to find something that matches each color. Think leaves, sticks, a button, or a bit of yarn.
Children get up, search, bring things back, and compare colors. It's a lovely option for a child who has trouble sitting still for art, and nothing gets glued, so the wheel resets for the next hunt.
Tip: Oil pastels on cardboard pick up the texture underneath and give you a nice rich color. Color the wheel together first, or prep it ahead so your child can go straight to hunting.
9. Tinker Tray Art Station
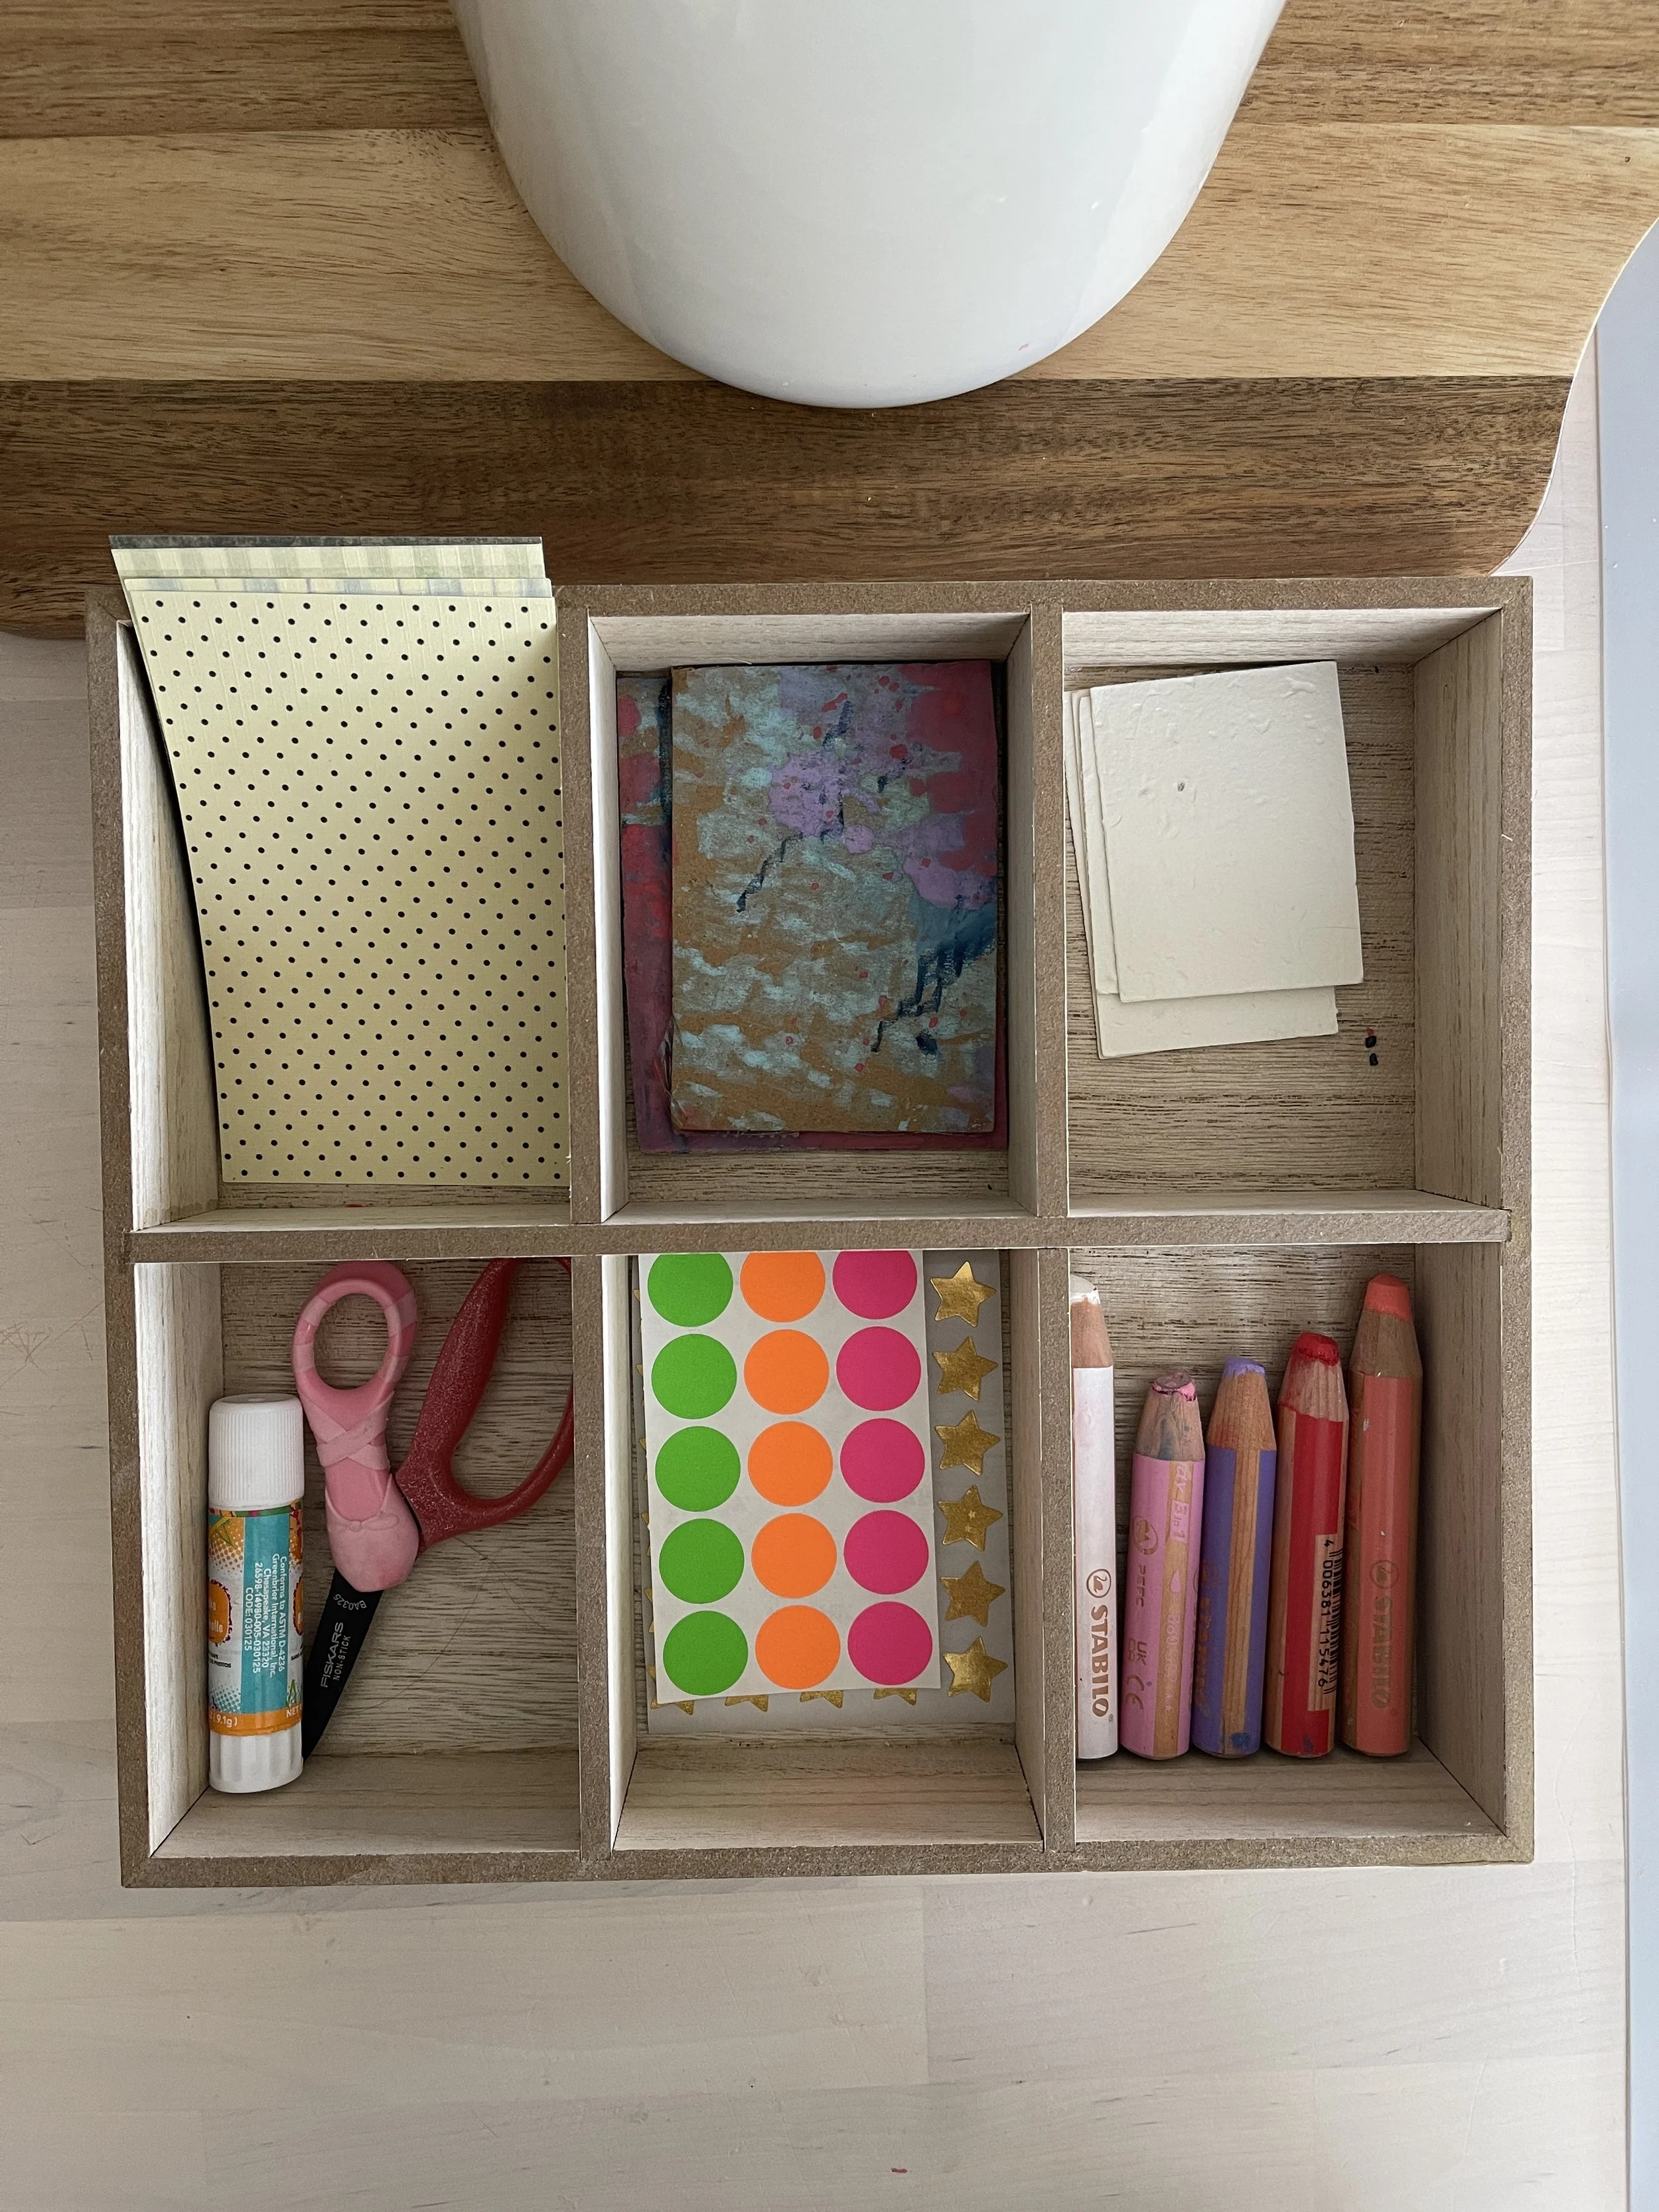
You'll need: a compartment tray, notecards, paper scraps, paper ephemera, scissors, a glue stick, dot stickers, and colored pencils or crayons.
A tinker tray is a small, complete art station in one box. Each compartment holds one material, and any paper can be the canvas. A small card feels finishable, so children who get overwhelmed by a big blank page often make three or four little collages in one sitting.
Because everything has its own spot, cleanup is just putting things back where they came from. That's also what makes it something your child can pull out on their own. If you want to expand this into a full art cart setup, I walk through exactly how in my Mess-Free Art Cart post.
Tip: Keep only a few of each material in the tray and refill as needed. Fewer choices means more focus and much less to clean up.
10. Dustless Chalk Art
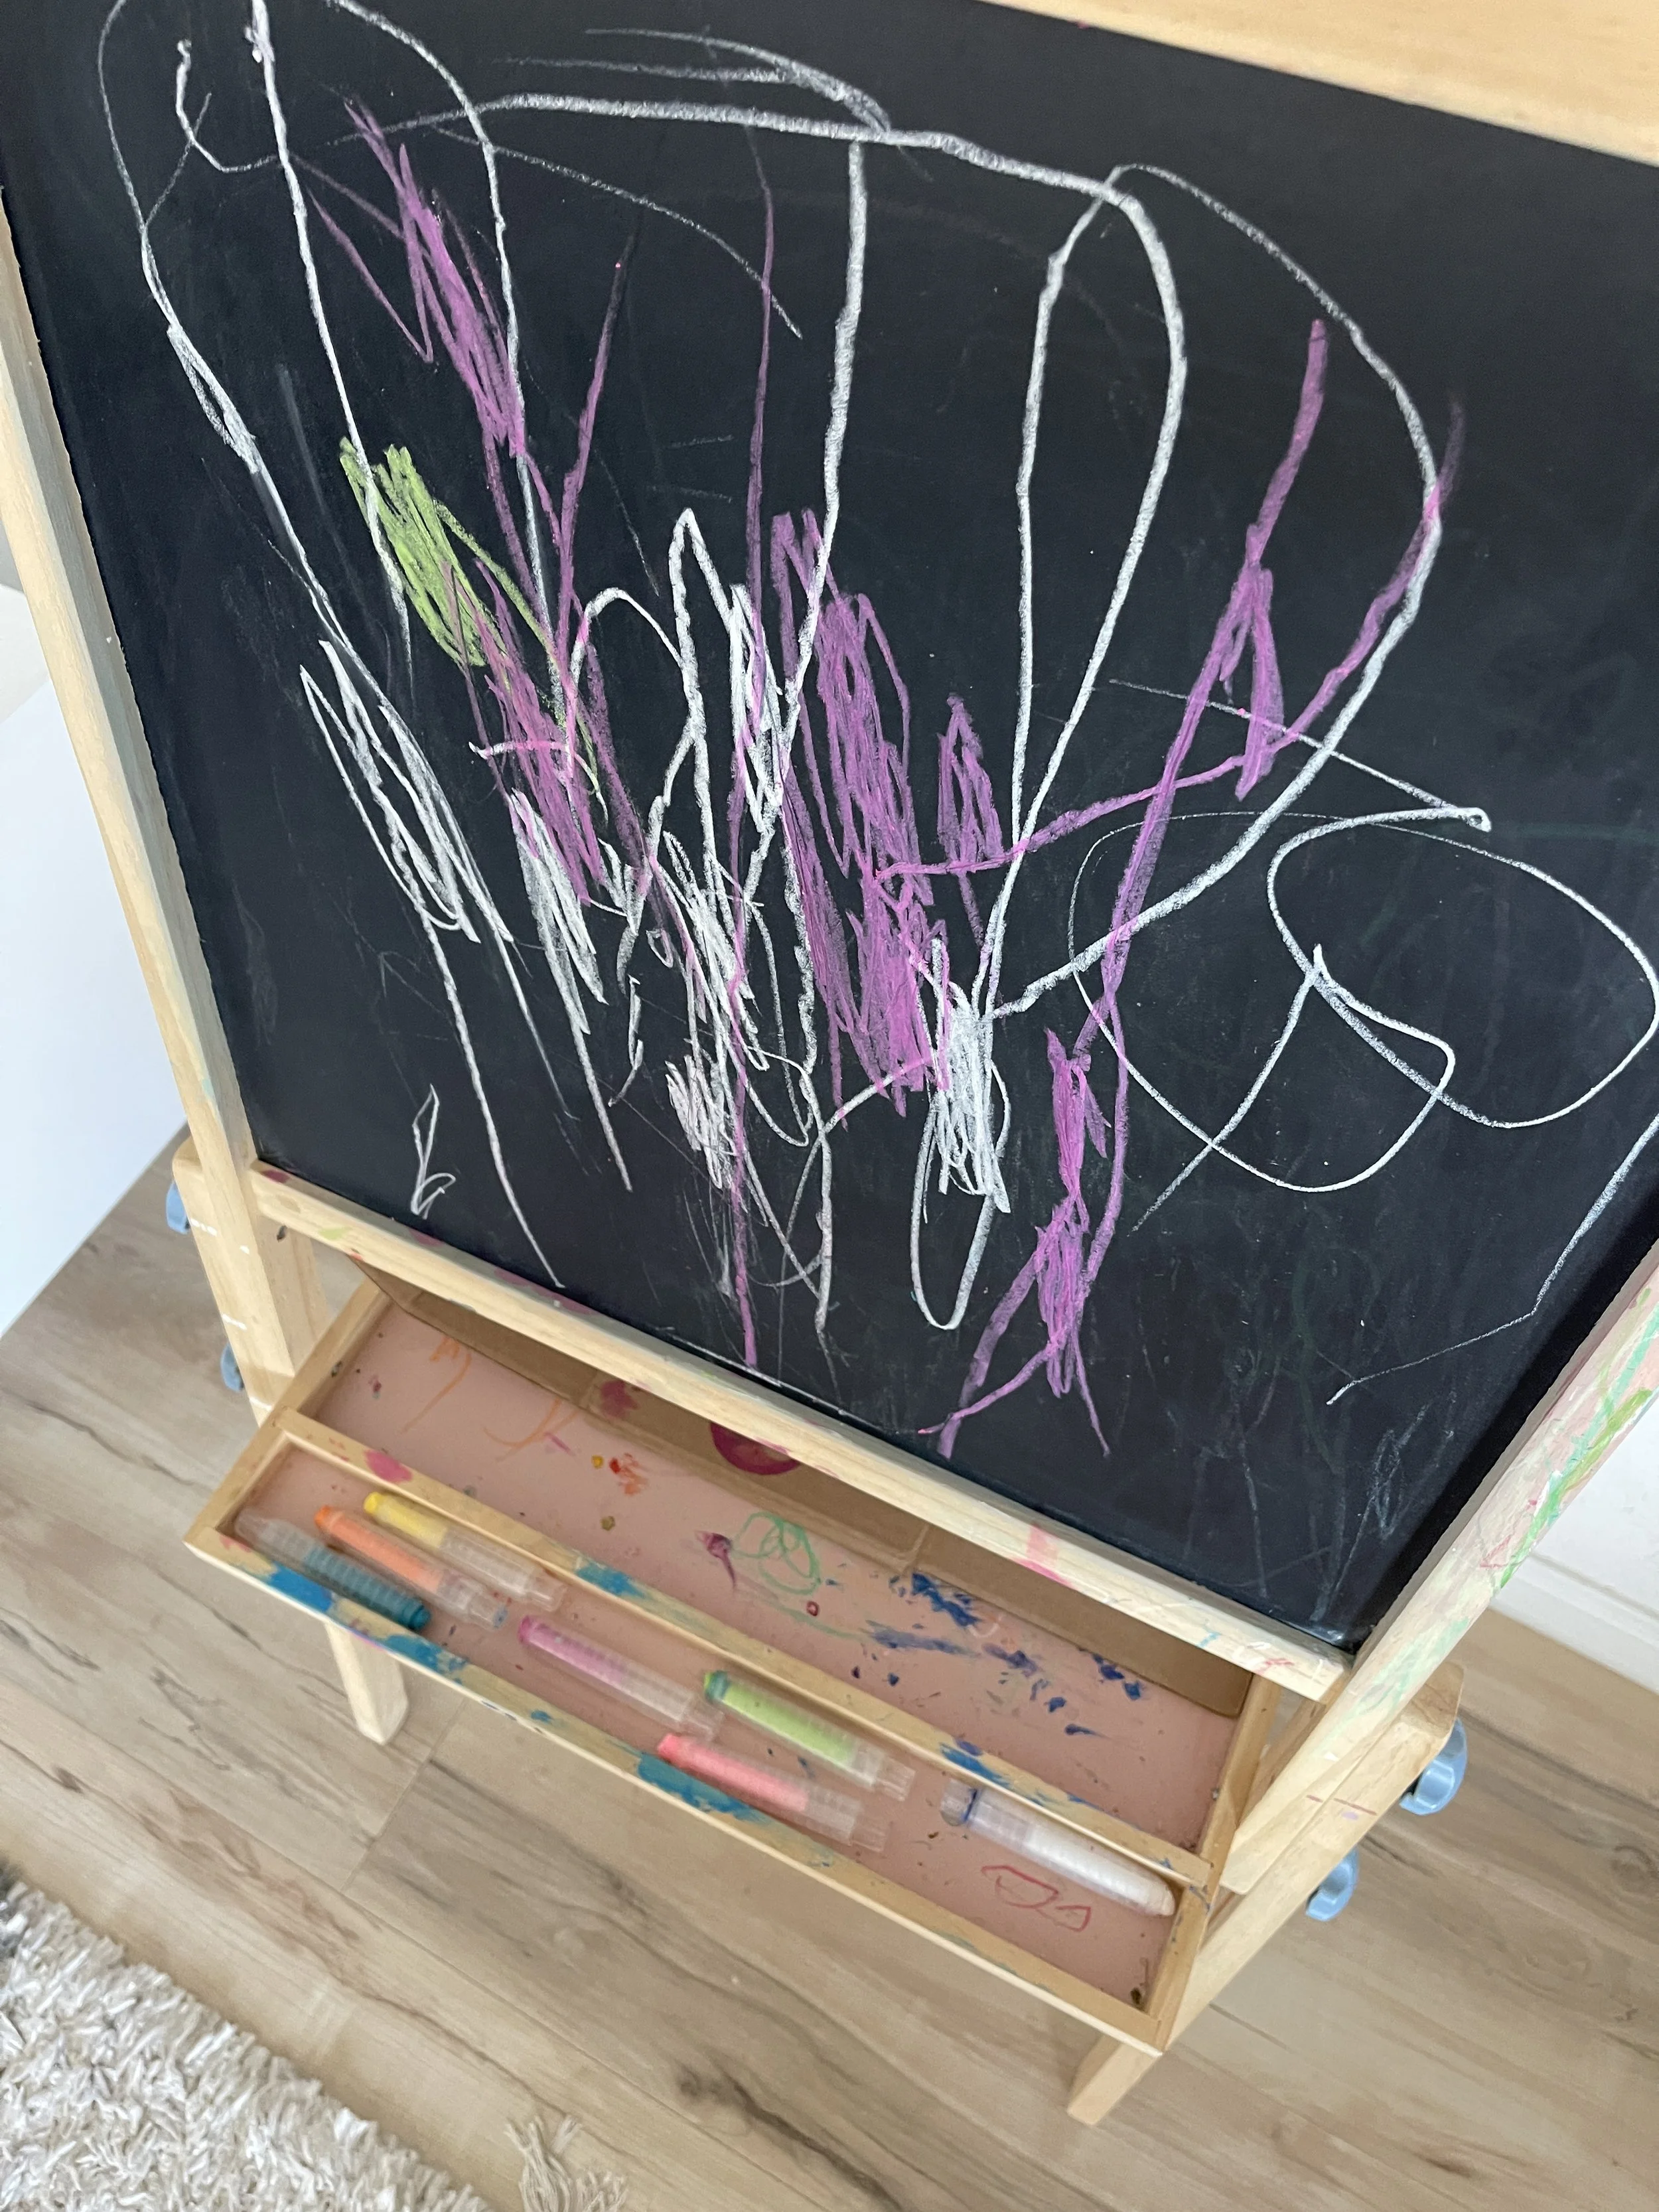
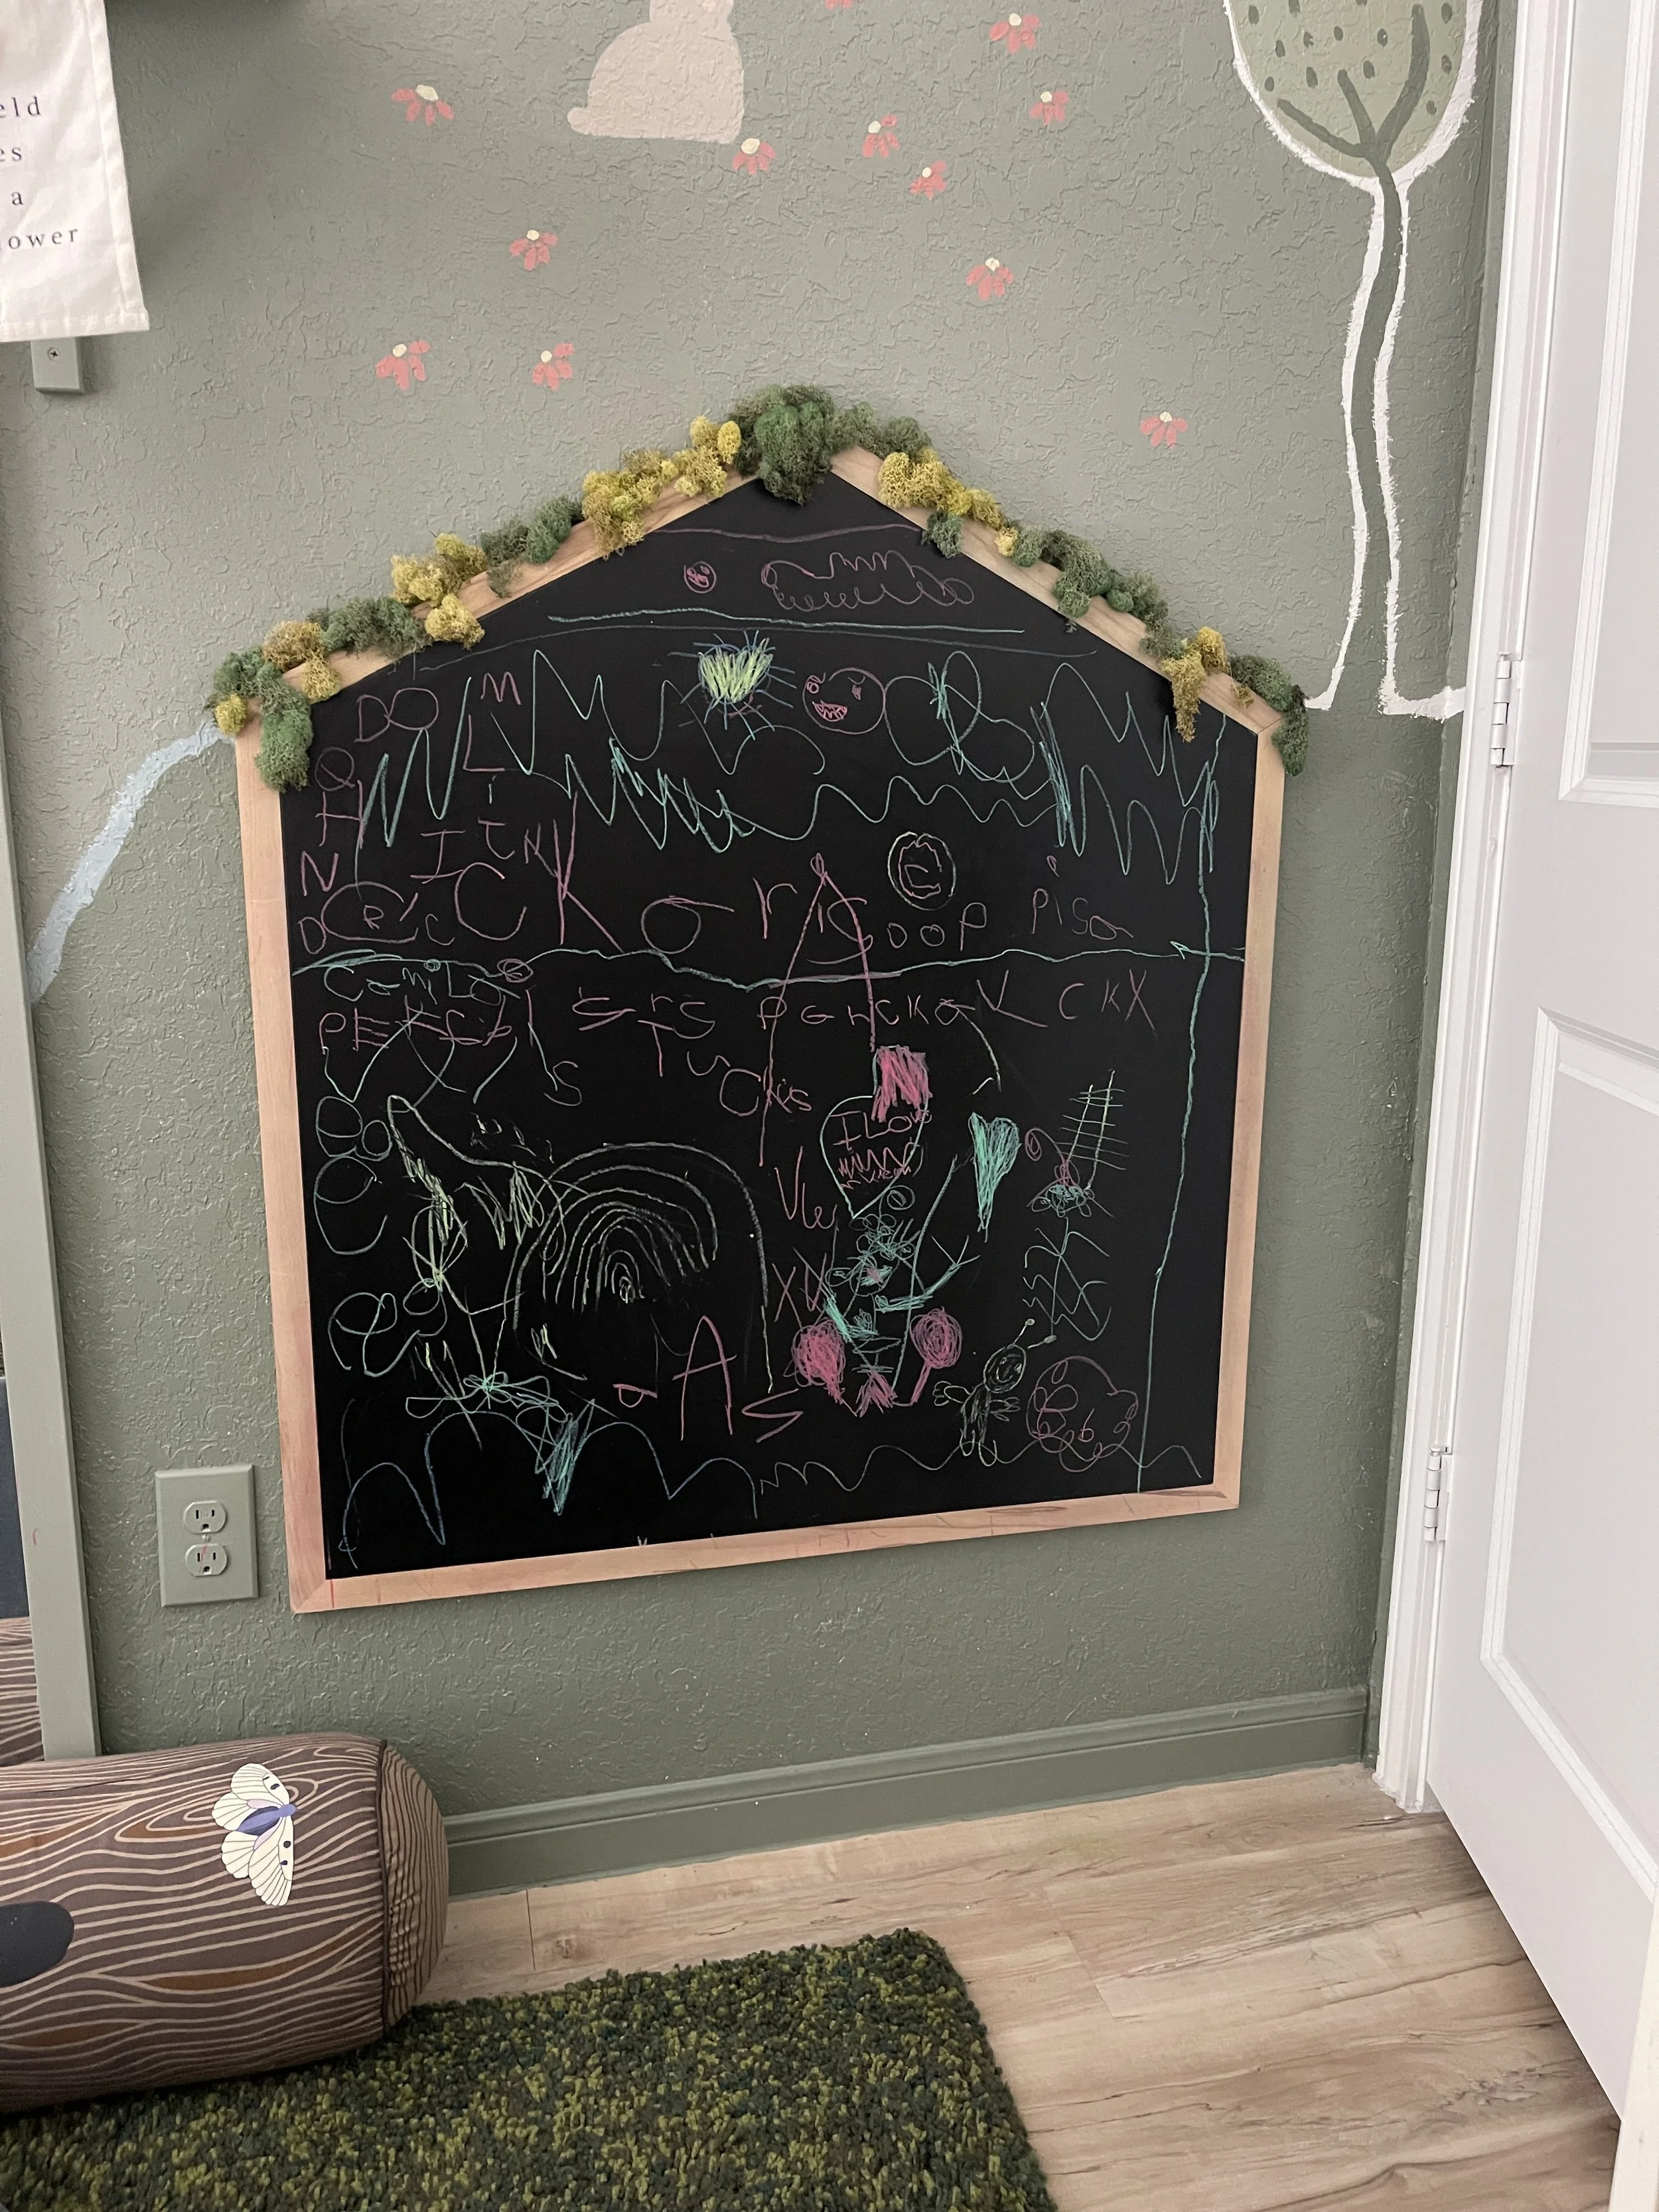
You'll need: a chalkboard or easel and dustless chalk (the kind in twist-up holders).
Regular chalk leaves a powdery film on little hands, which is exactly the feeling some children avoid. Chalk in holders keeps their fingers clean, and the dustless kind means you're not wiping powder off the floor afterward.
Drawing at an upright easel also lets children use big arm movements from the shoulder. That builds the strength and control they'll need for smaller drawing later. And when they're done, it all wipes away, so they can start fresh as many times as they like.
Tip: Keep the chalk in the easel tray at your child's height so they can come and go on their own throughout the day.
Where to Go From Here
If you look back through this list, you'll notice something. Most of these invitations are built on loose parts: buttons, pom poms, bingo chips, gems, nature finds, and paper scraps. That's not an accident. Loose parts are some of the best materials for children who don't like getting messy, because they're dry, easy to hold, and endlessly rearrangeable. There's no wrong way to use them.
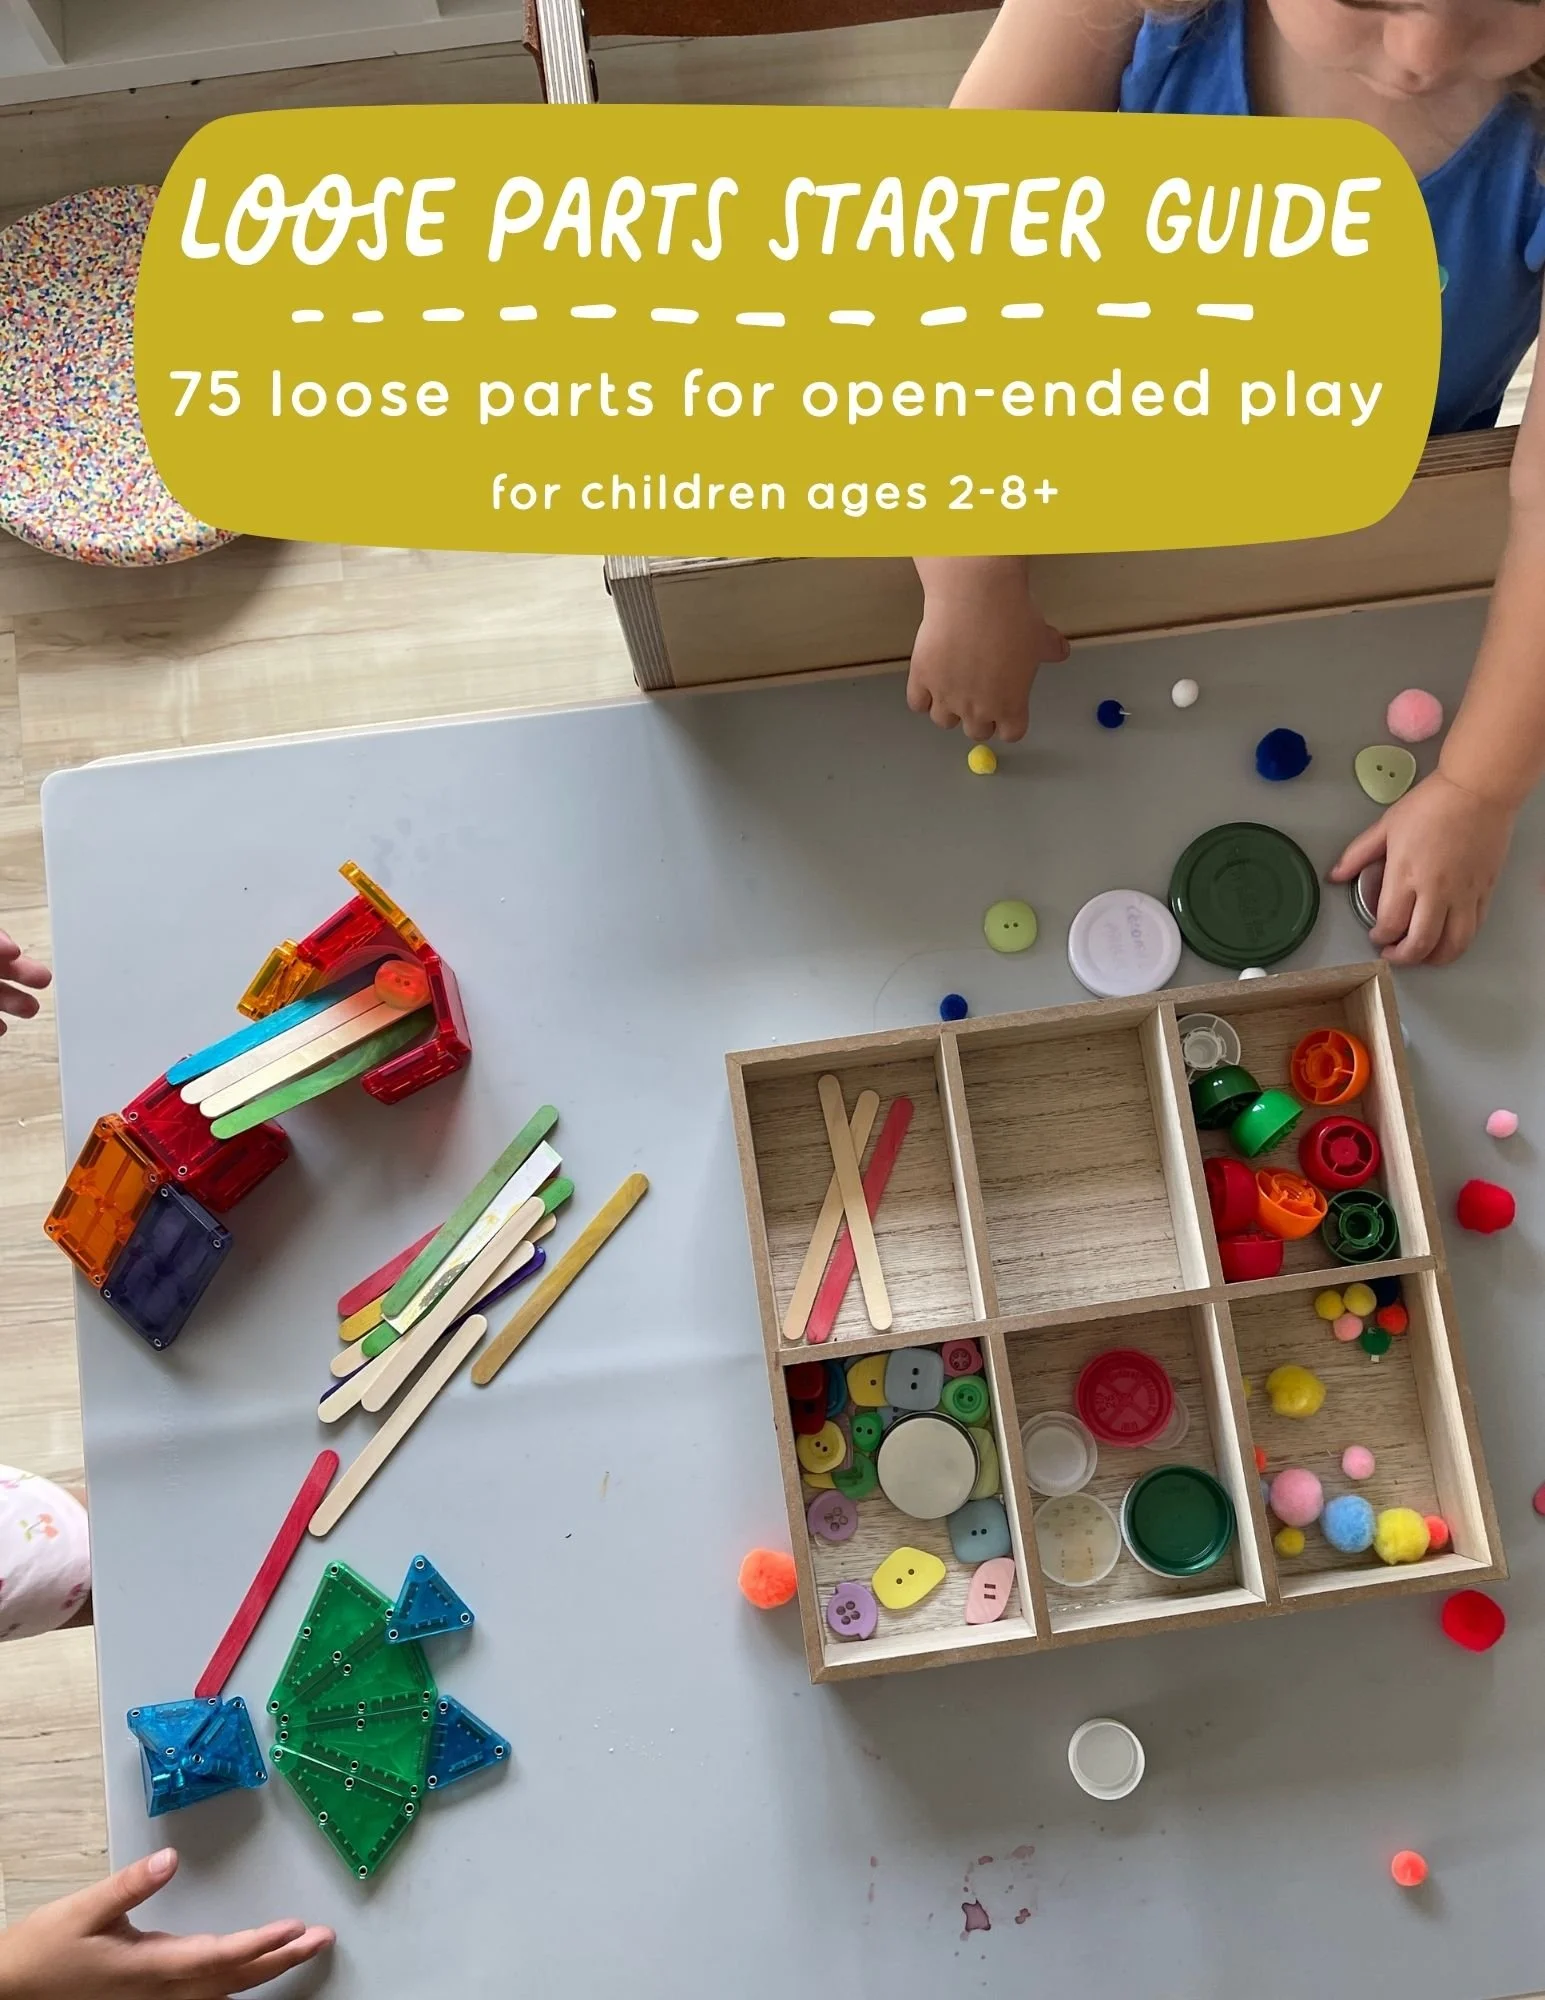
If your child lit up at the crayon collage or the color wheel hunt, loose parts are a natural next step. My free Loose Parts Starter Guide walks you through which materials to gather (most of them are already in your house), how to set them out, and simple ways to invite your child to play. It's the same approach we use at our table every week, broken down so you're not starting from scratch.
Grab it below, and I'd love to hear which of these your little one tries first.