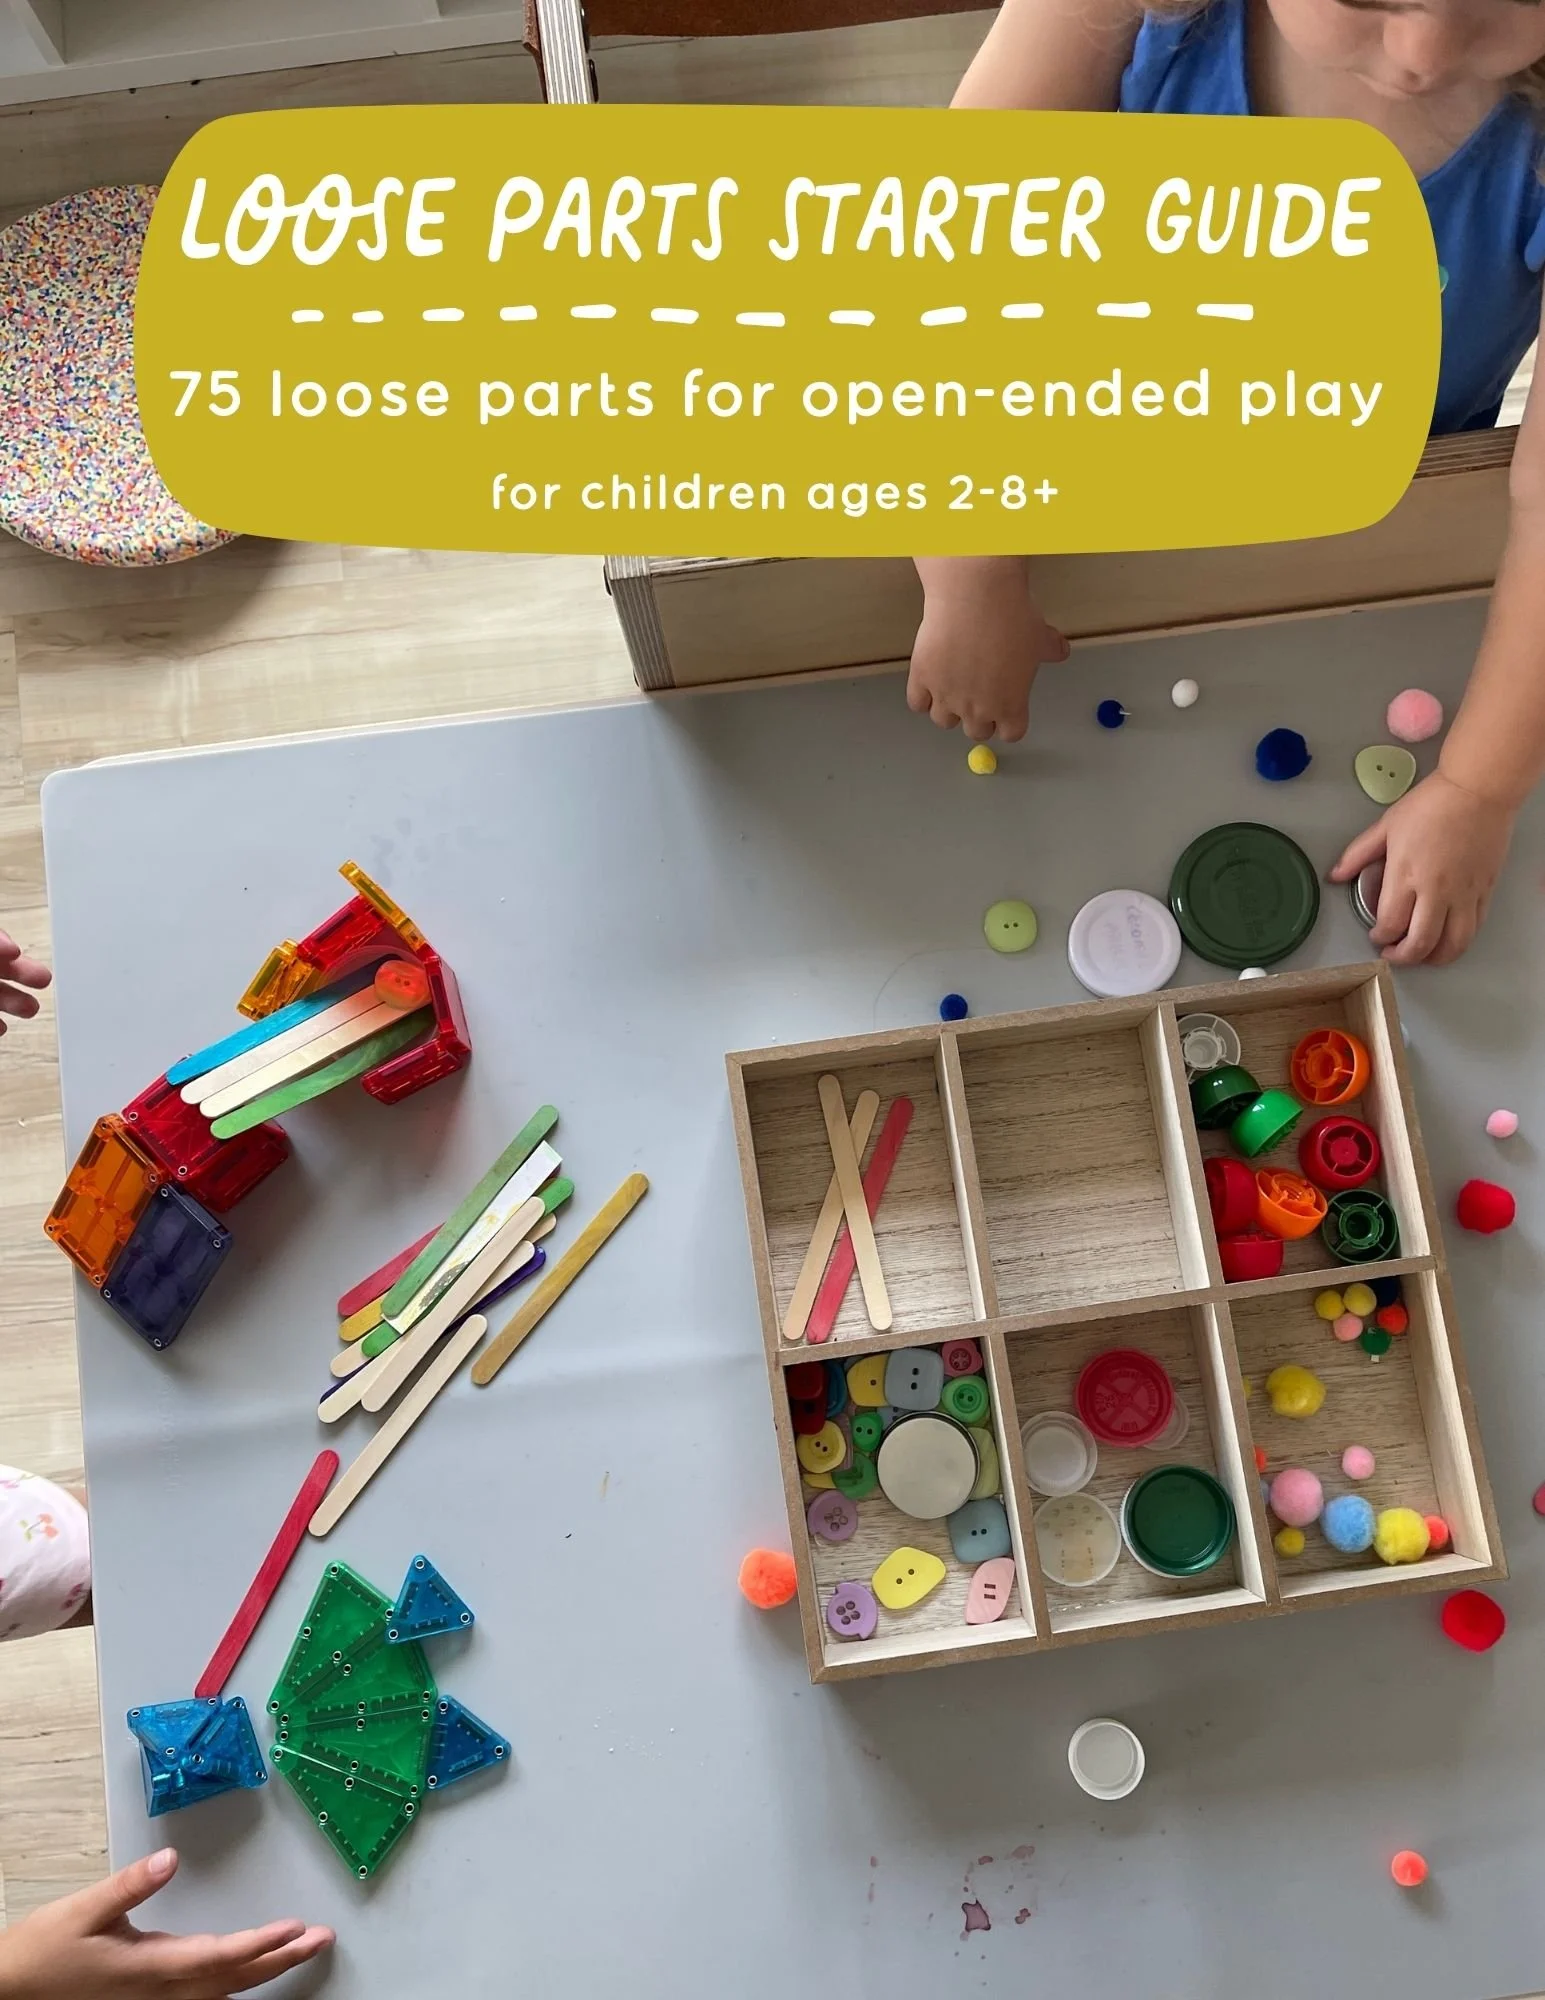
10 Process Art Activities Using Everyday Loose Parts
Process art is my favorite kind of art to set out for children, because there's no "right" way to do it — no picture to copy, no finished product to compare against. It's all about the doing: the gluing, the mixing, the layering, the discovering what a material can do. And the best part? You don't need a fully stocked craft closet to make it happen. A basket of buttons, markers, some cardboard scraps, a handful of leaves from the yard — that's often all it takes.
Below are 10 of our go-to process art invitations, all built around simple, everyday loose parts you likely already have on hand.
Want the best way to start with loose parts? Grab my free Loose Parts Starter Guide — it'll walk you through exactly what to gather and how to set it up for your child.
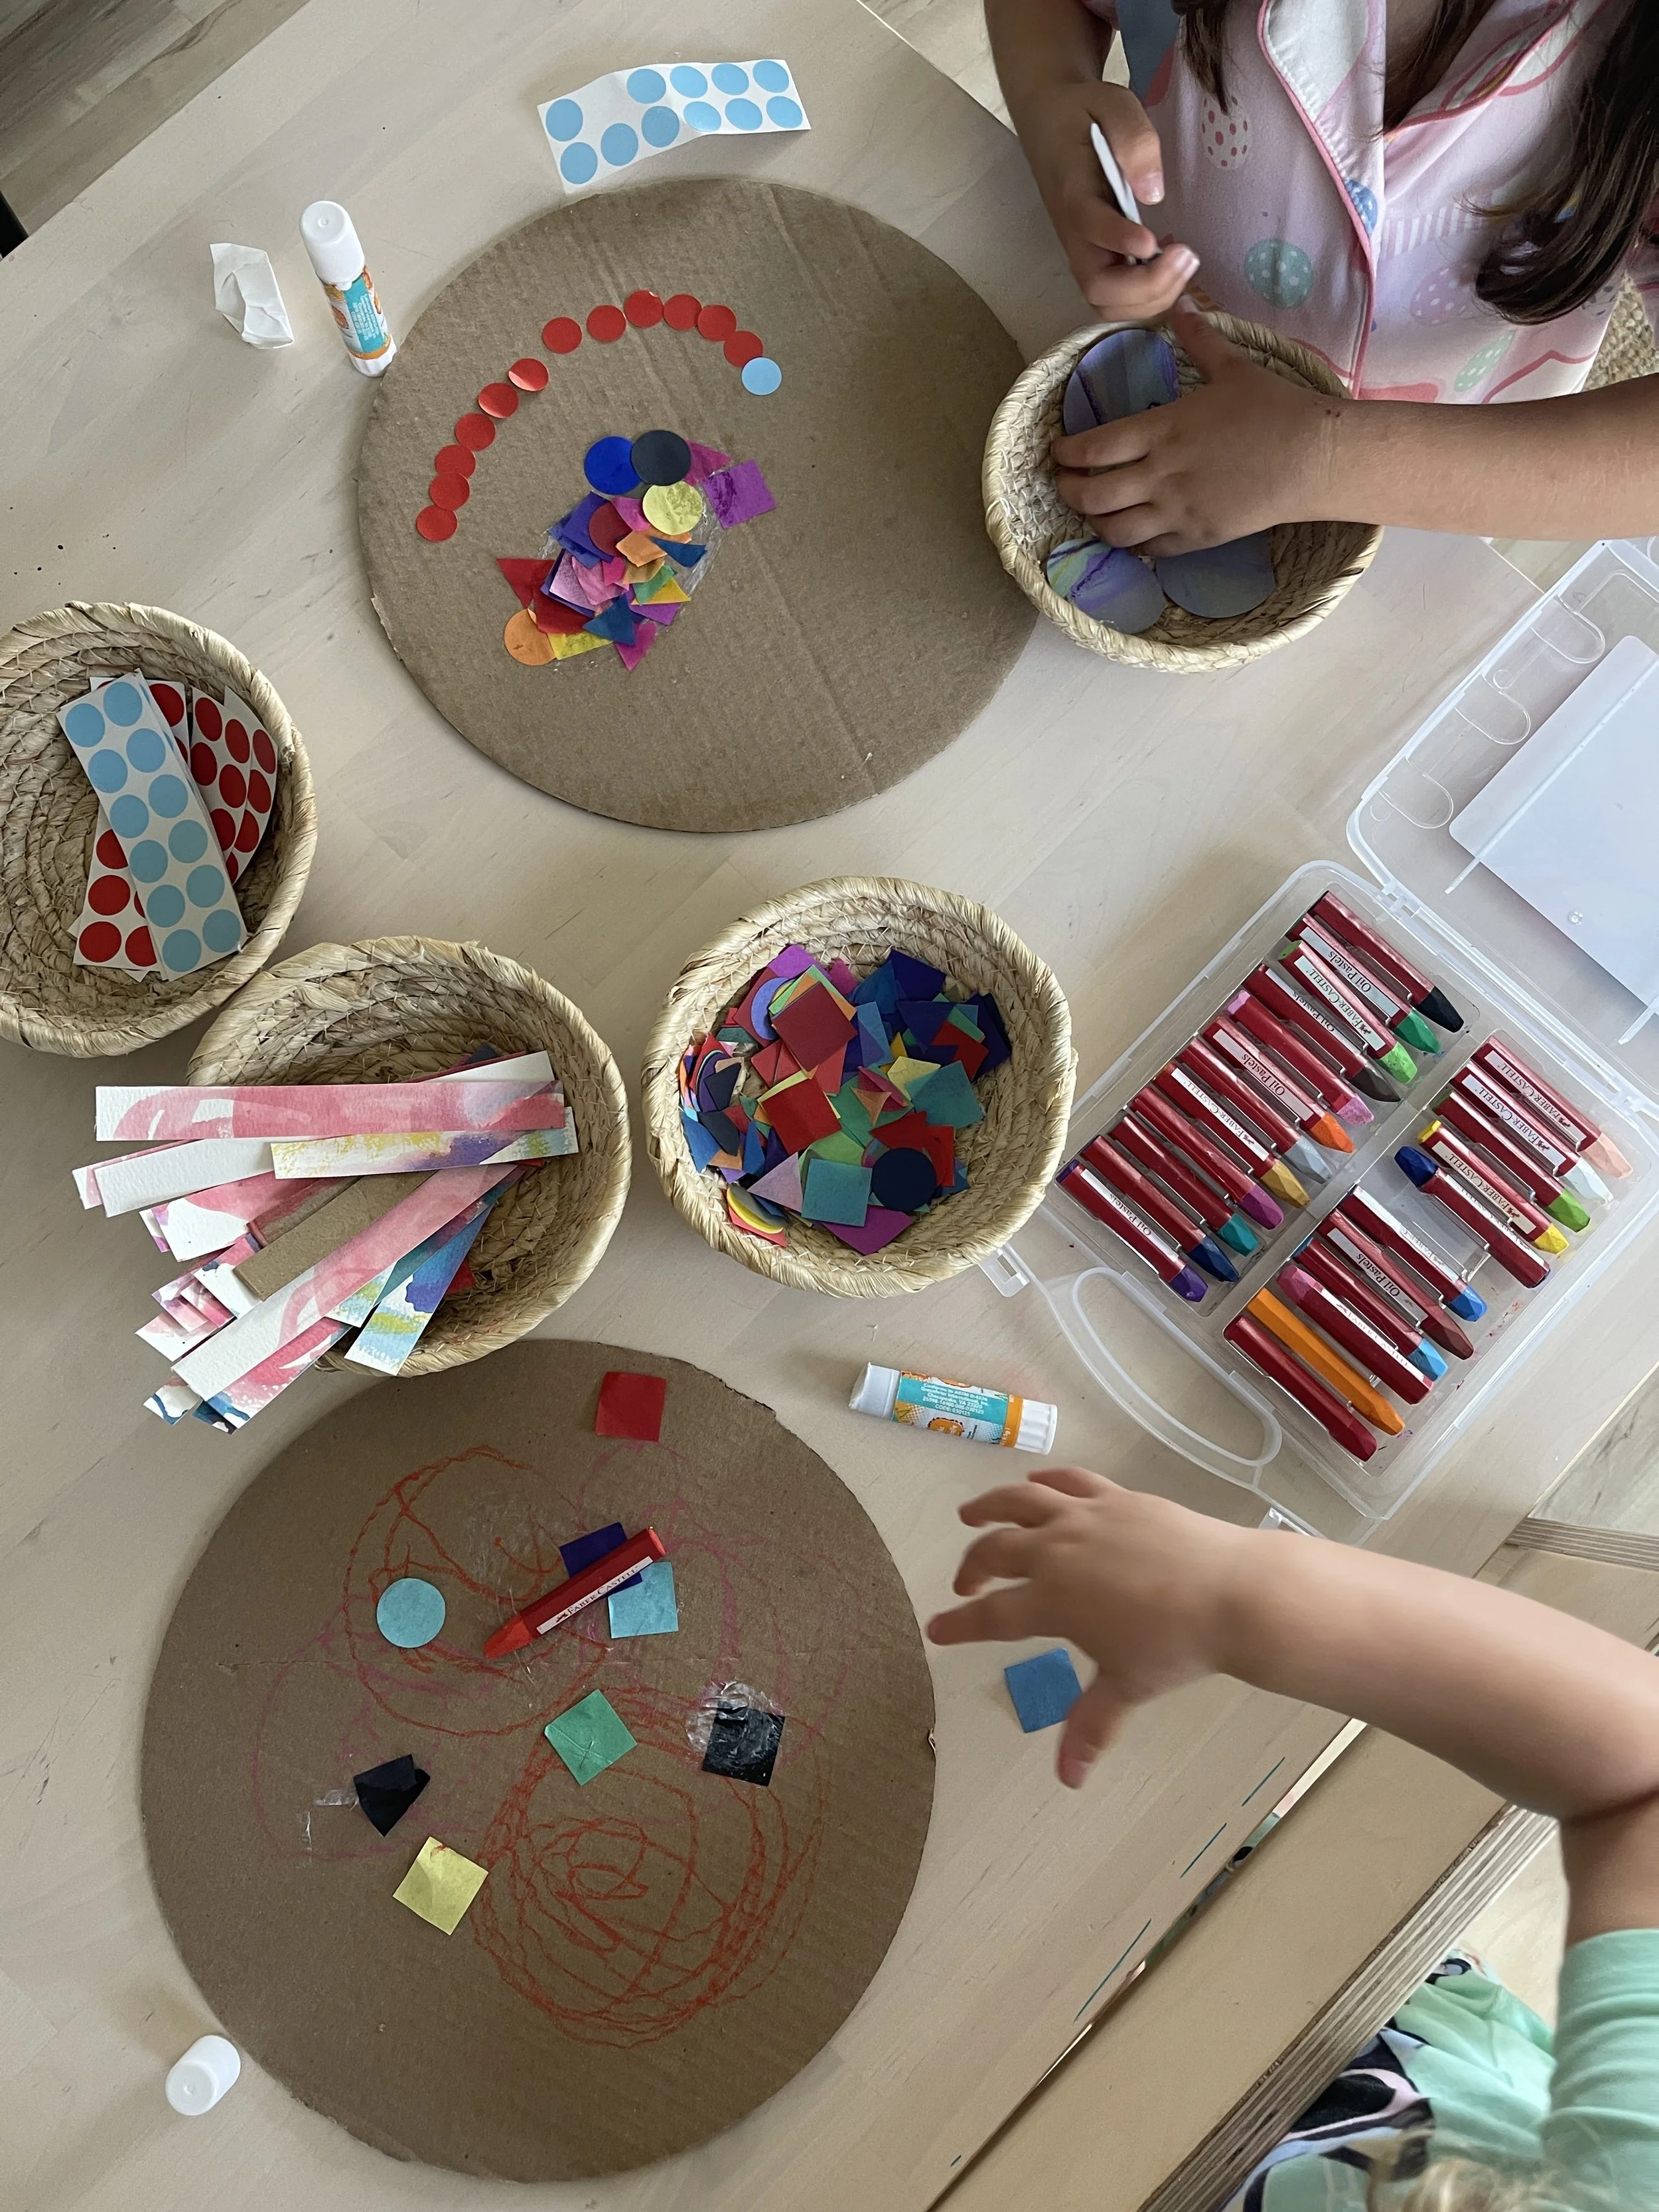
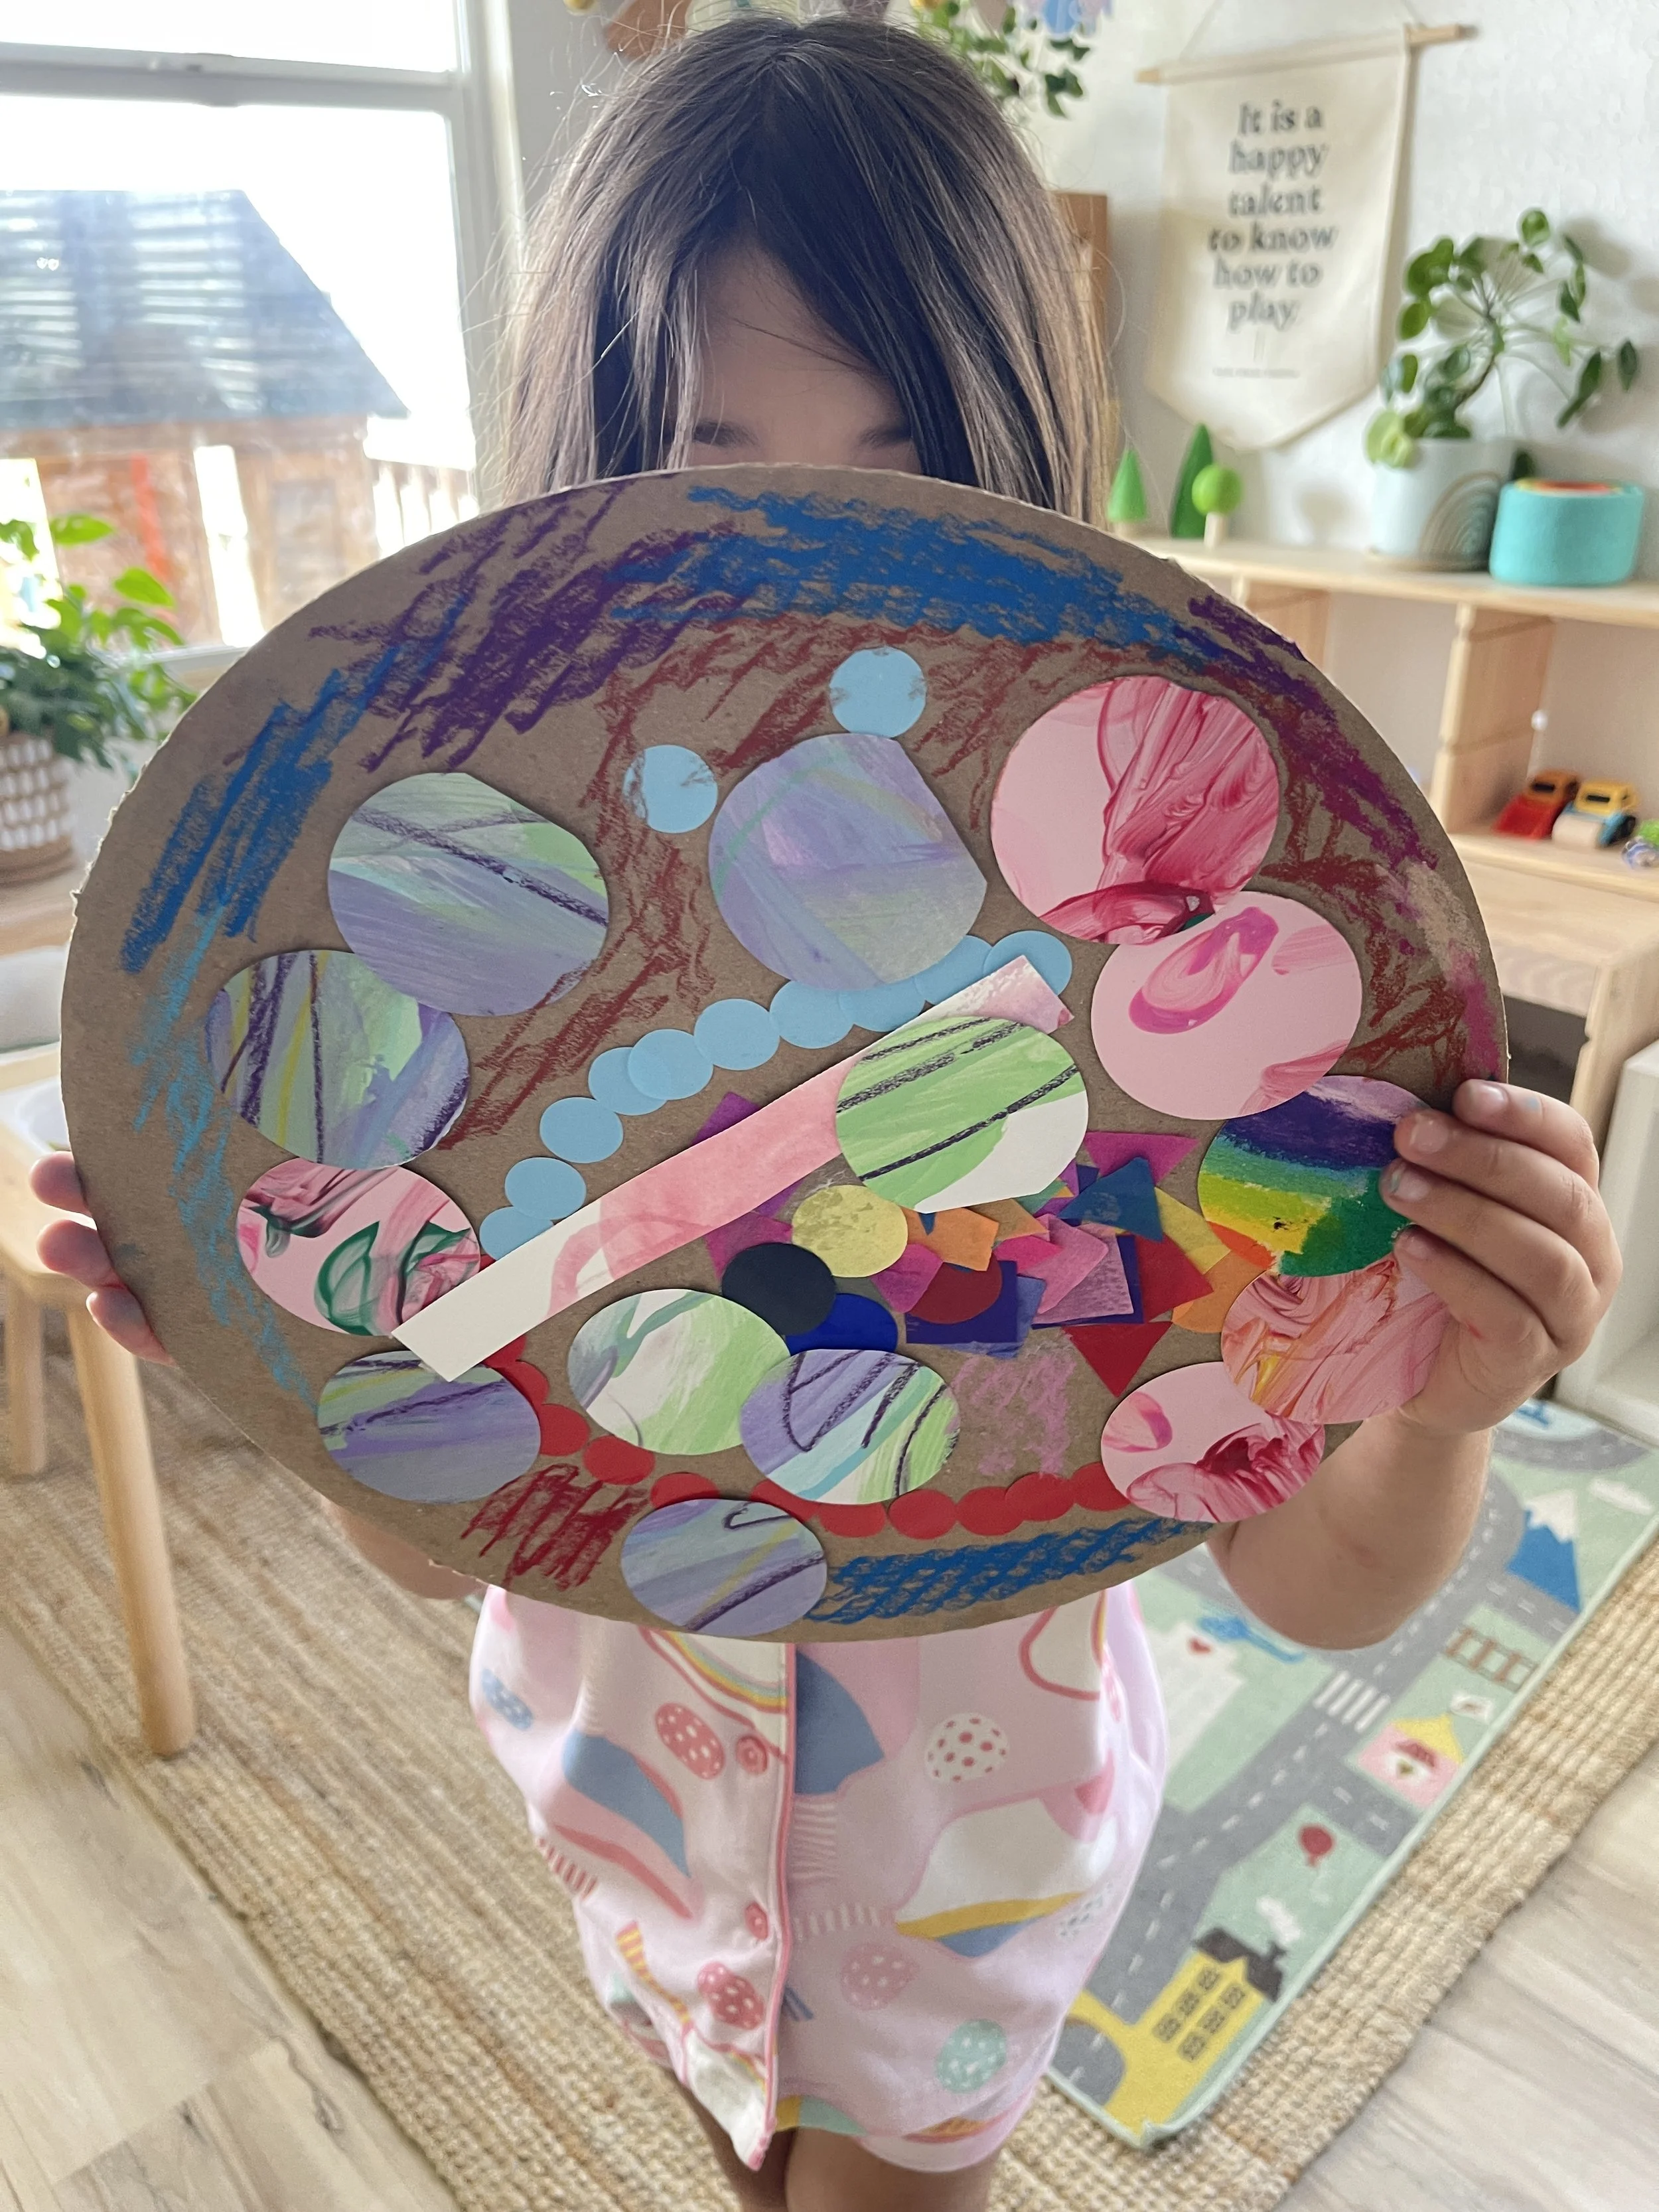
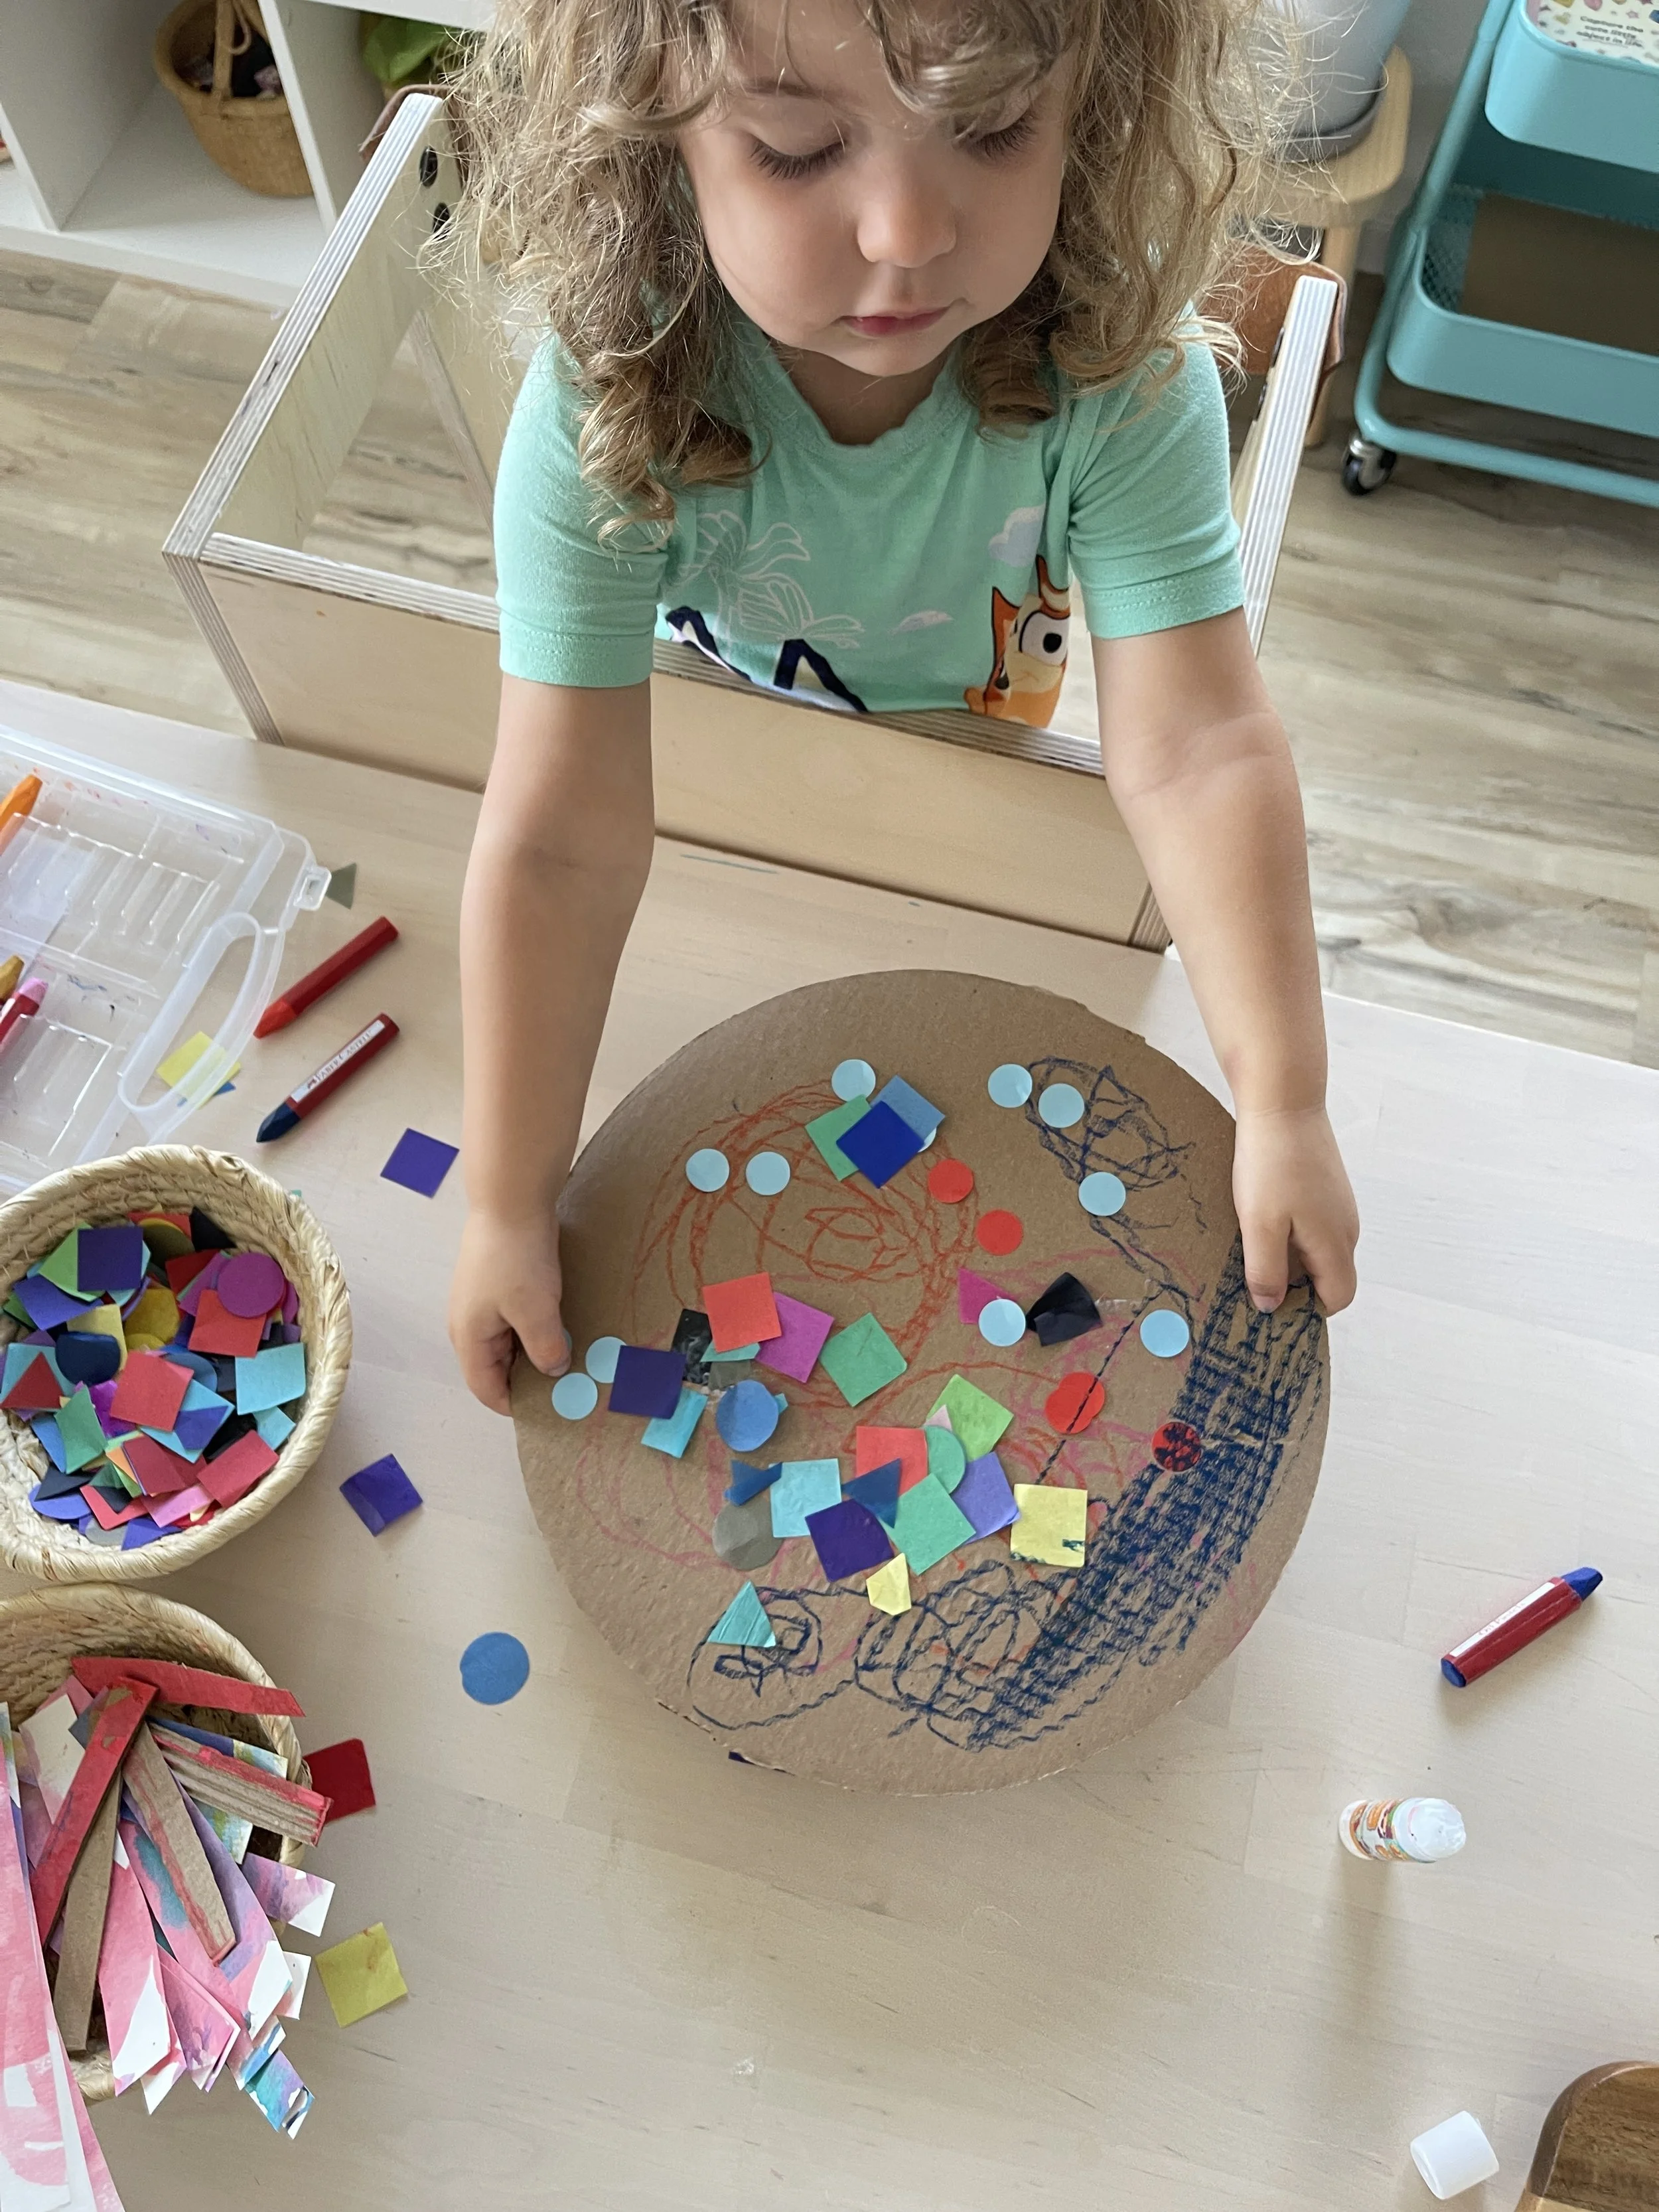
1. Pizza Pie Collage
Materials: Round cardboard piece, stickers, tissue paper, paper scraps, buttons, pastels or another mark-making tool, glue stick
Set out a large round piece of cardboard as the "pizza base," along with materials as the "toppings." Invite your child to build their own pizza by gluing, sticking, and coloring their toppings onto the base.
2. Creature Portraits
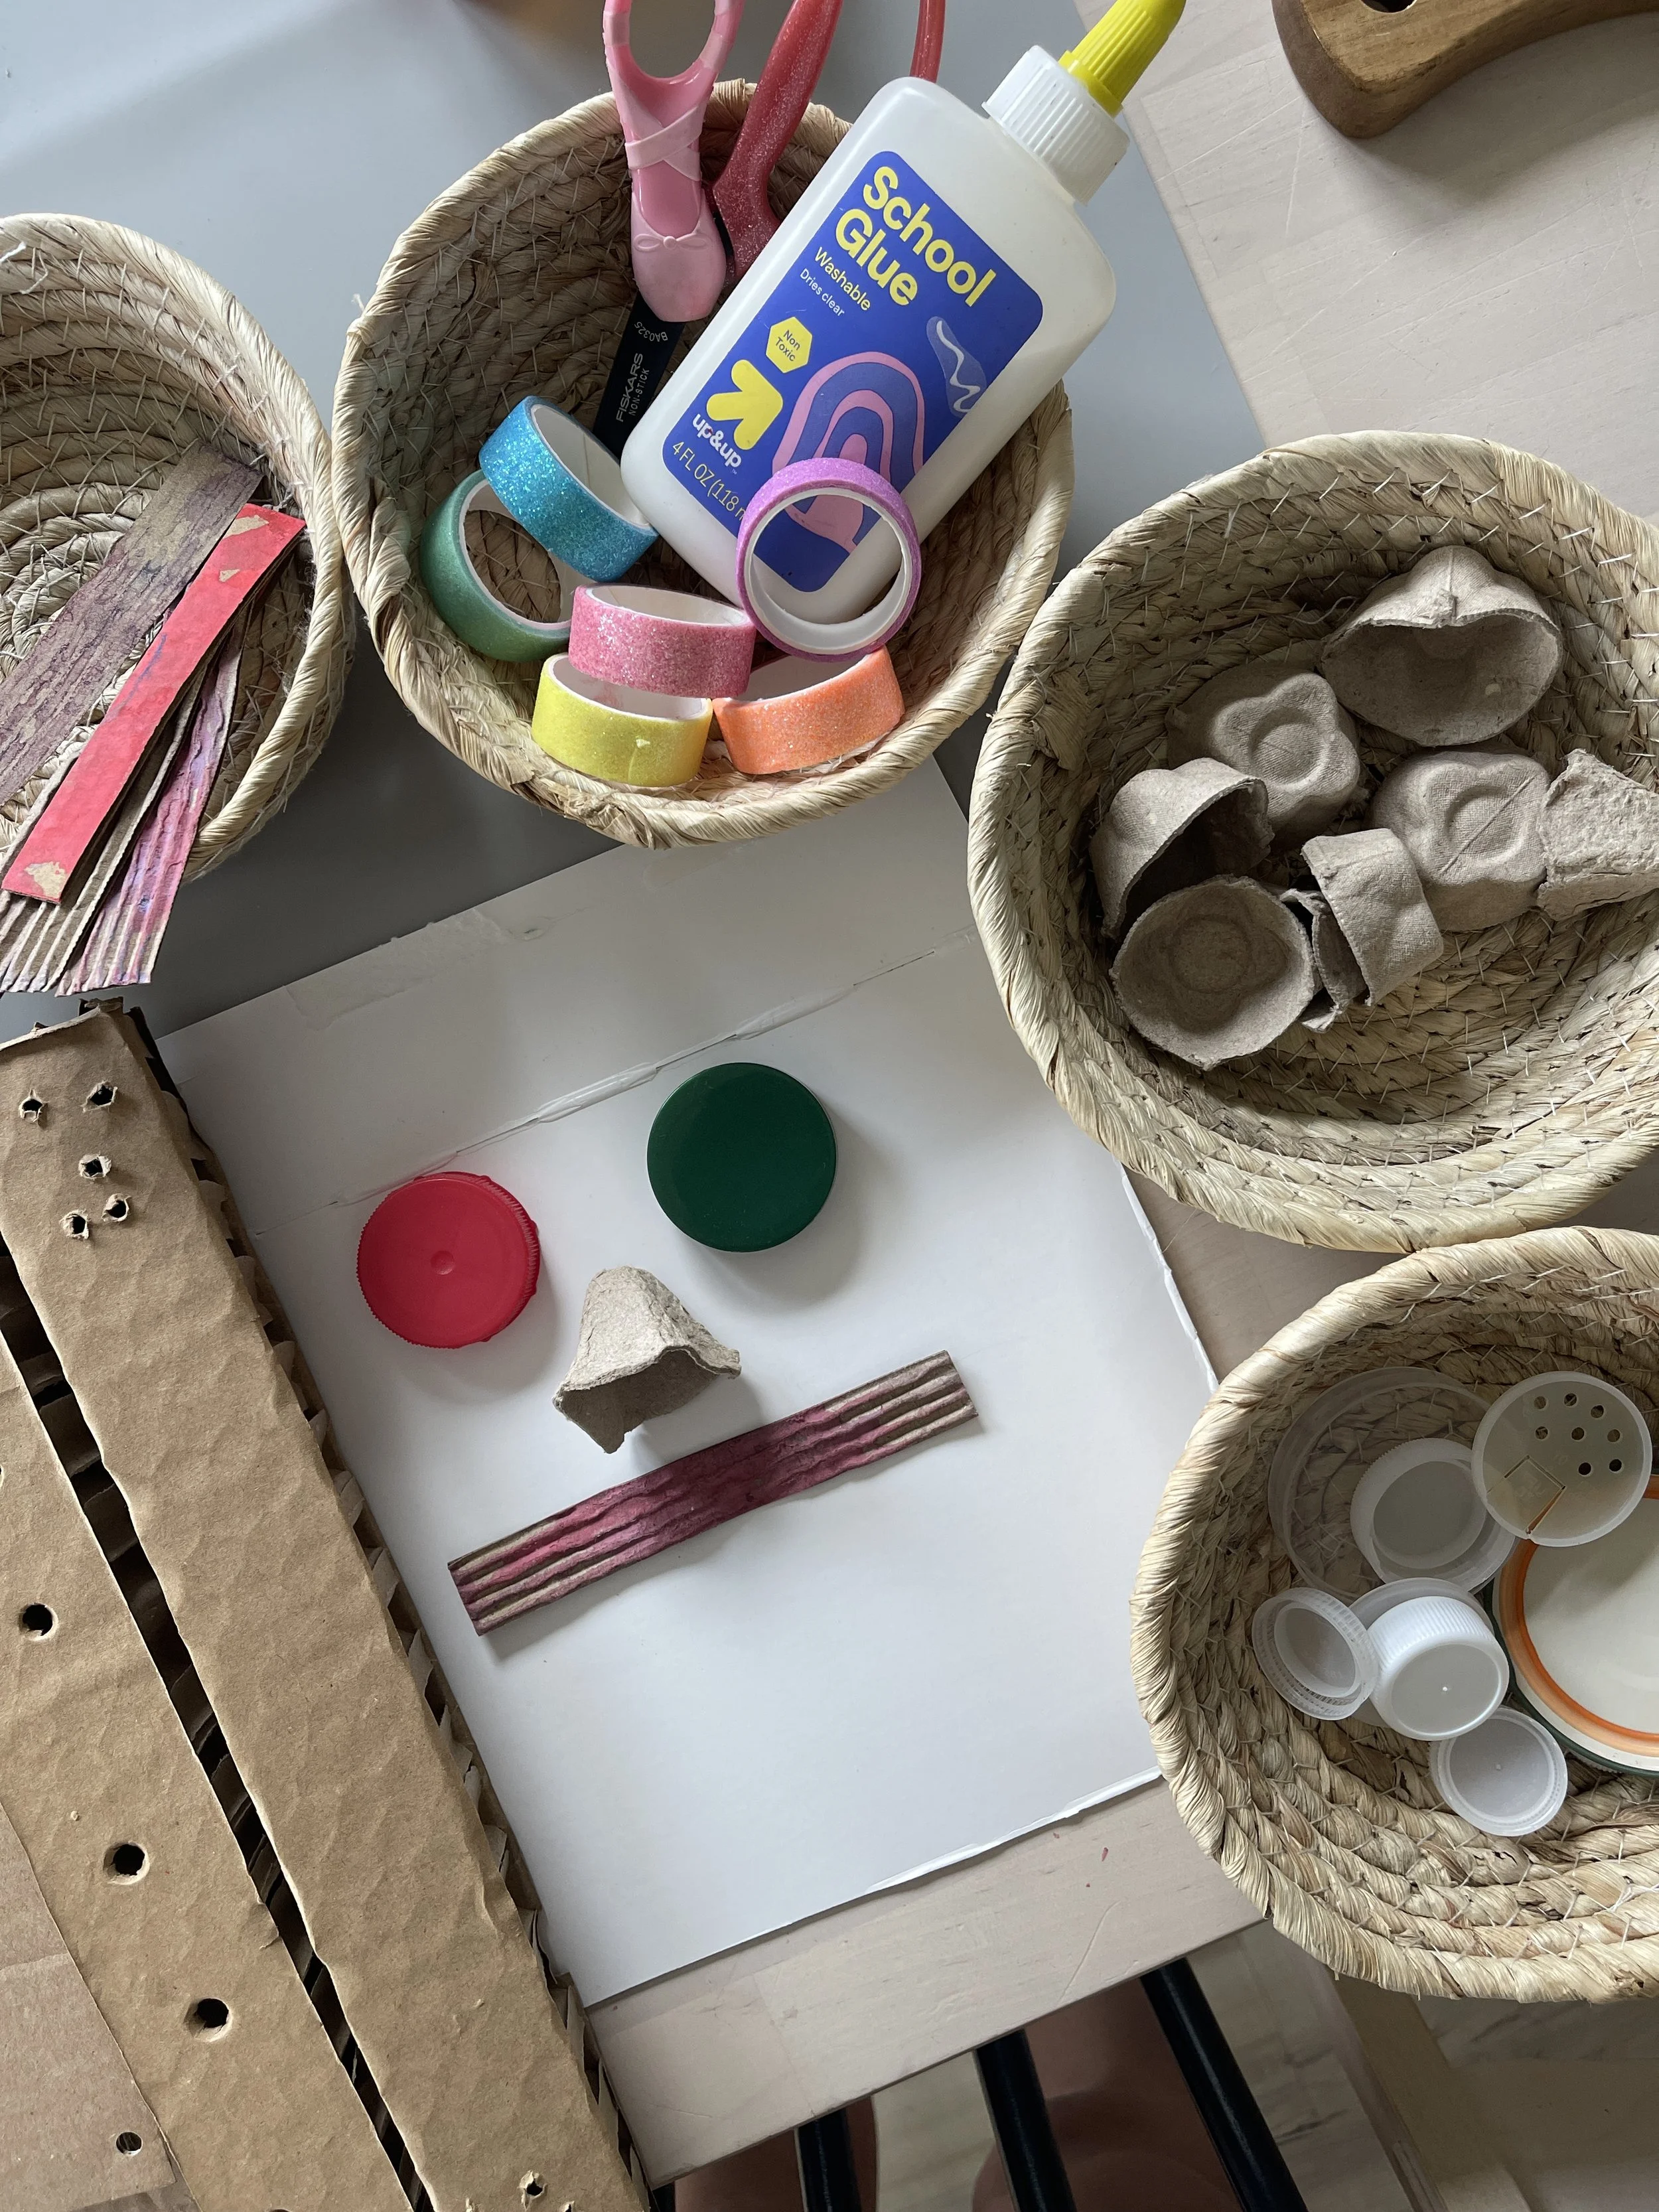
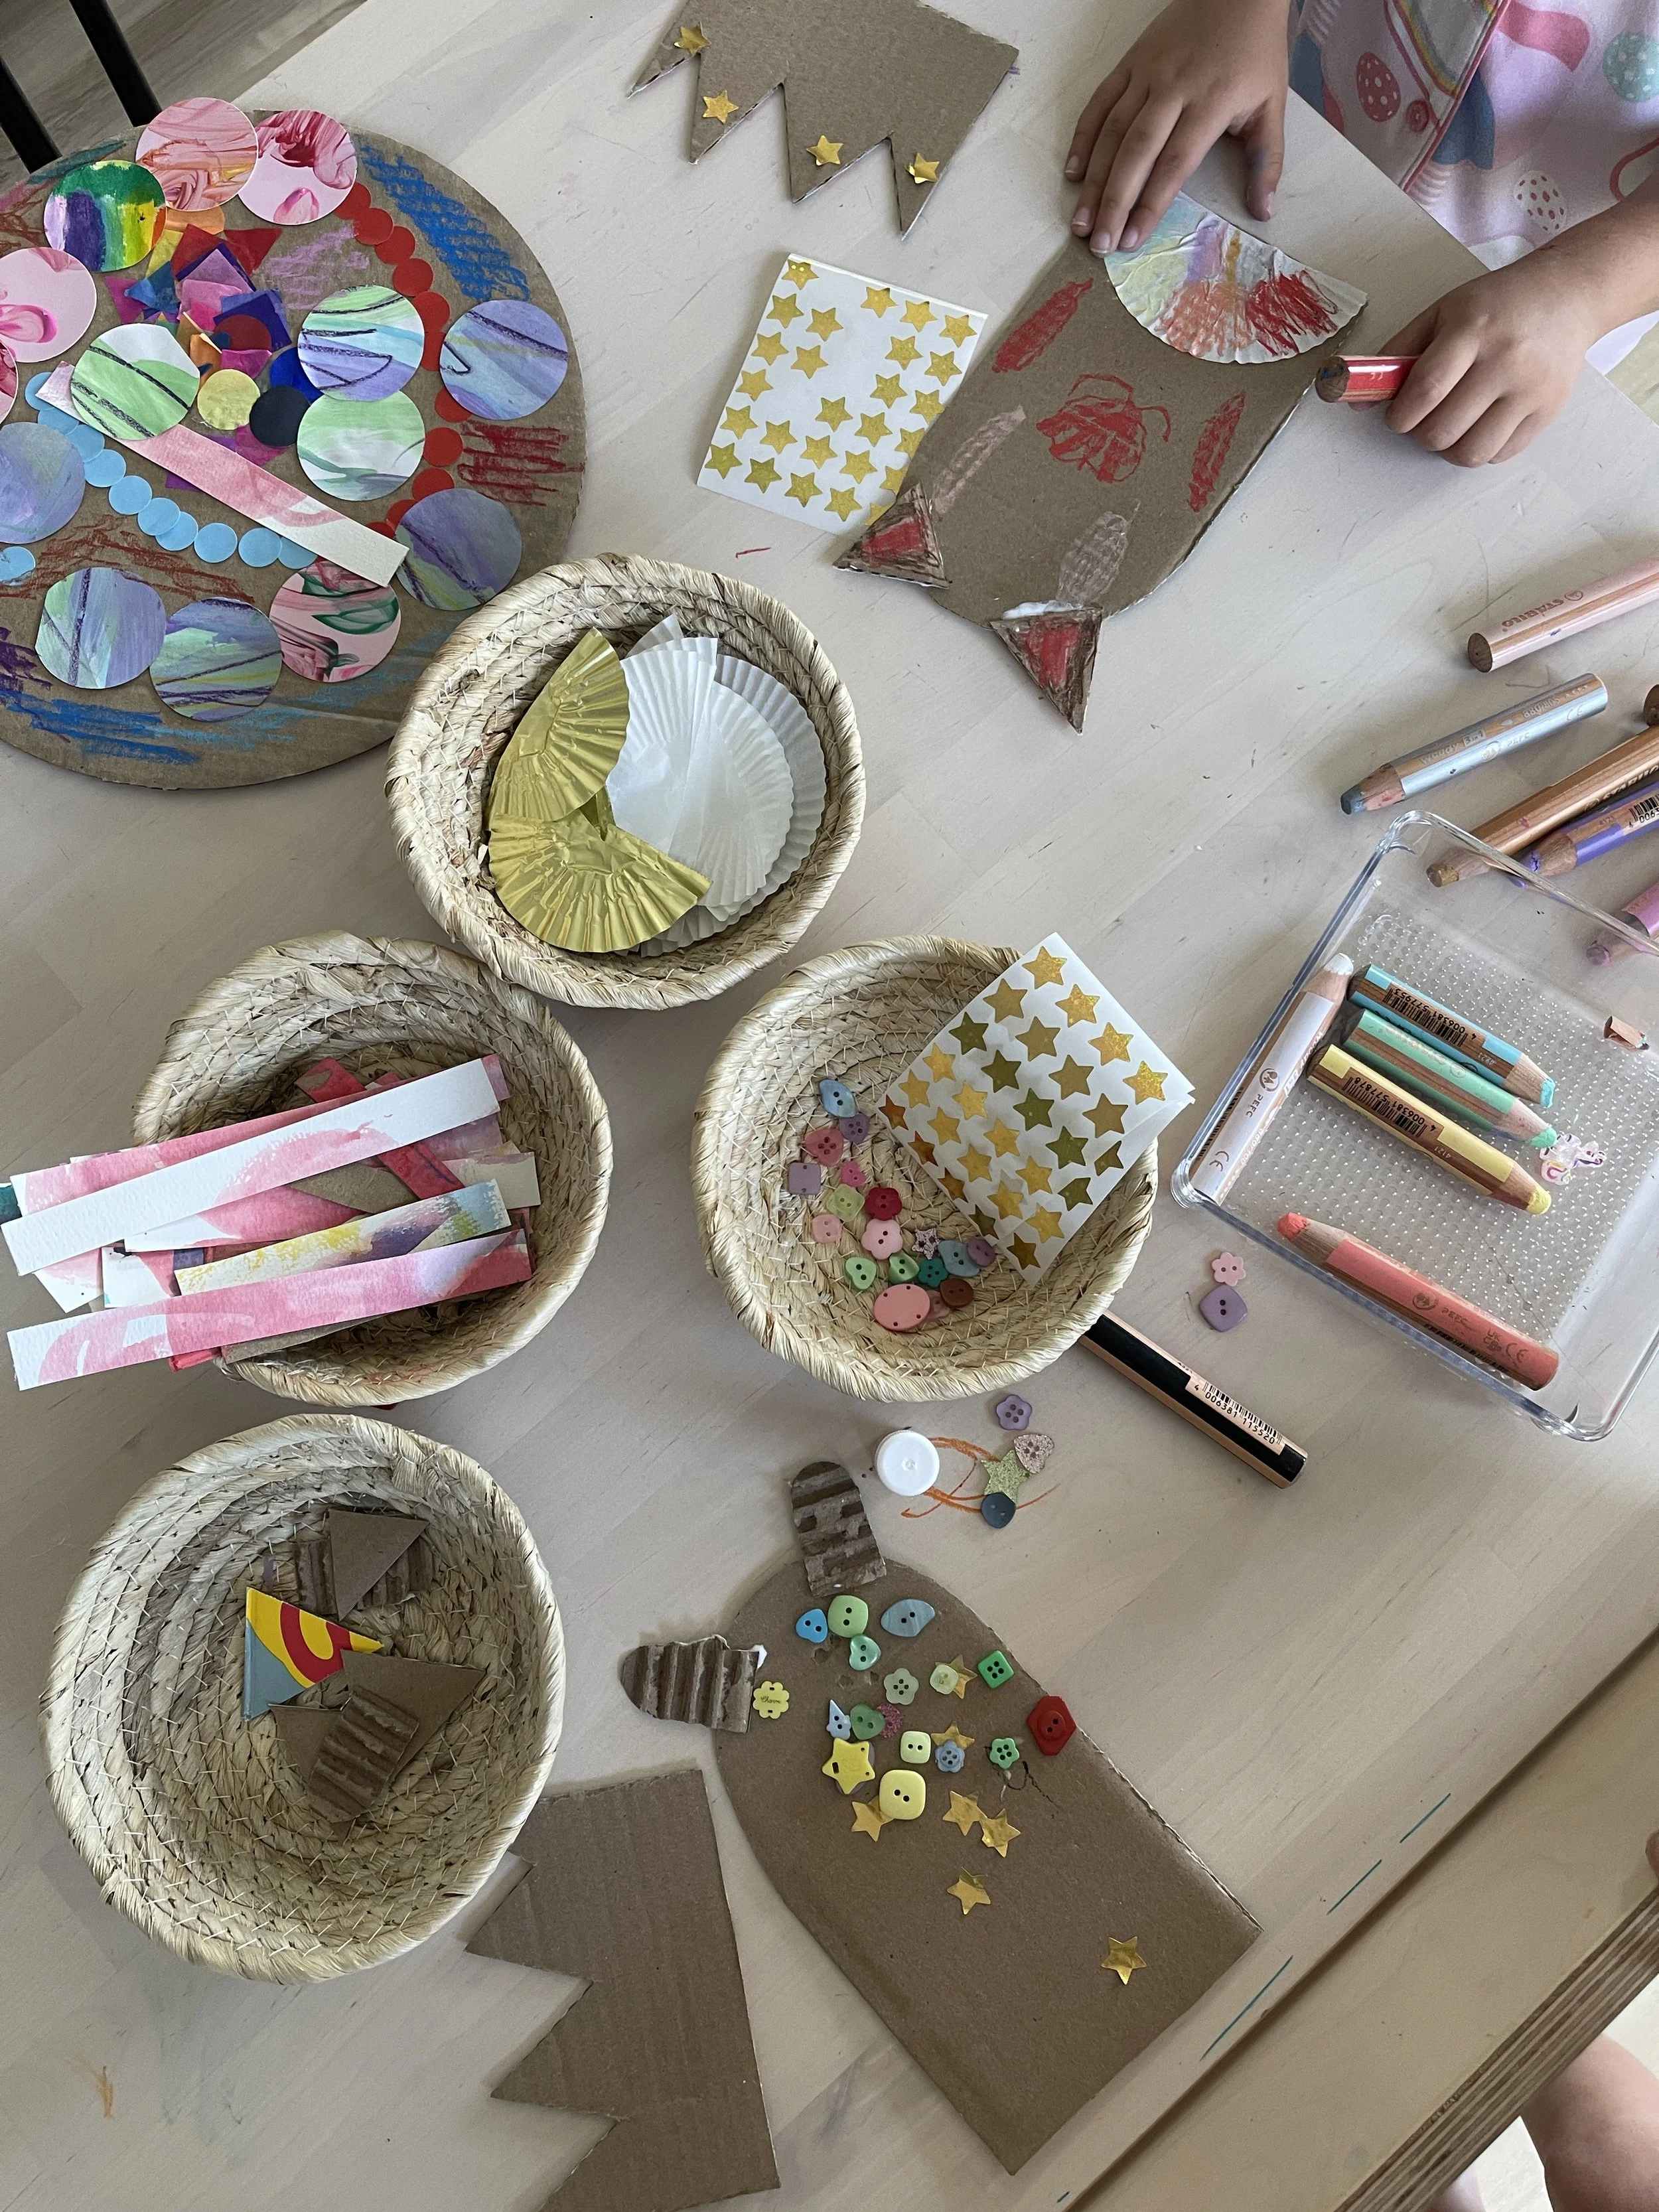
Materials: Cardboard pieces of all sizes and corrugated, mini cupcake liners, stickers, buttons, paper scraps, scissors, glue, mark-making tools (like our favorite Stabilo chunky colored pencils)
Cut cardboard into simple creature-like shapes — a rounded body, pointed ears, a tail. Let your child choose from the pieces and bring their creature to life with the materials and mark-making tools: eyes, spots, fur, whatever they imagine.
3. Mixed-Media Collage
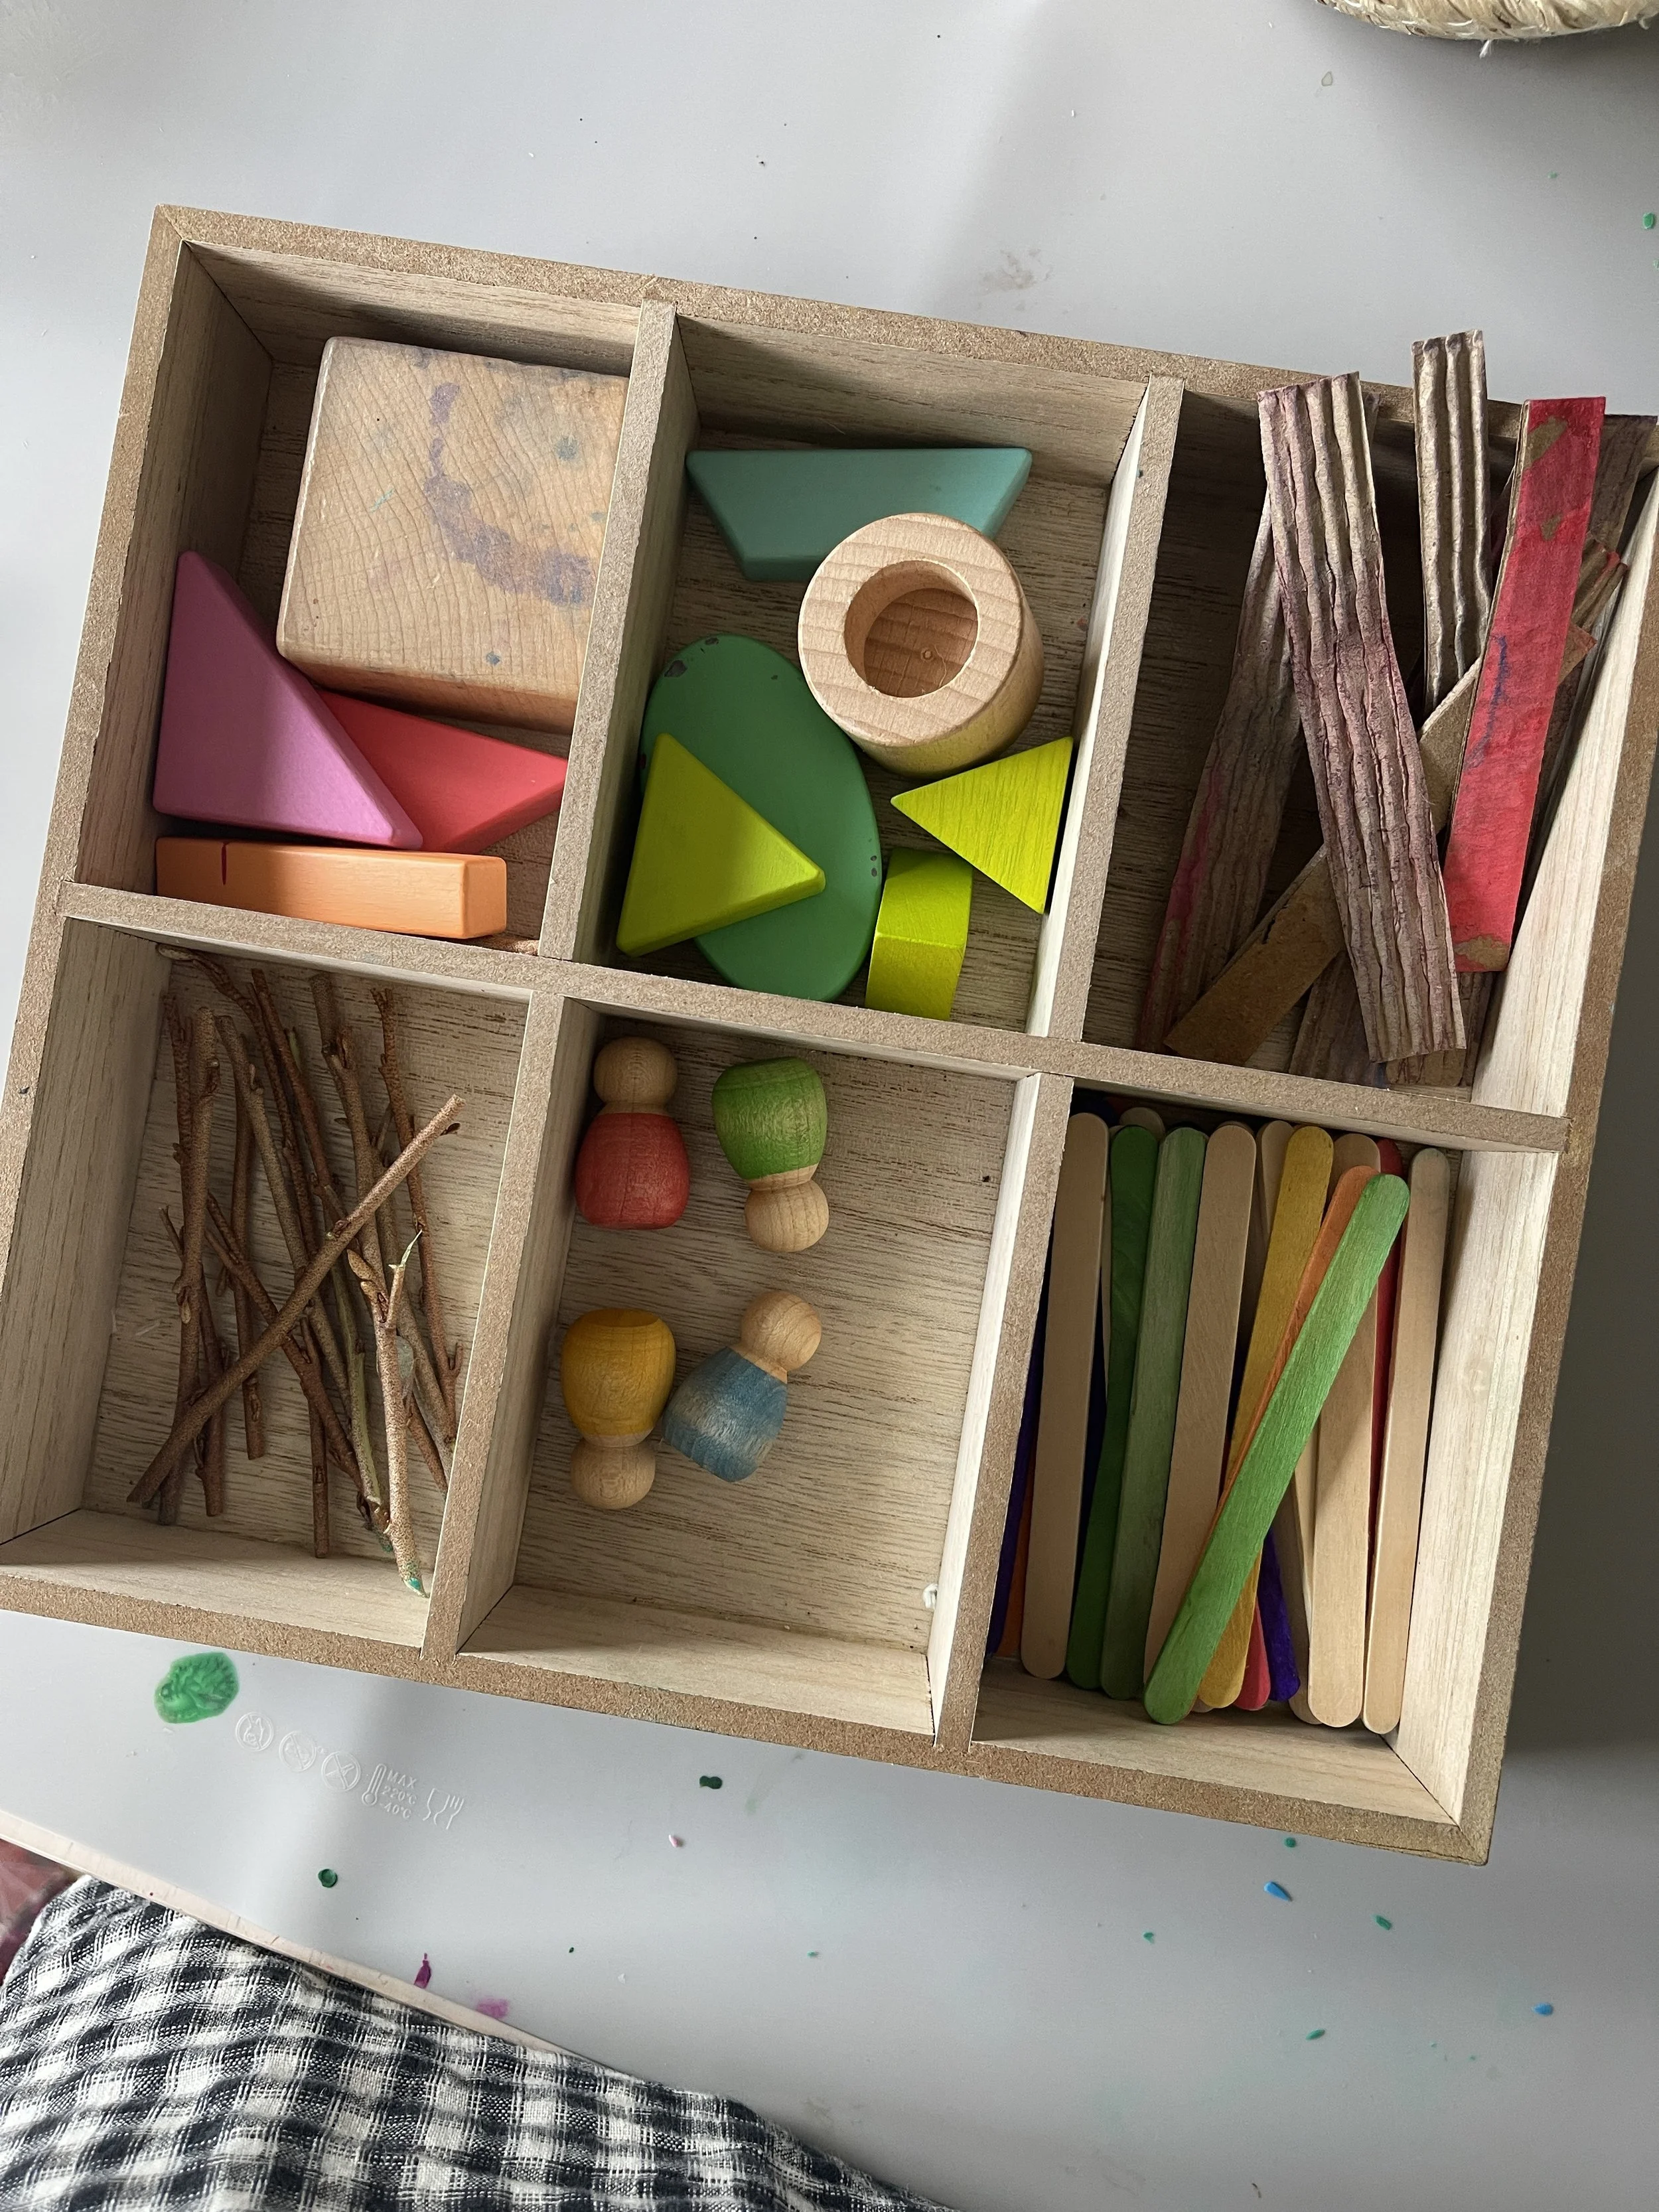
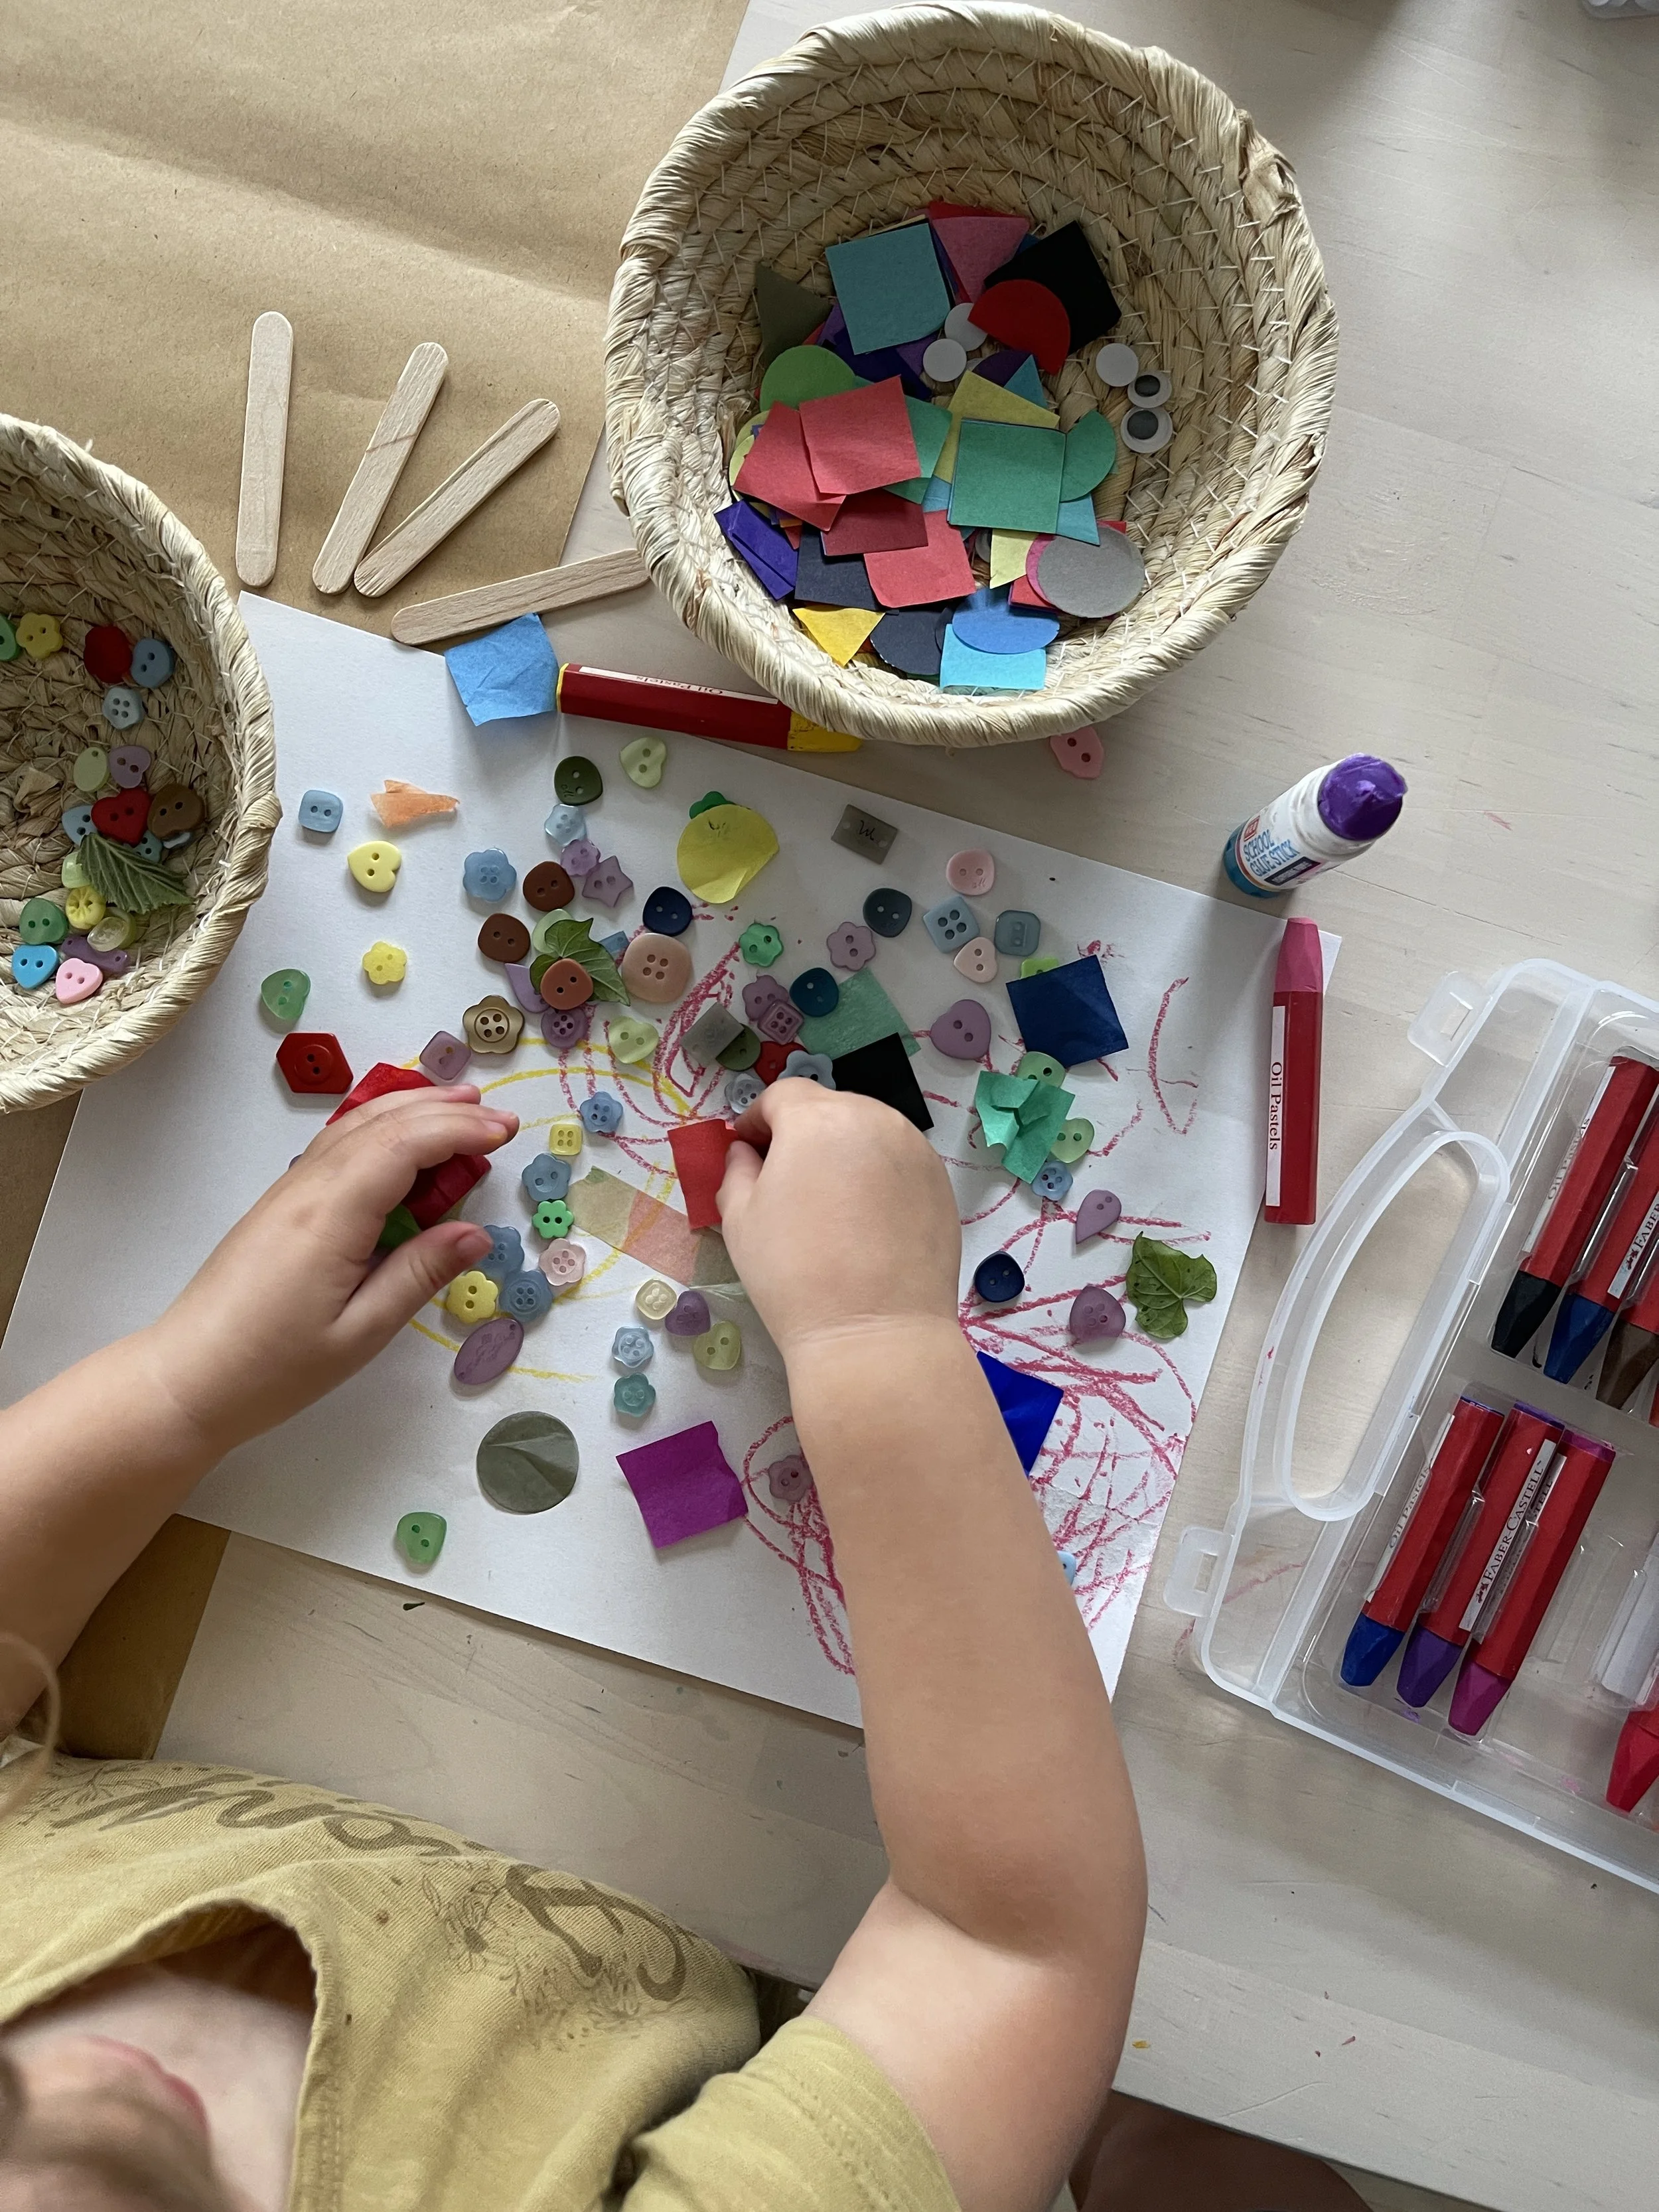
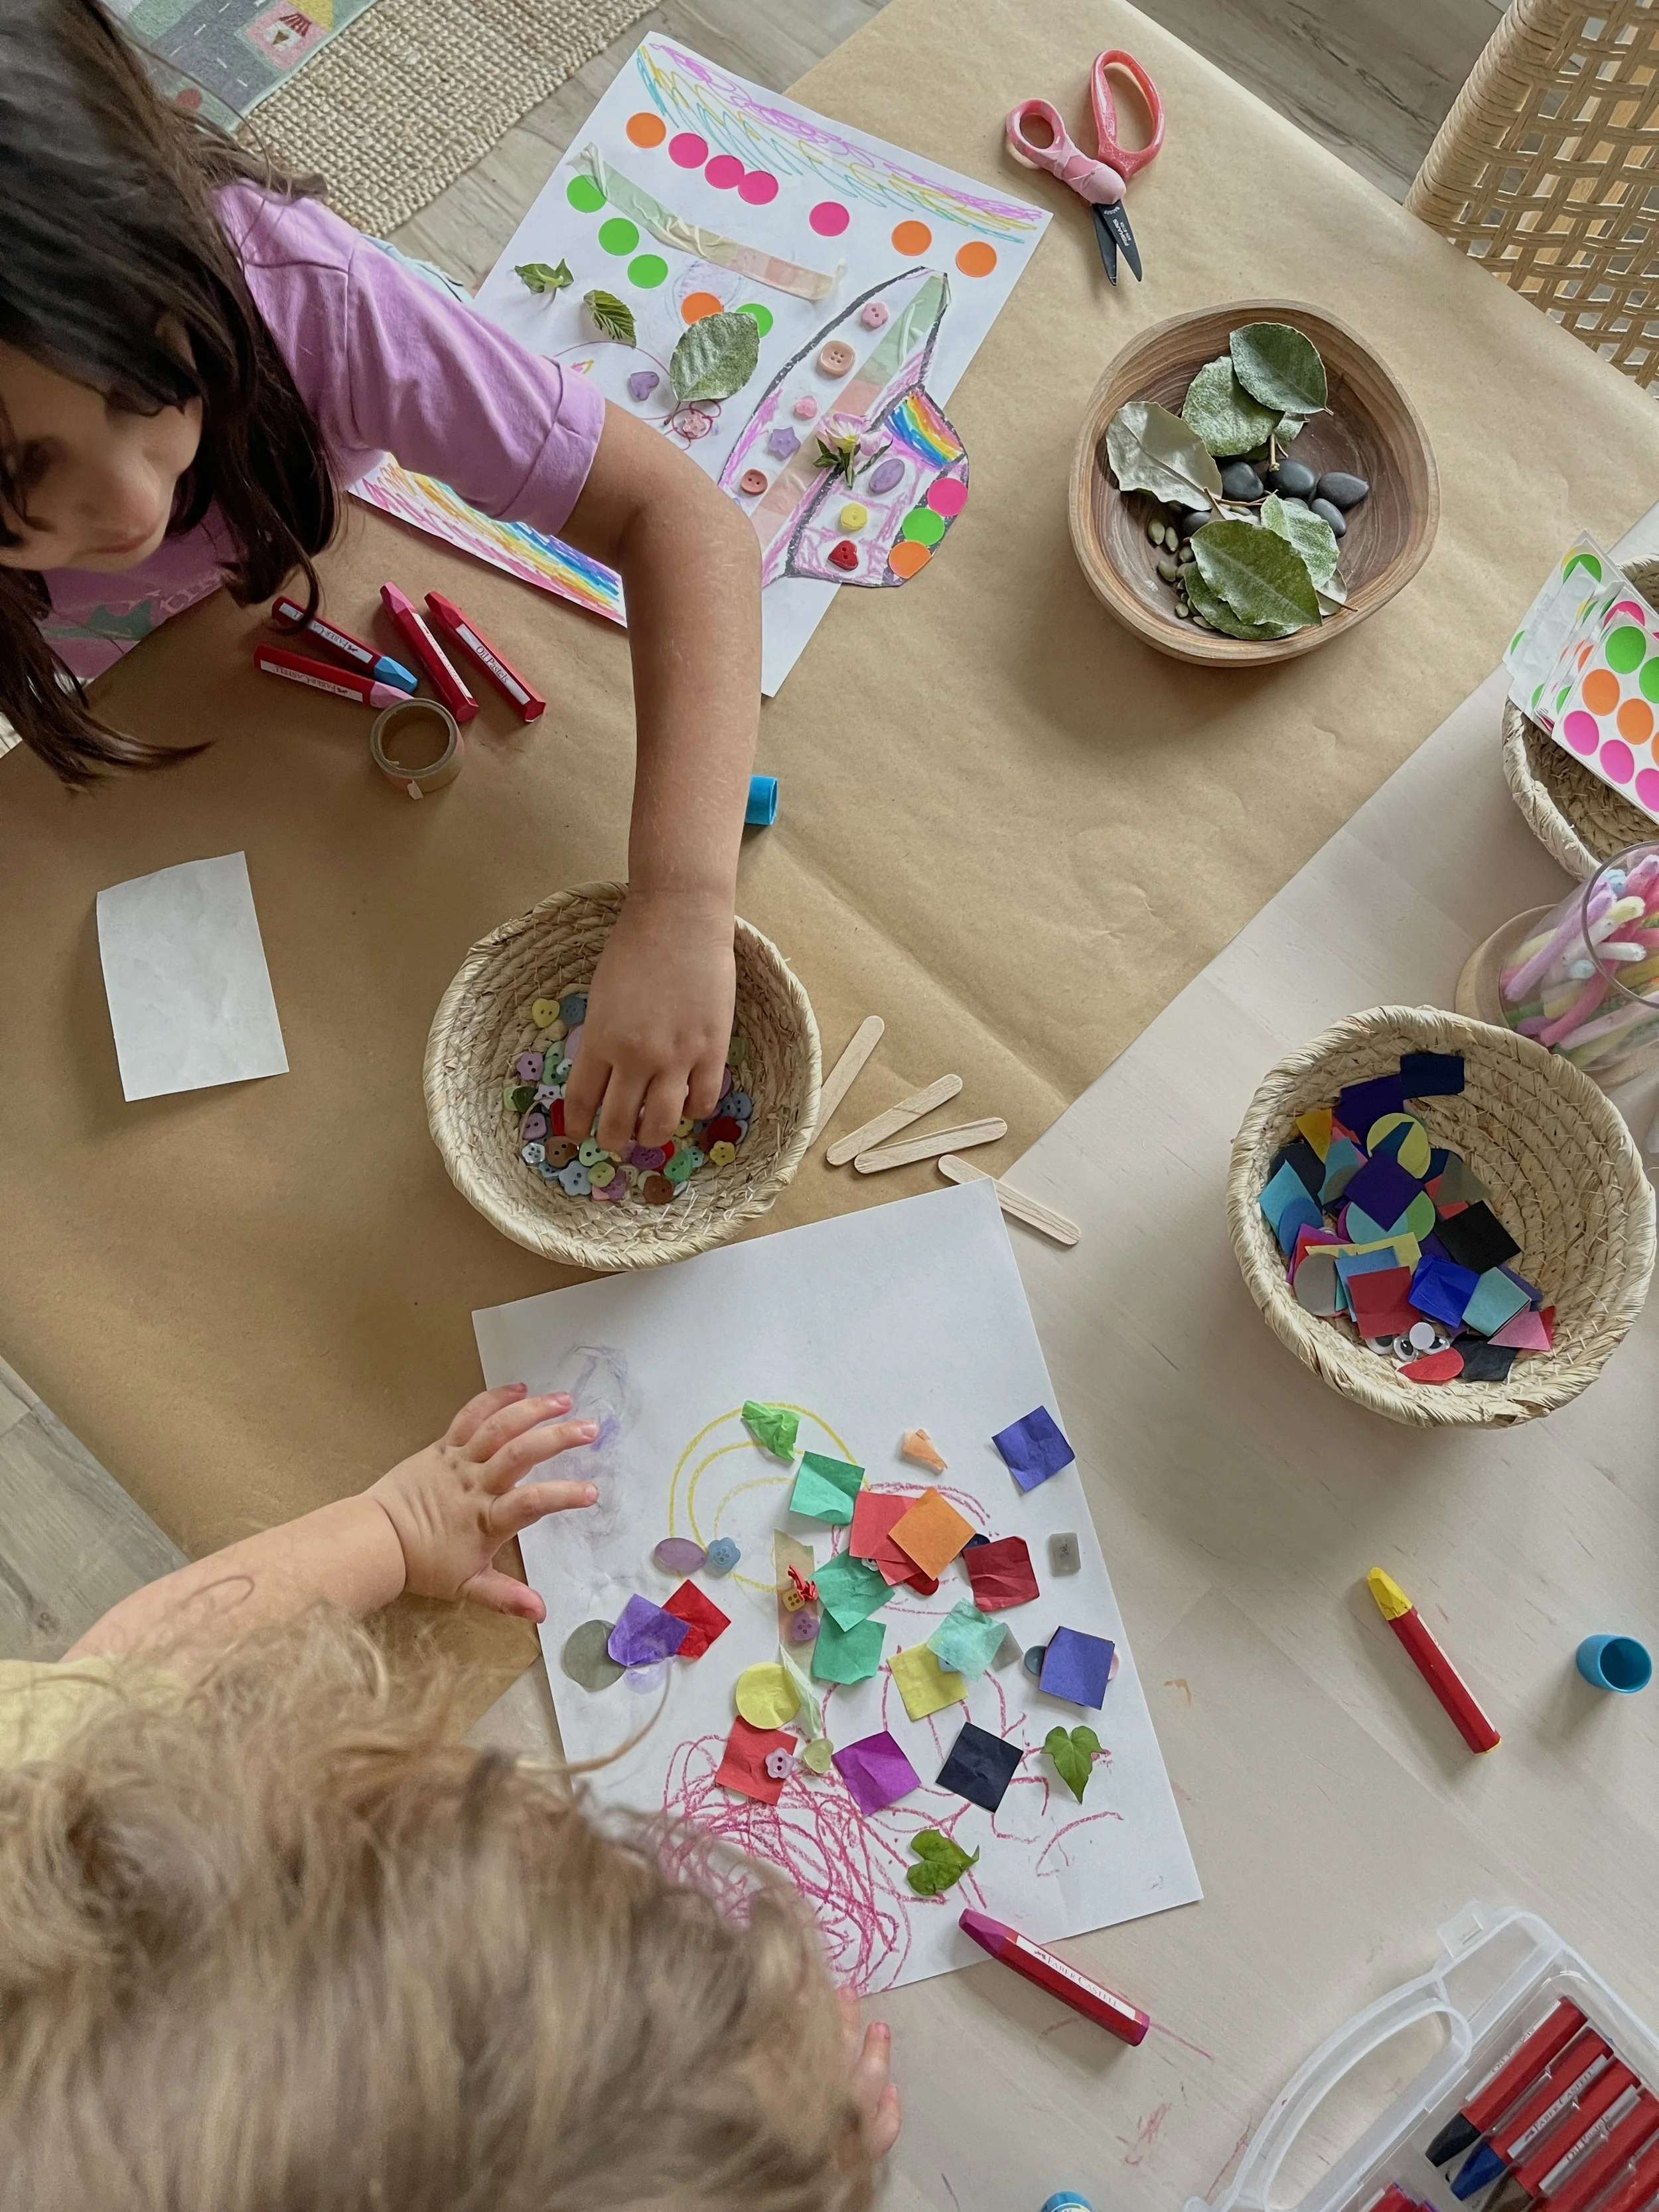
Materials: Paper, glue, mark-making tools, mini popsicle sticks, tissue paper shapes, buttons, washi tape
Set out a plain sheet of paper with mark-making tools nearby and small baskets of buttons, tissue paper shapes, and popsicle sticks. Invite your child to draw first, then glue materials on top to build texture and layers.
4. Tissue Paper Bleed Art
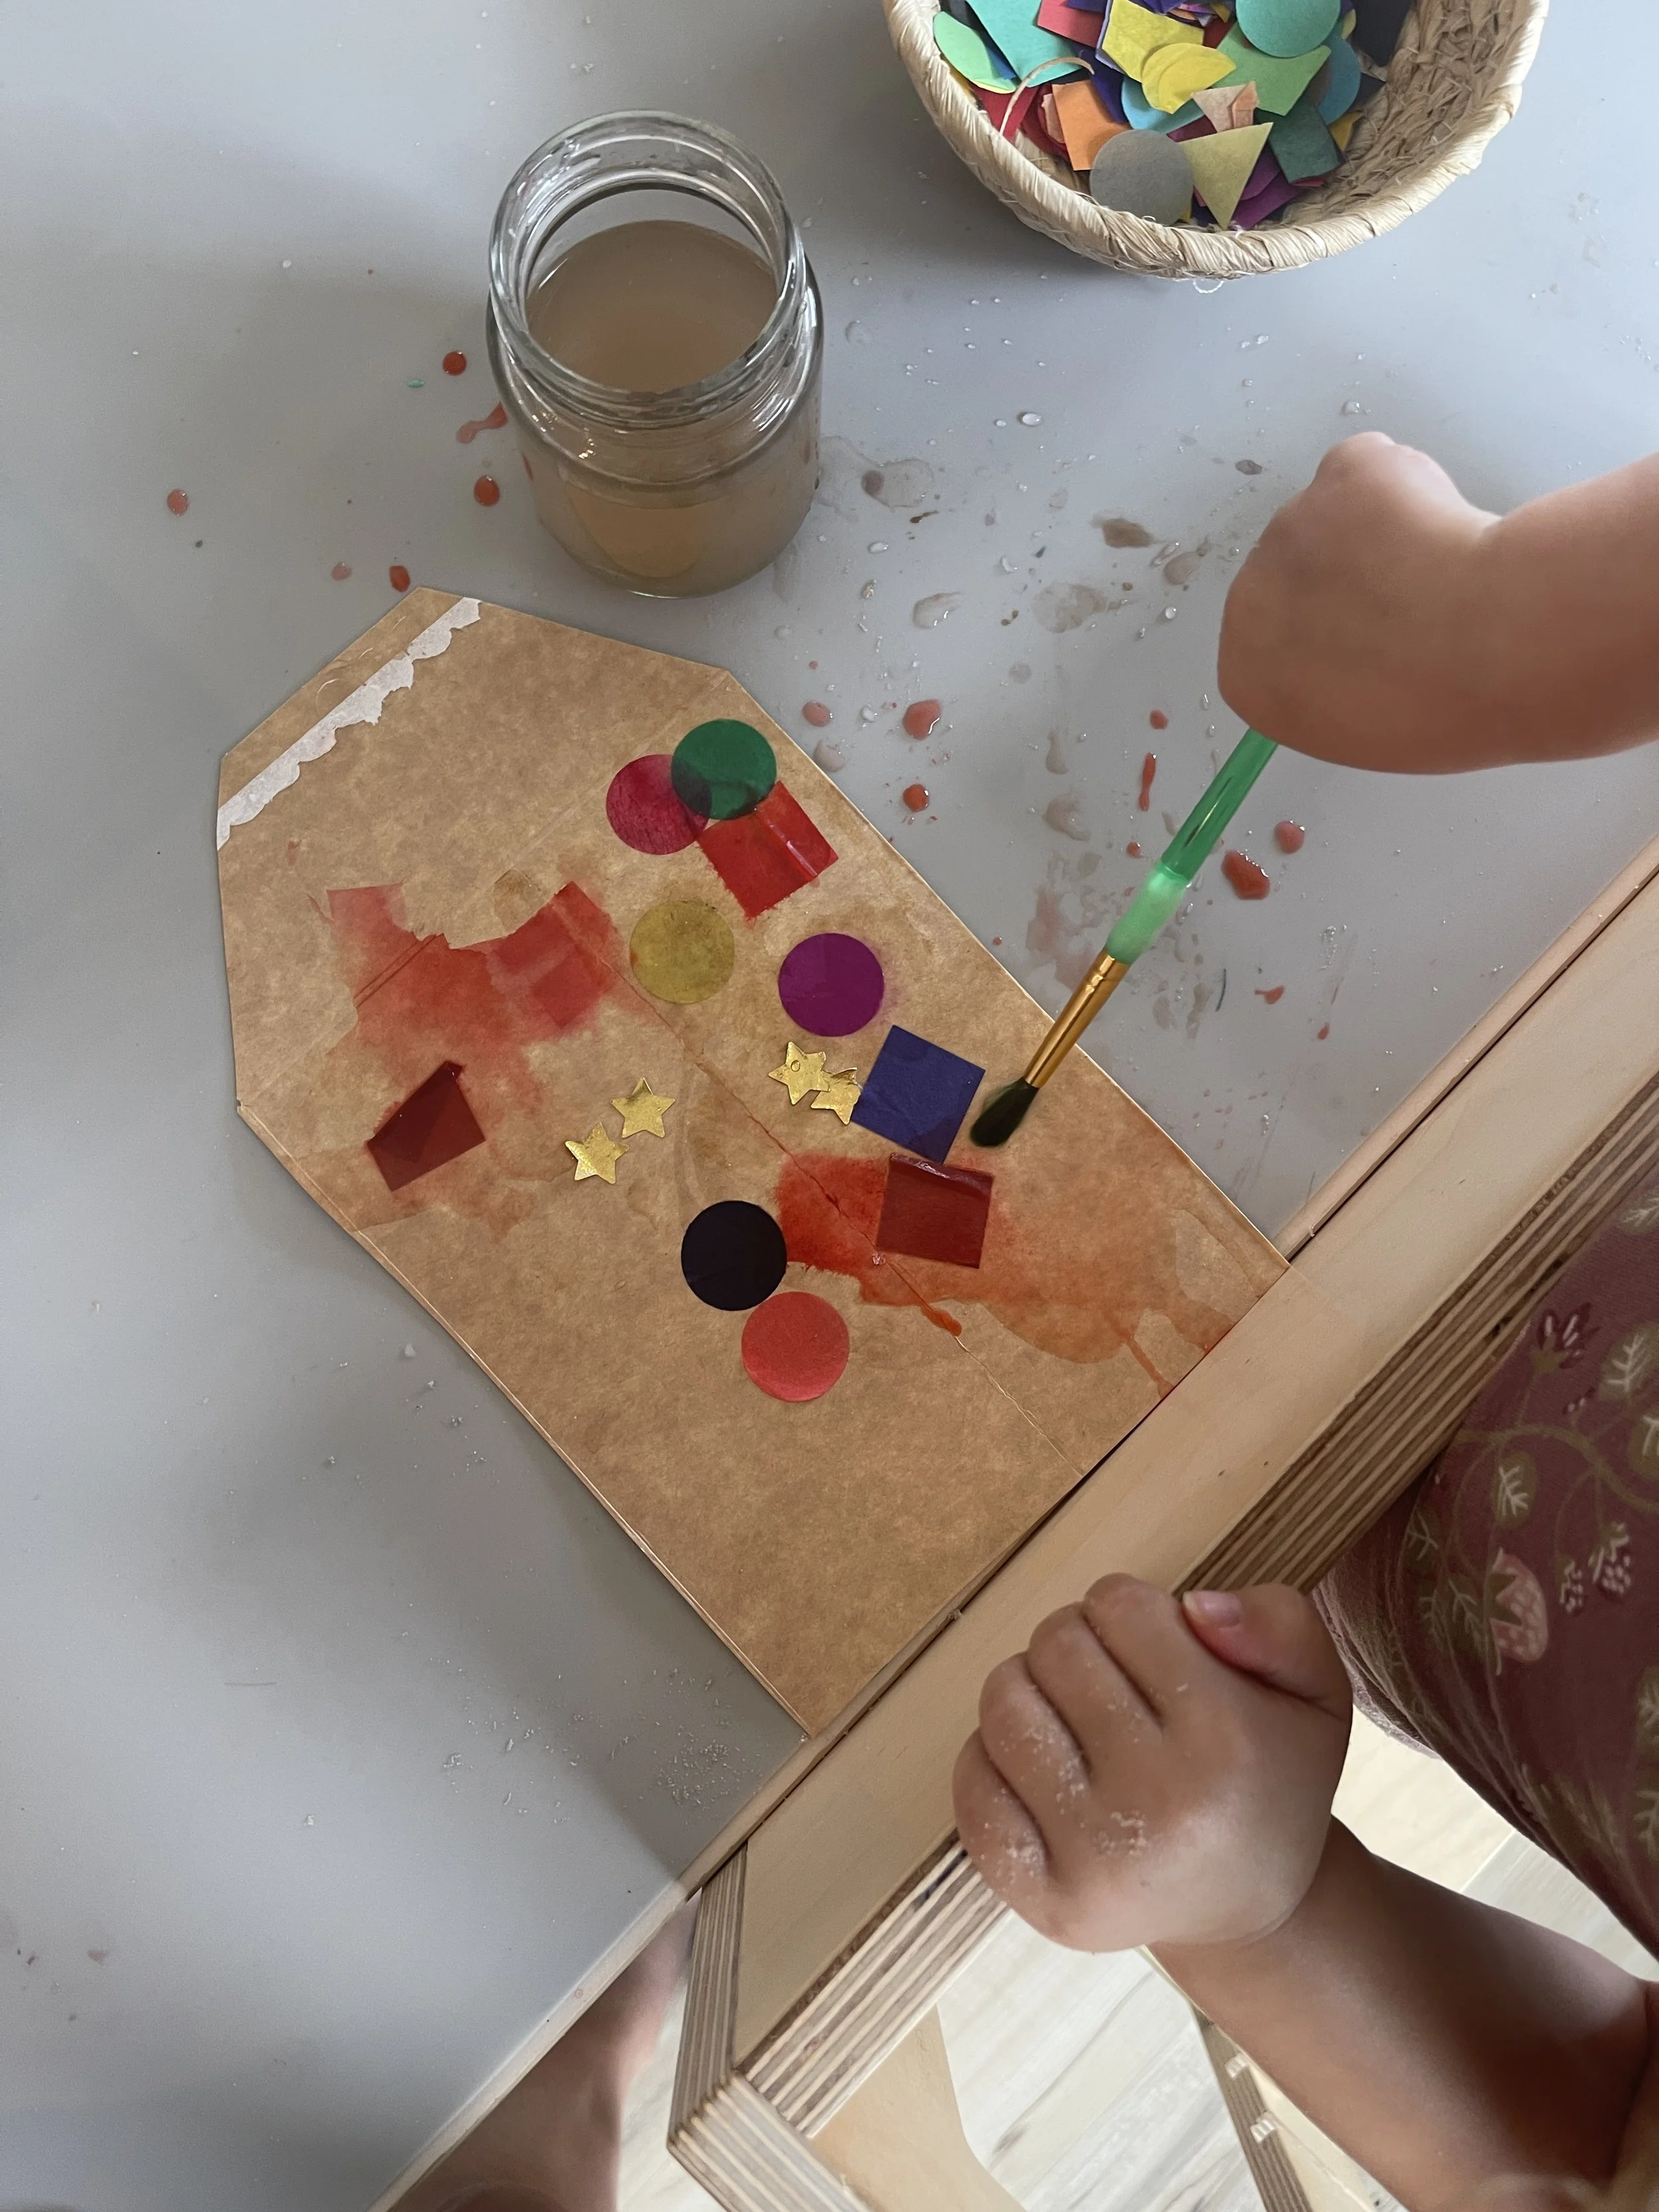
Materials: Cardboard, water cup, brush, tissue paper, surface cover (like our favorite large silicone mat), stickers (optional)
Place torn or cut tissue paper shapes onto cardboard, then brush water directly over them so the color bleeds into the paper below. Peel away the tissue once dry, or leave pieces in place, and add stickers for extra detail.
5. Nature Painting
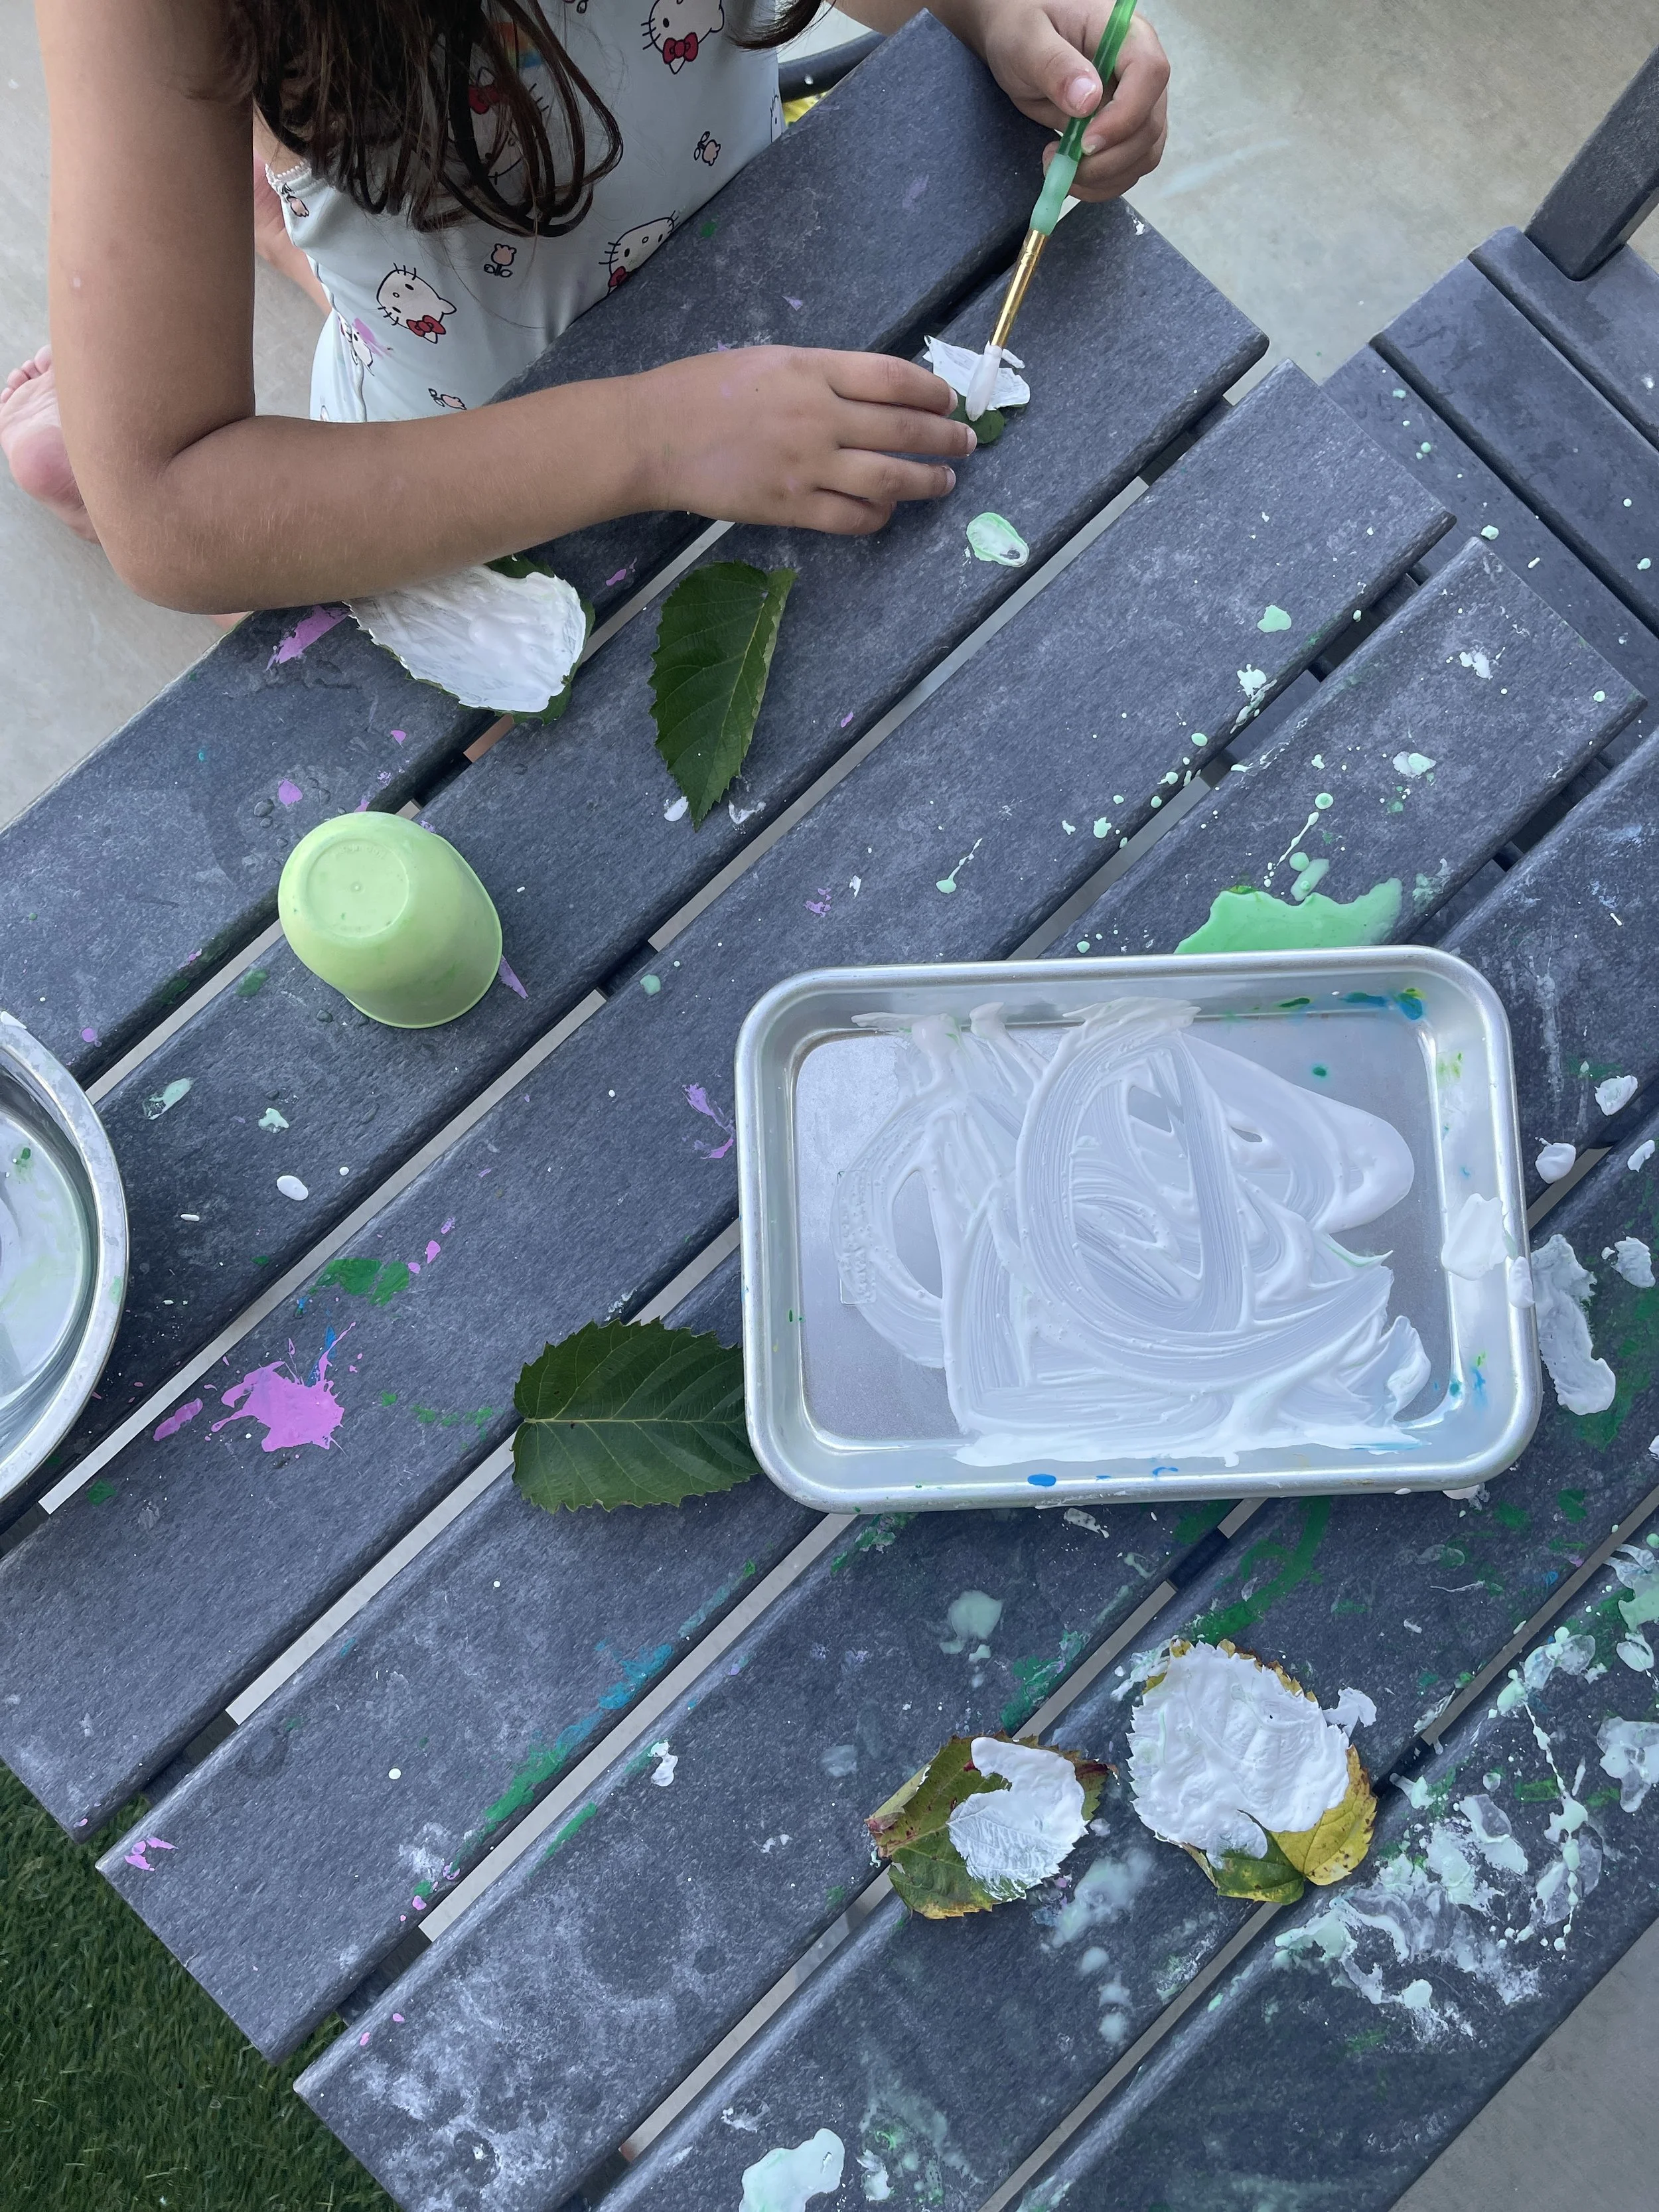
Materials: Fresh leaves, sticks, nature bits, washable paint (1-2 colors is fine), brush, small cups or trays, surface cover
Invite children to gather a handful of nature bits and set out paint in small cups or trays. Paint directly onto the leaves, flowers, and sticks, using the veins and edges as part of the design.
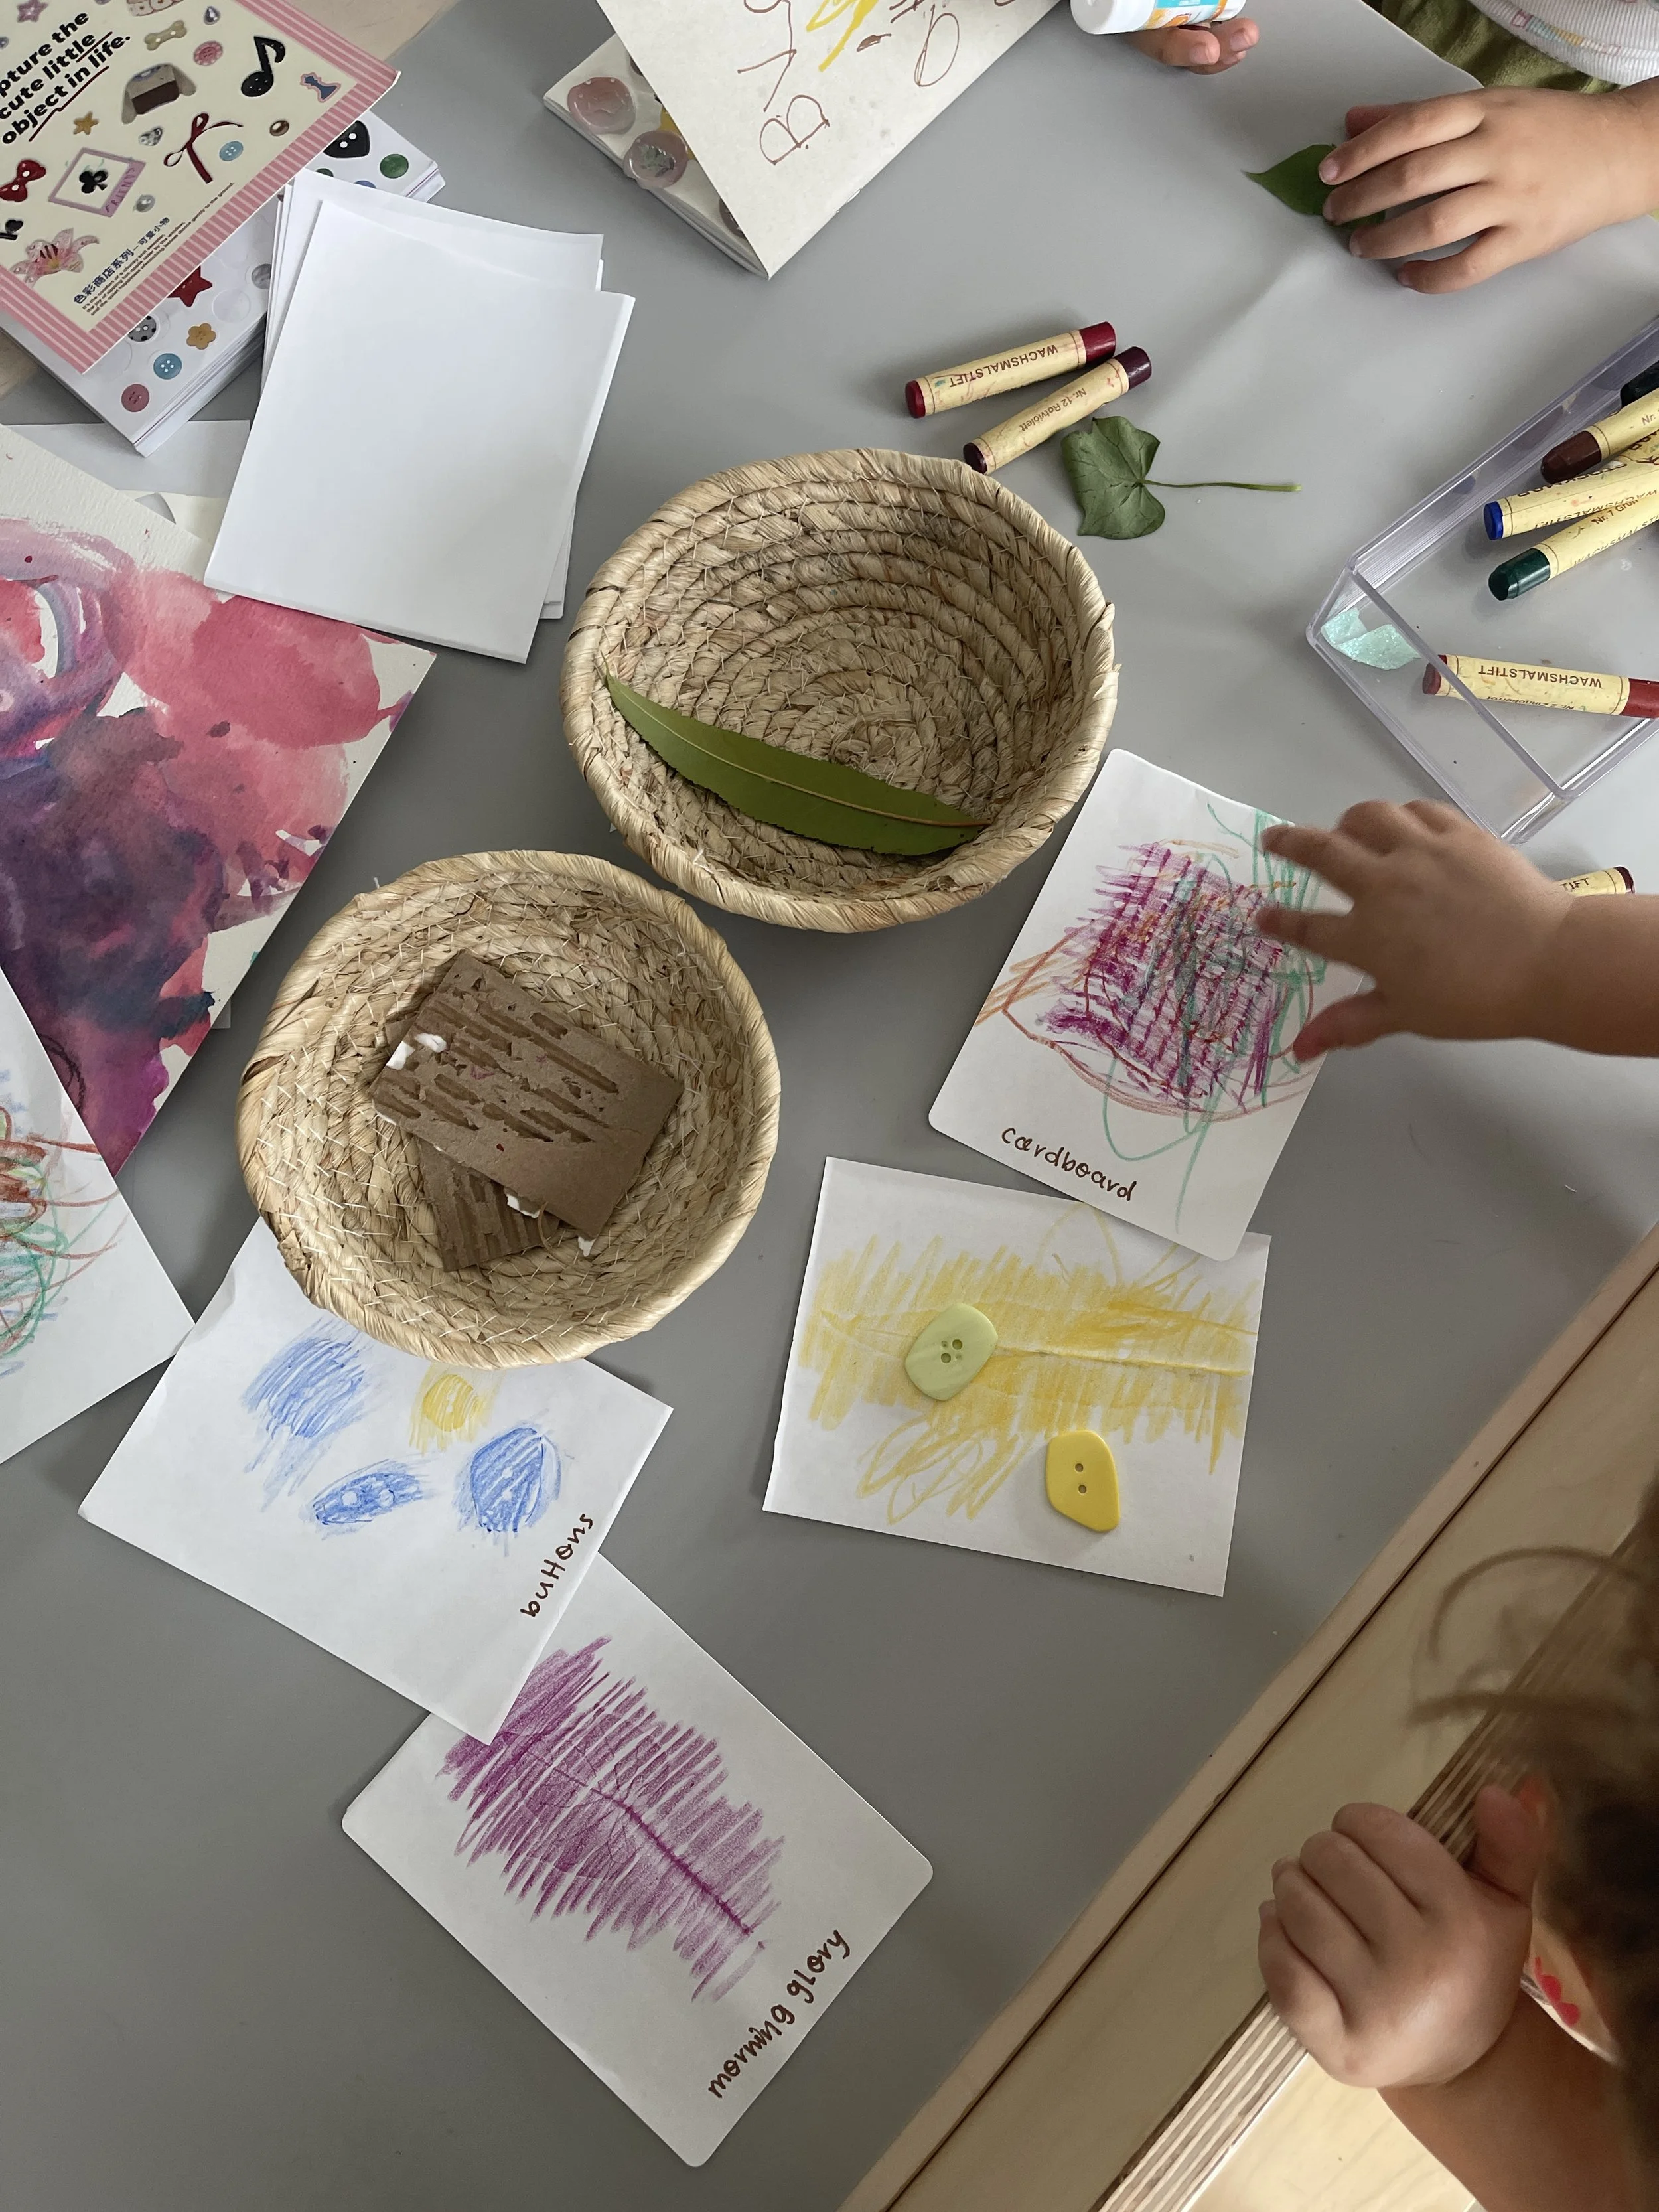
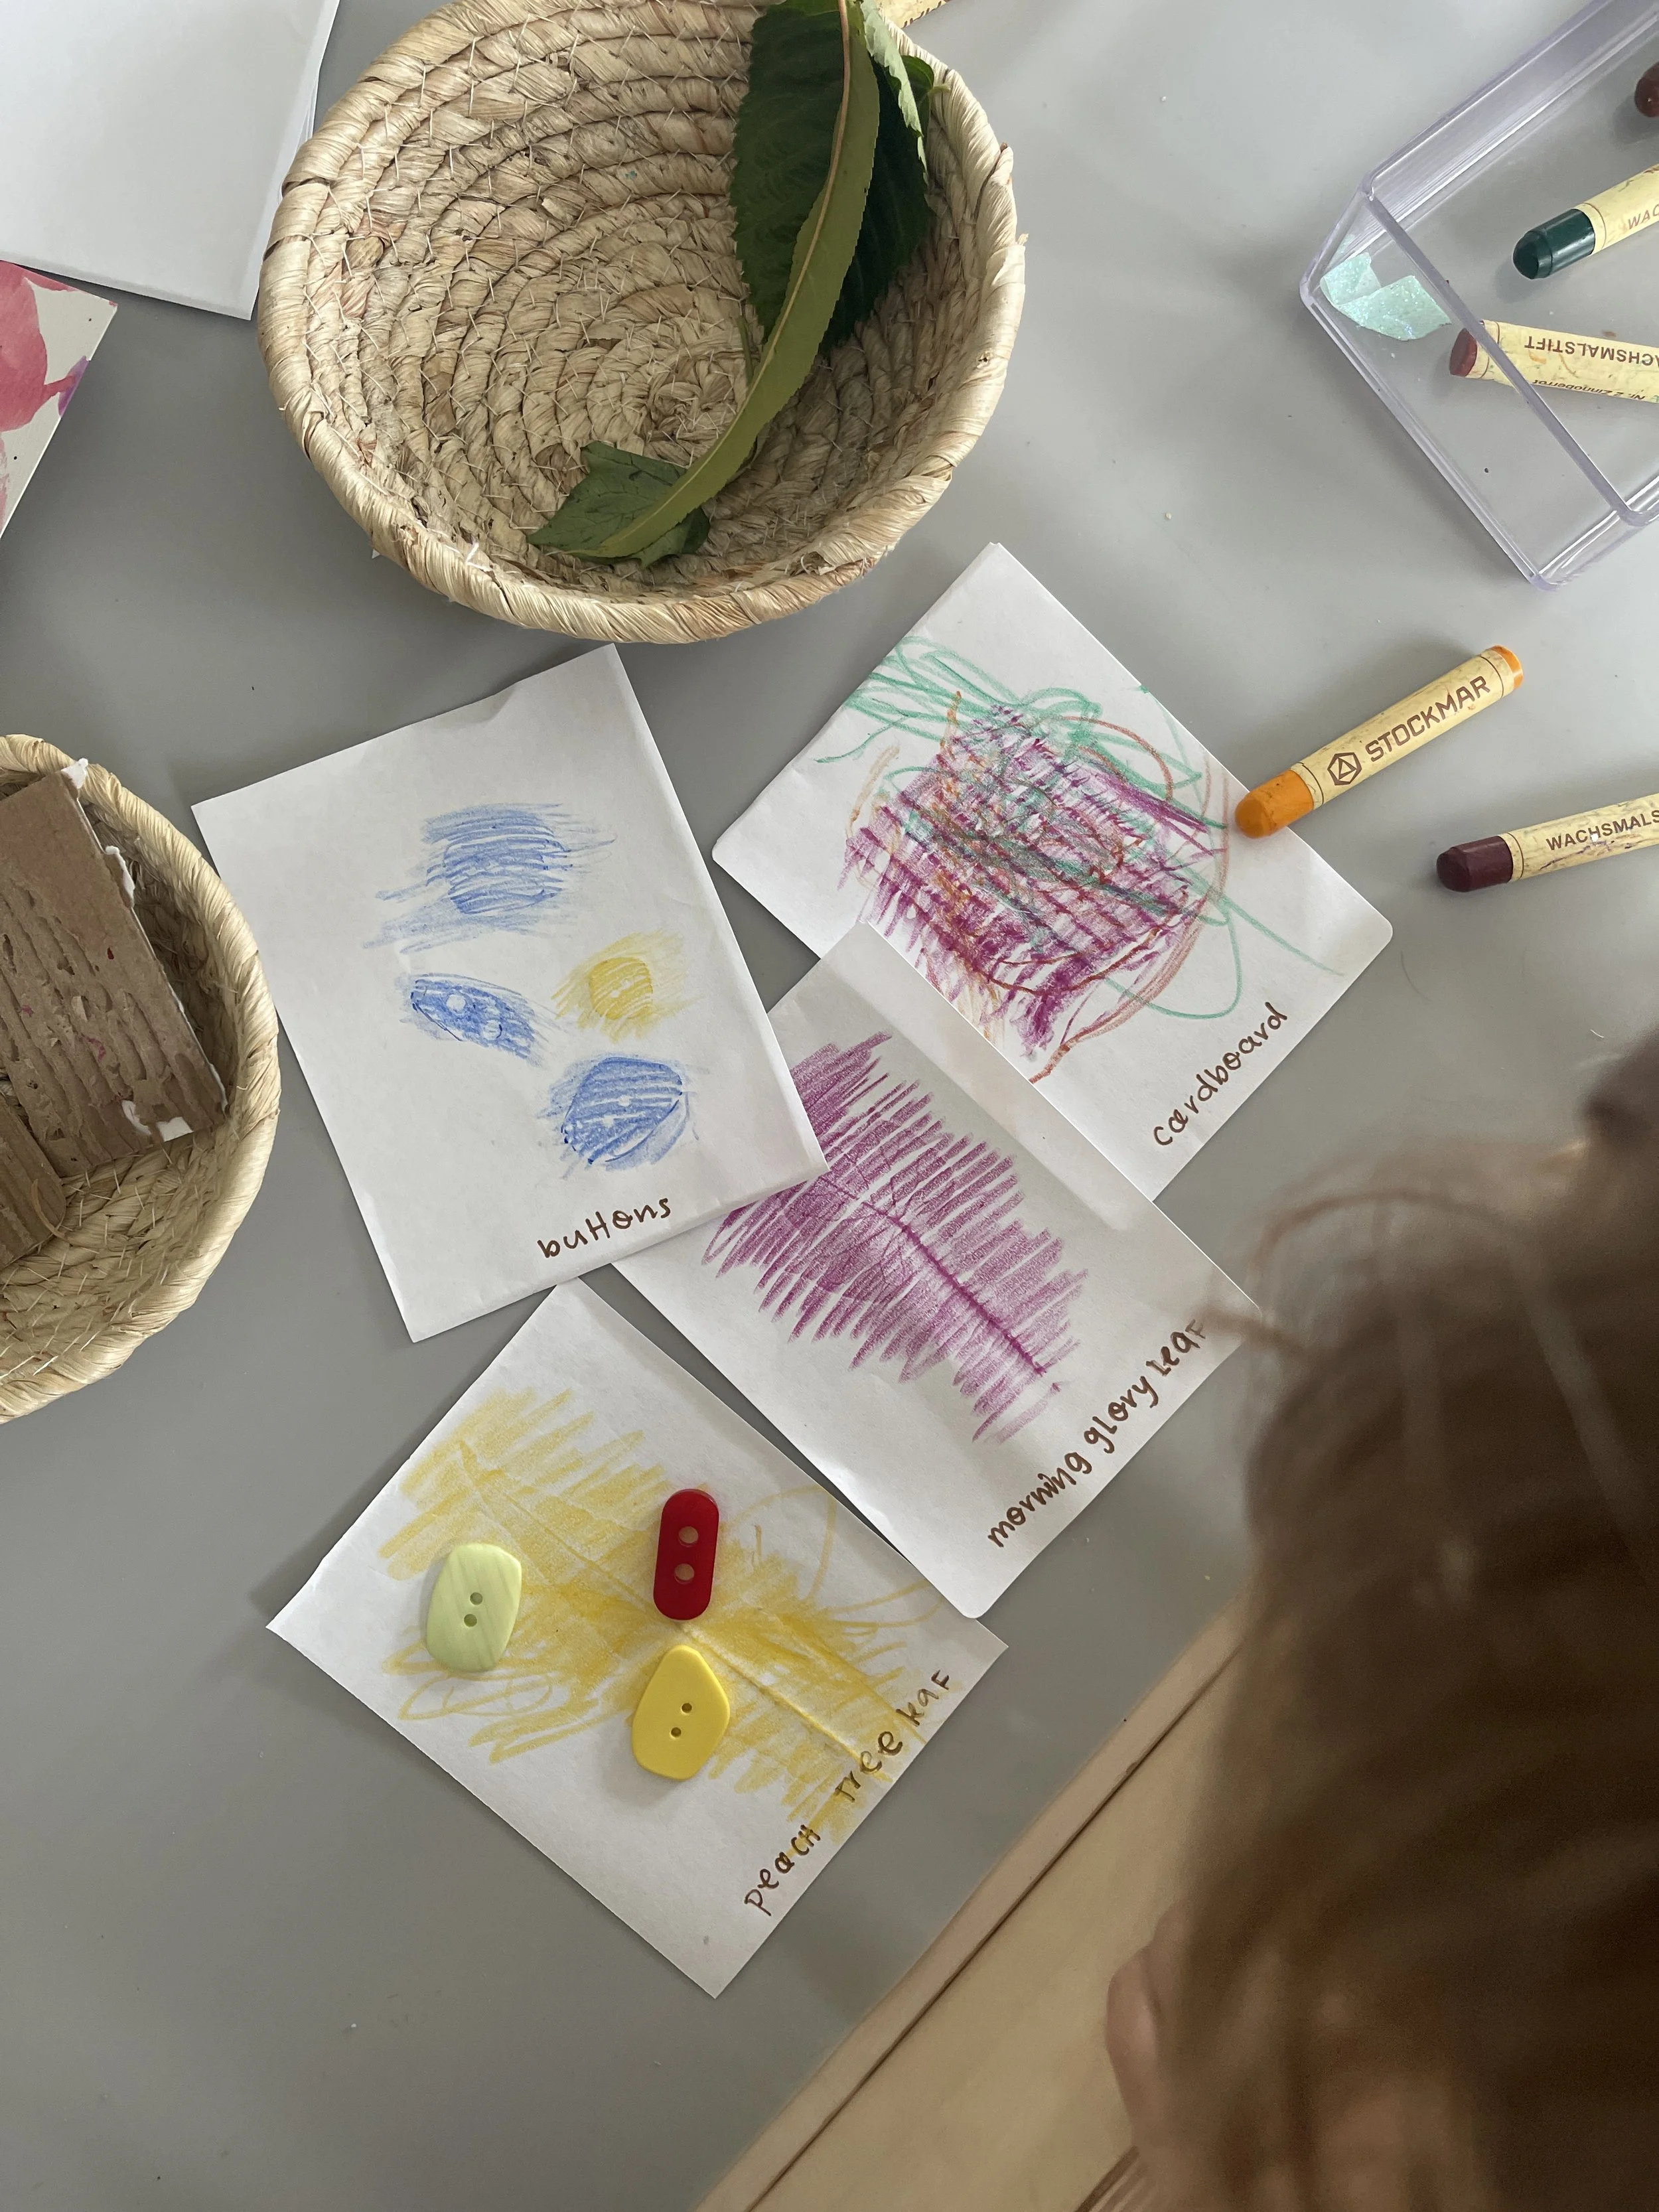
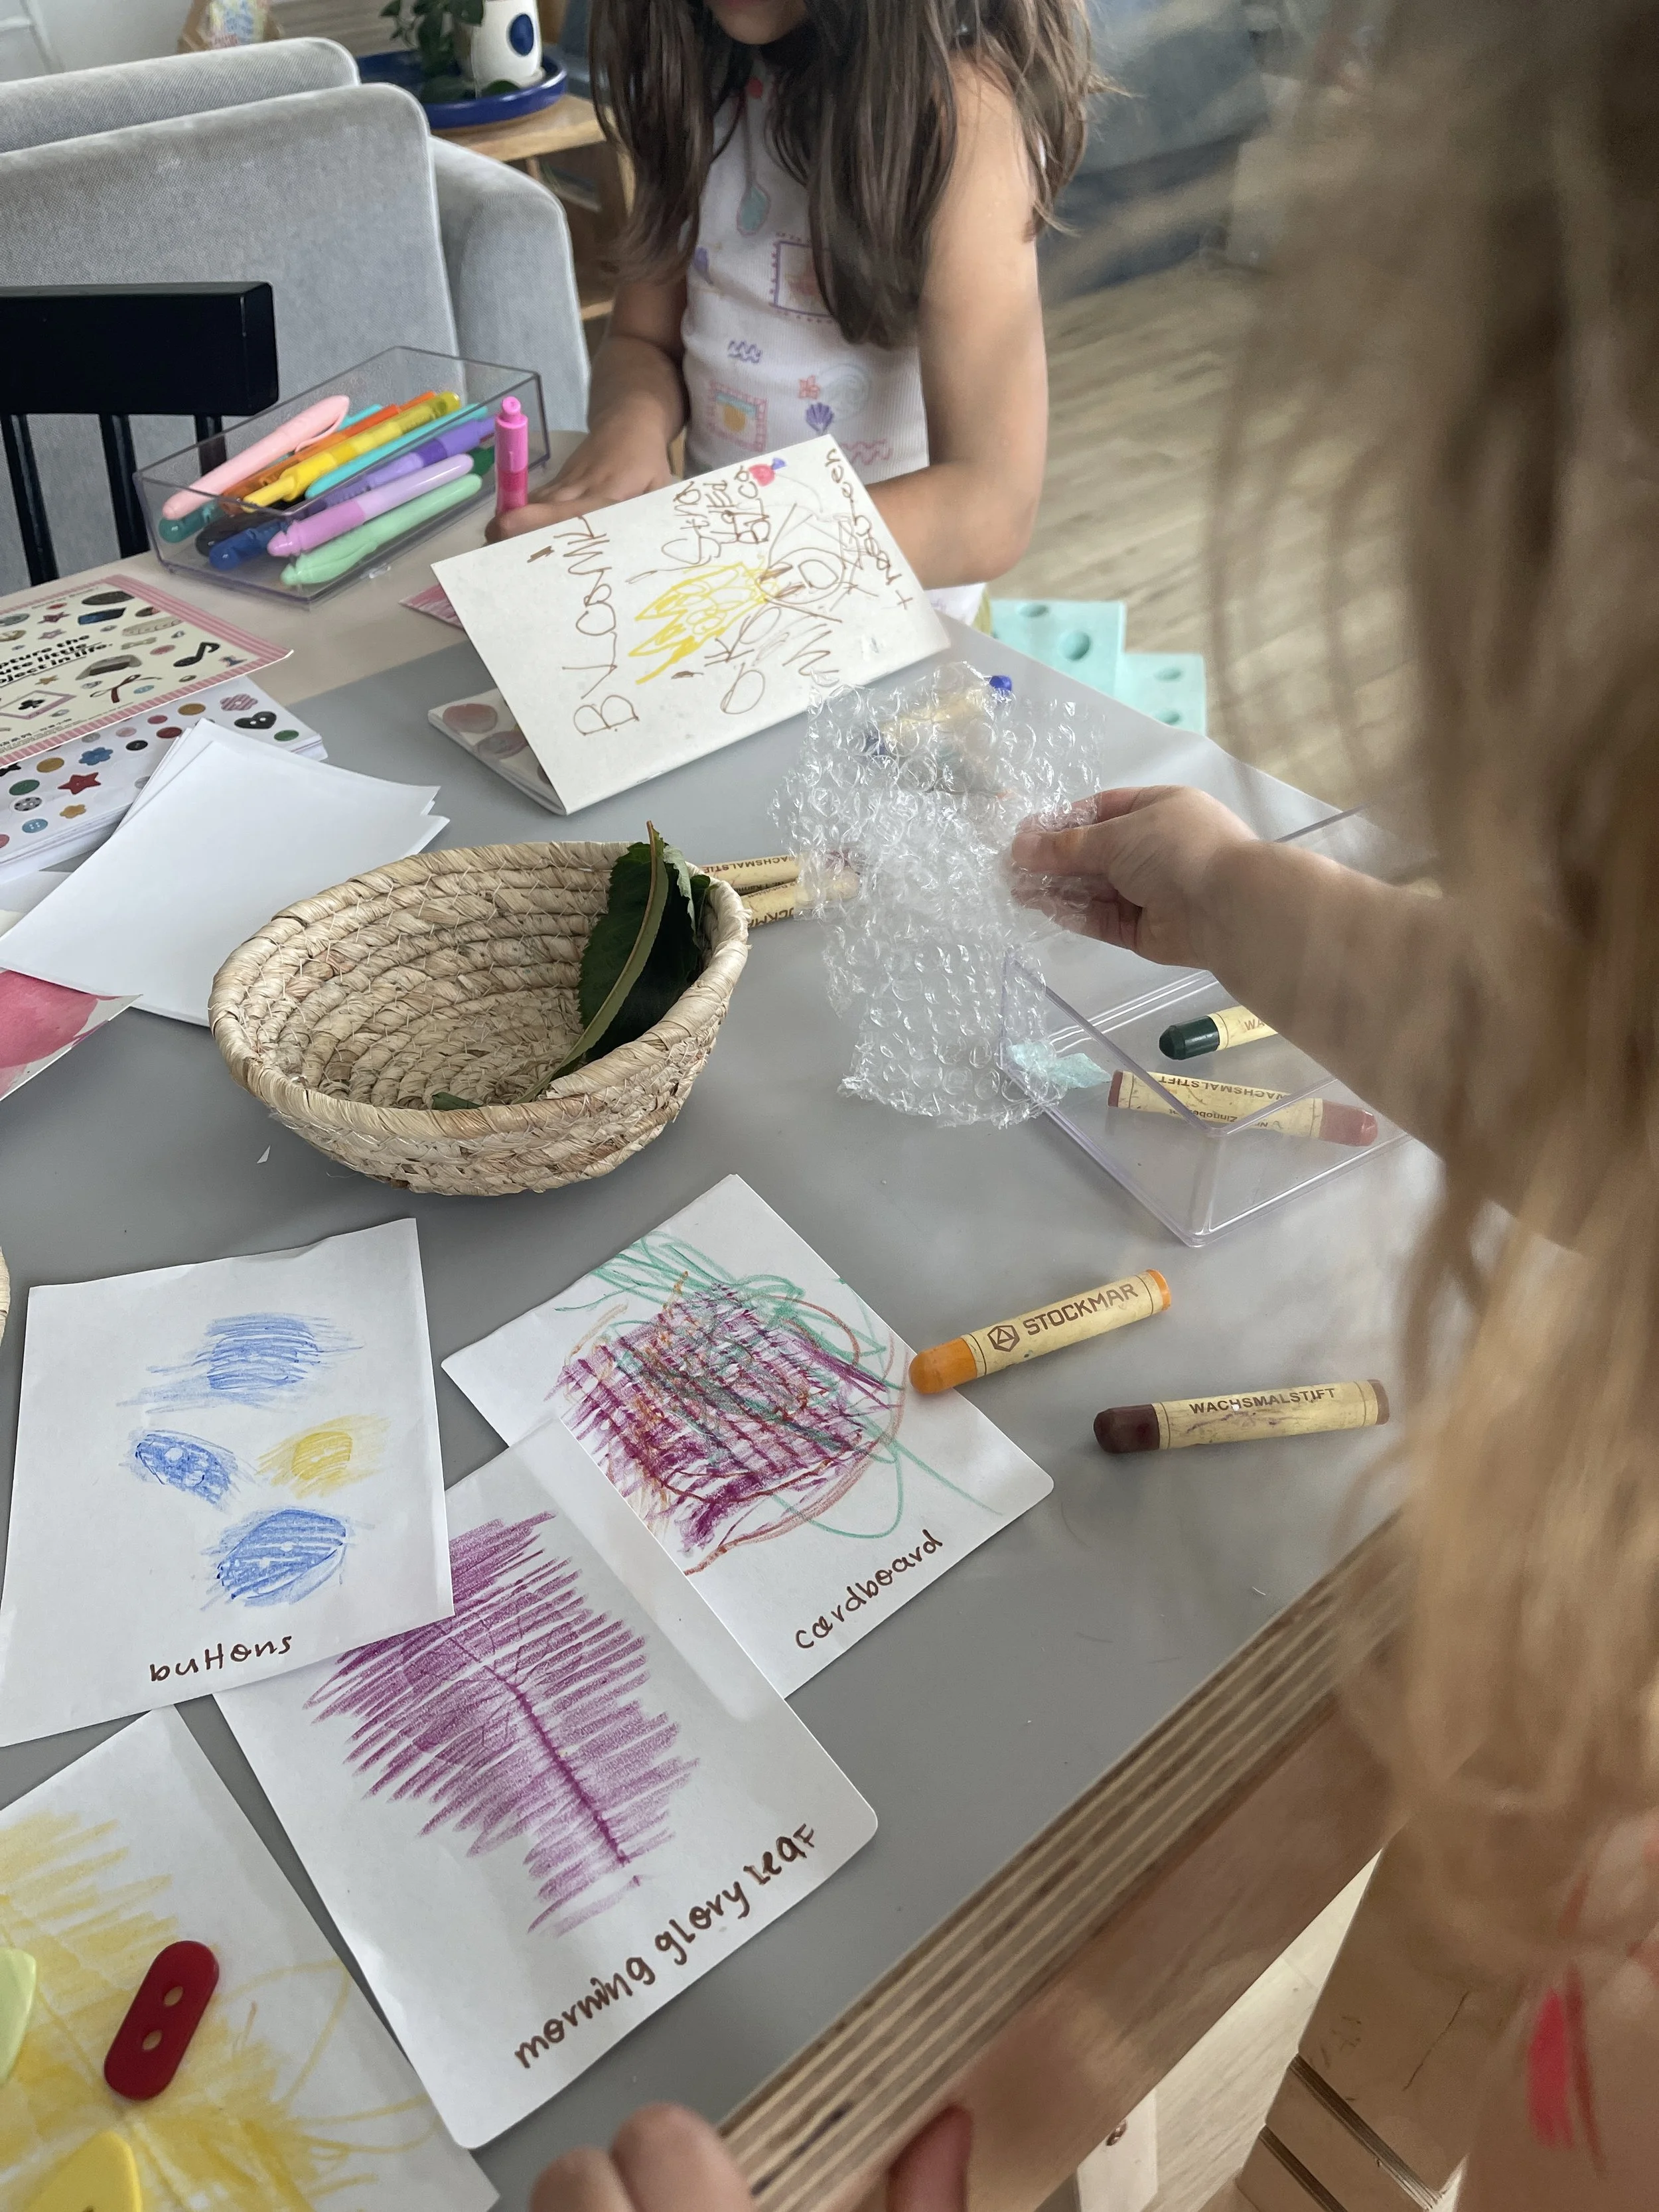
6. loose parts crayon rubbing cards
Materials: Copy paper cut into cards, crayons, different shaped leaves, large buttons, flowers, corrugated cardboard.
Place different kinds of loose parts along with your crayons and paper. Invite children to place the loose parts under the paper and start rubbing the crayons. Younger children may need some help with this and are more excited about what starts showing on top of the paper as part of the process.
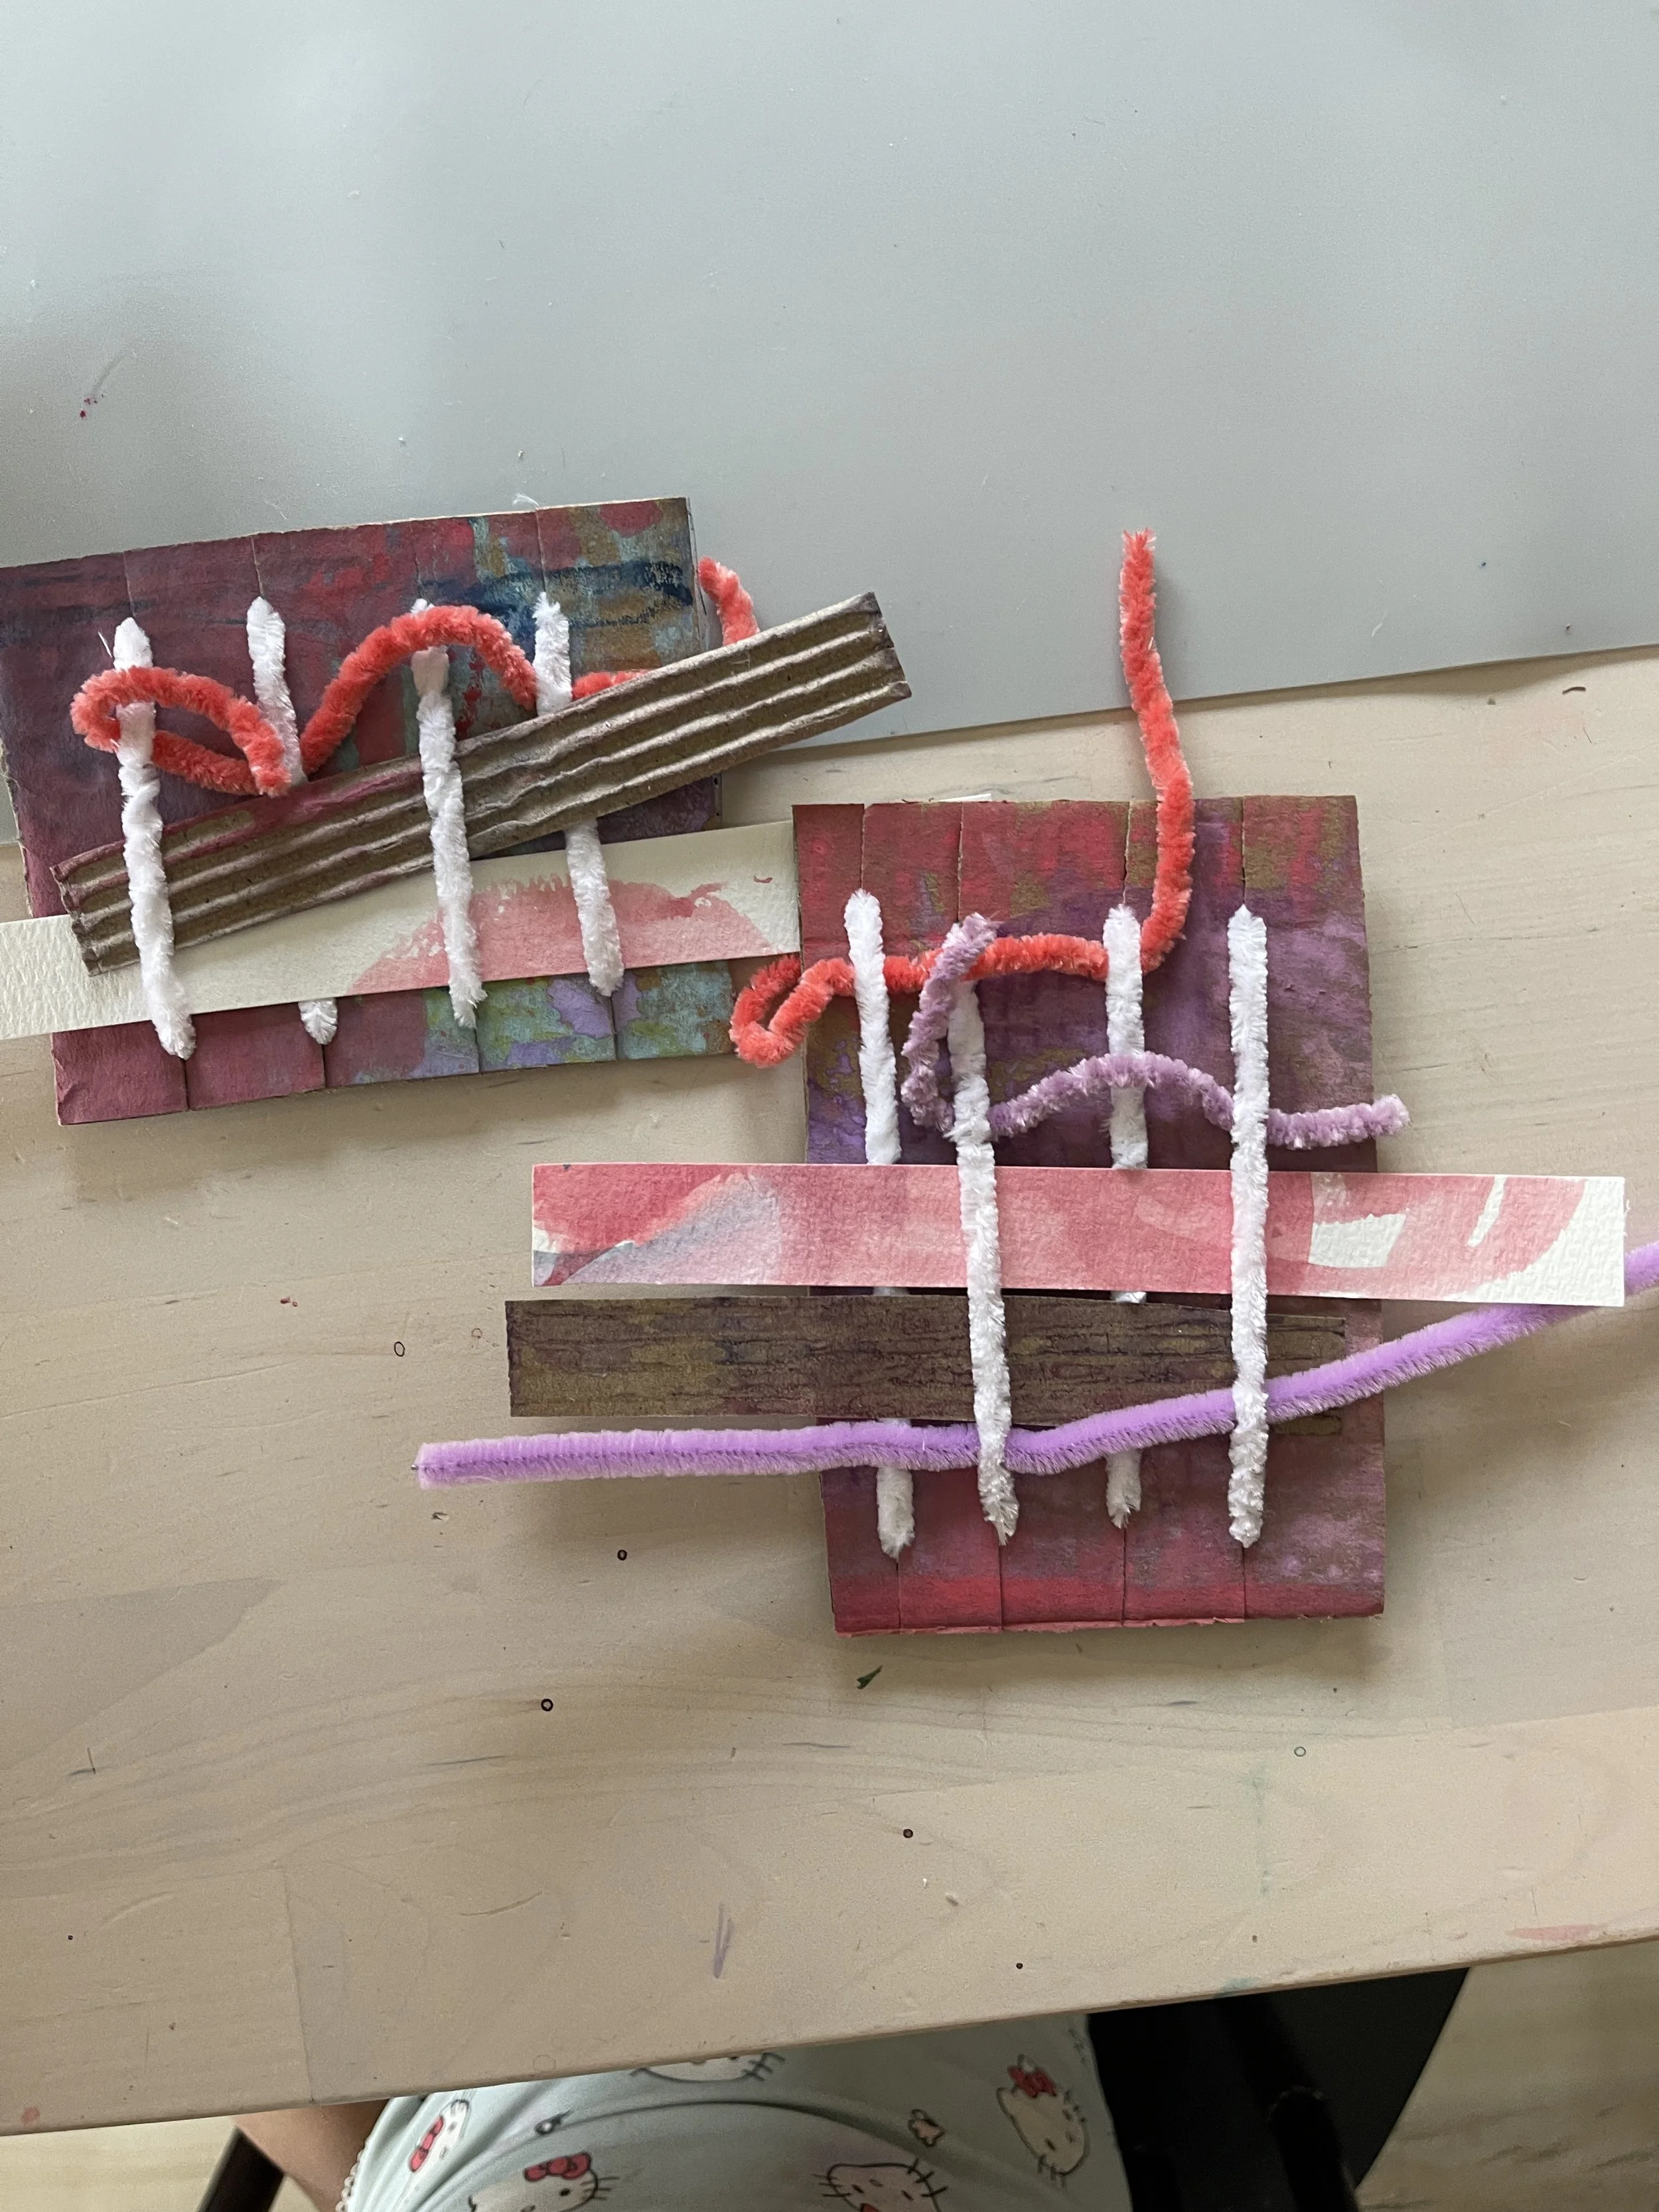
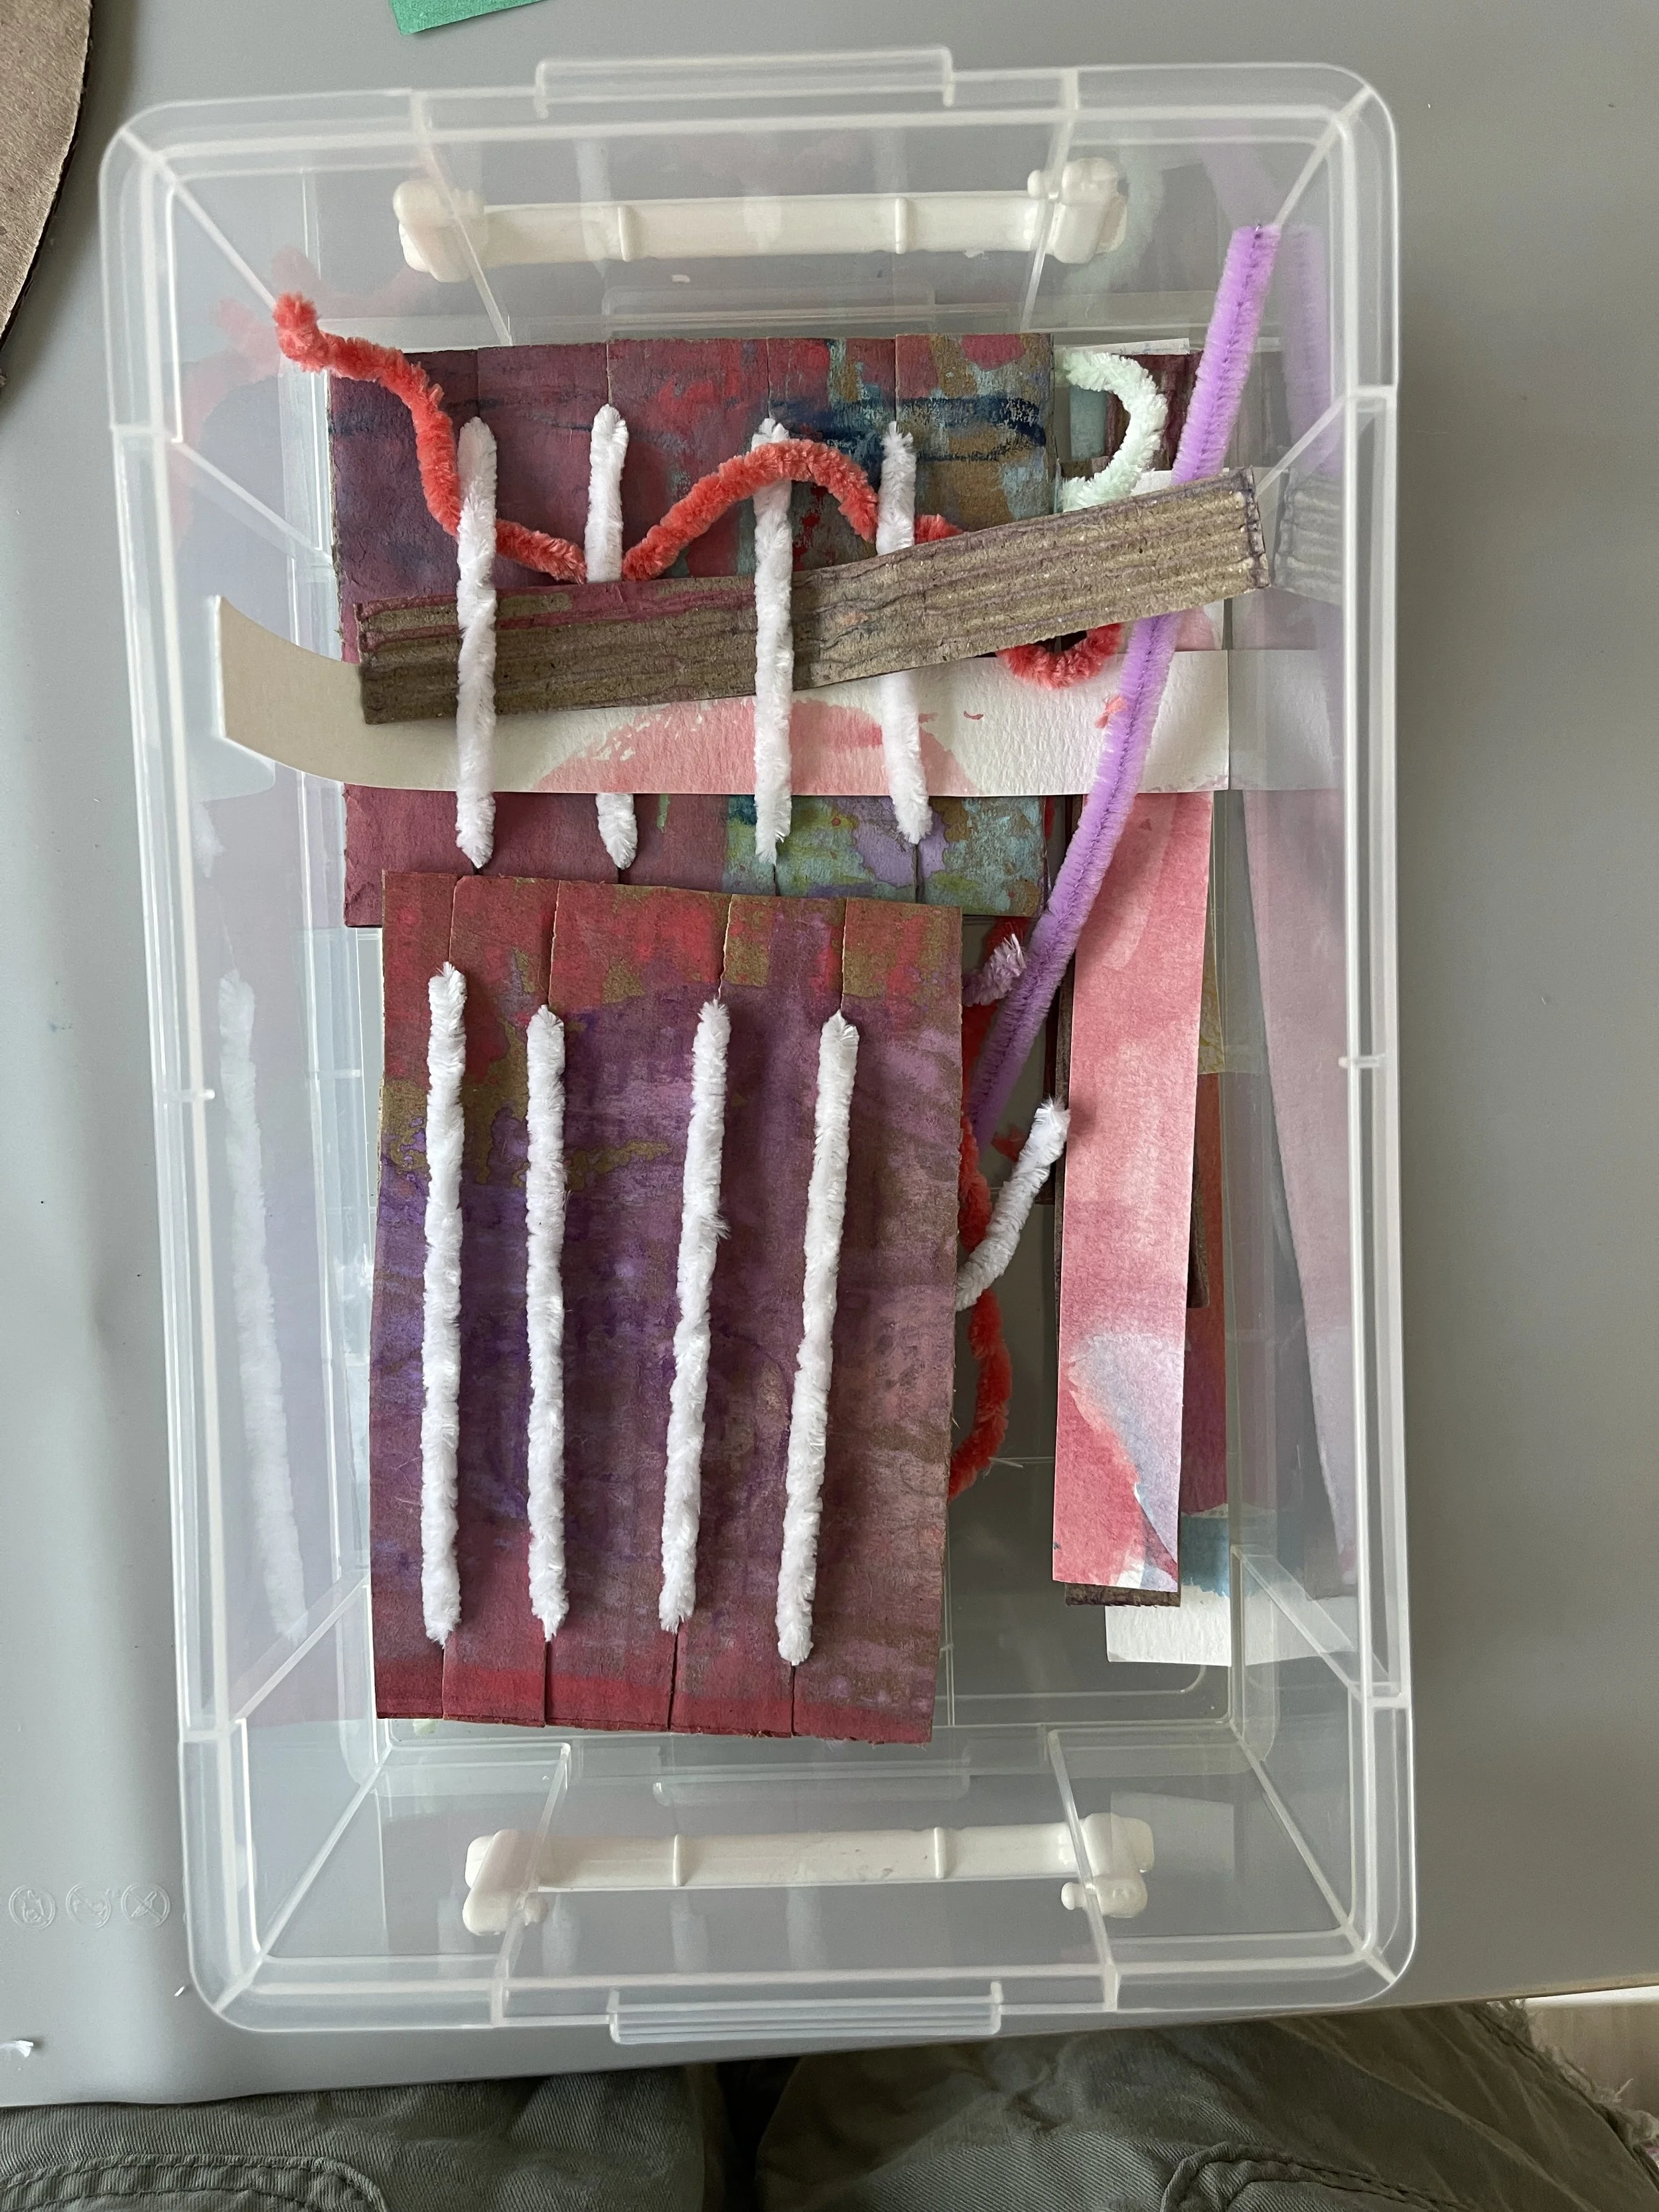
7. Mini Looms
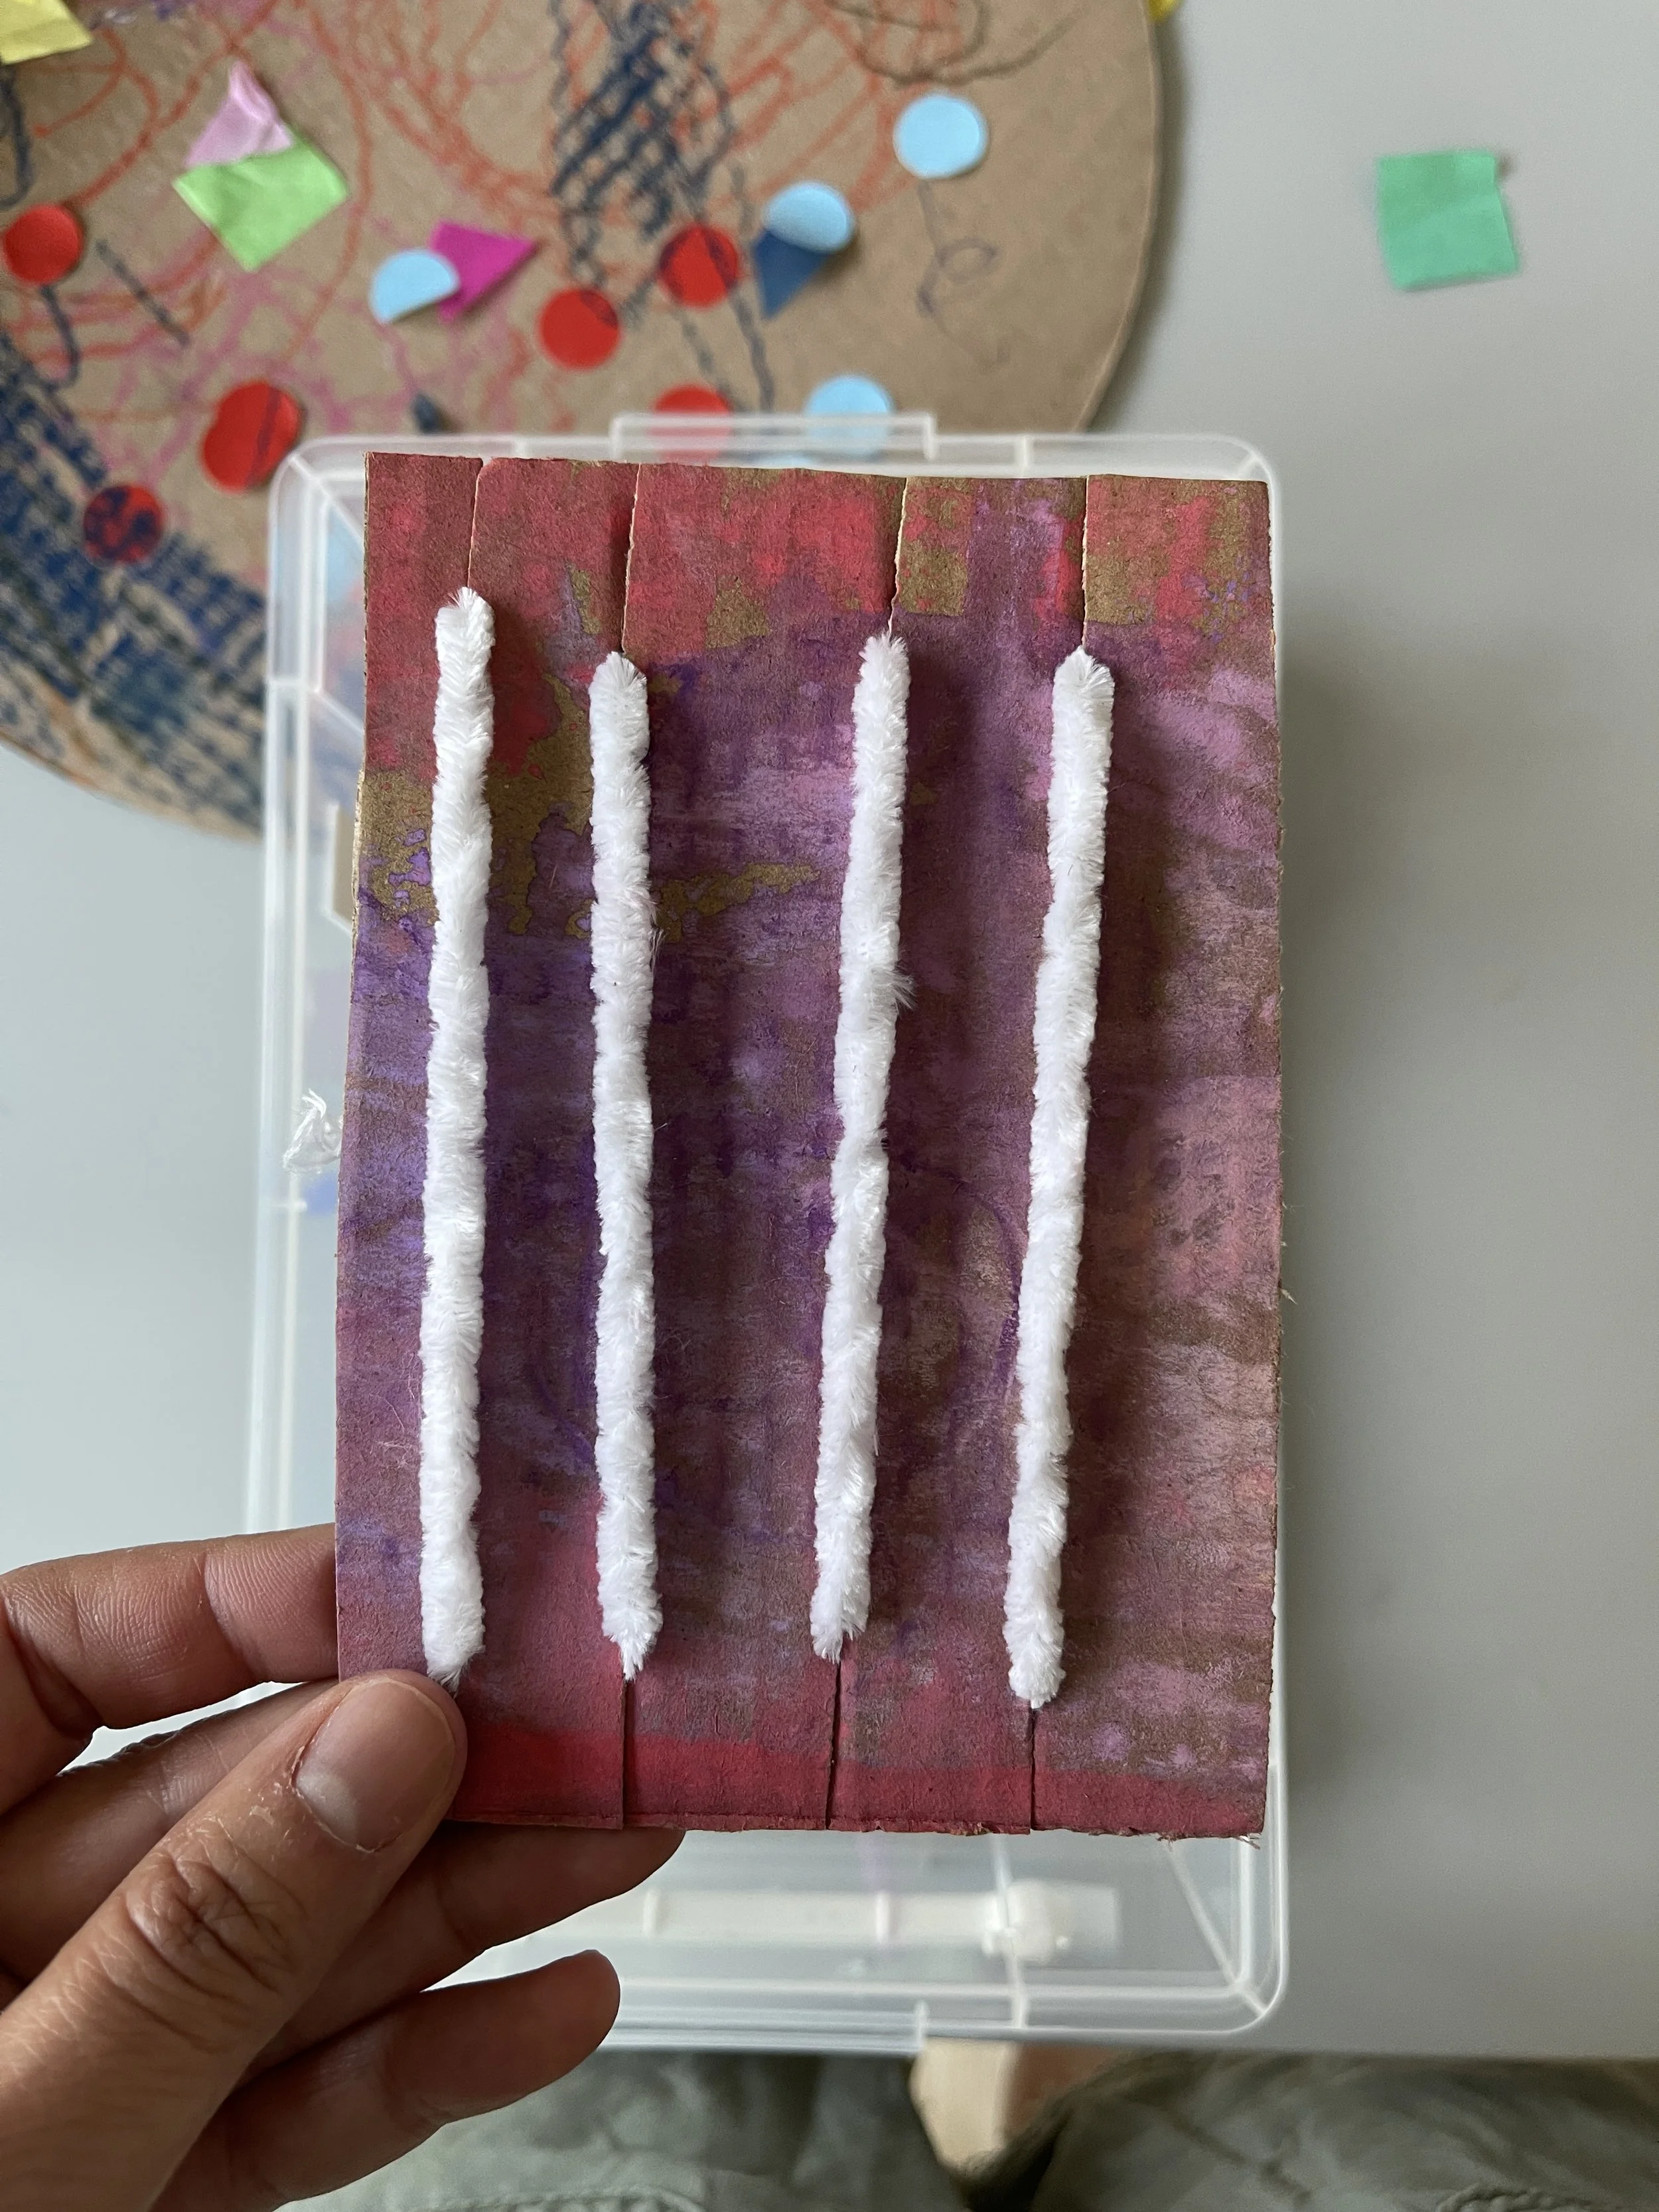
Materials: Cardboard scraps cut in a rectangle, yarn, pipe cleaners, cardboard and paper scraps cut in strips
Cut the cardboard at the top and bottom to make slits and loop your yarn across. Older children can help with this. Tie the back of the yarn to make your mini looms. Make a sample and invite your child to weave the materials over and under for some creative fine motor play. This is a great quiet box activity that is engaging and low cost!
8. Blooming Art Pieces
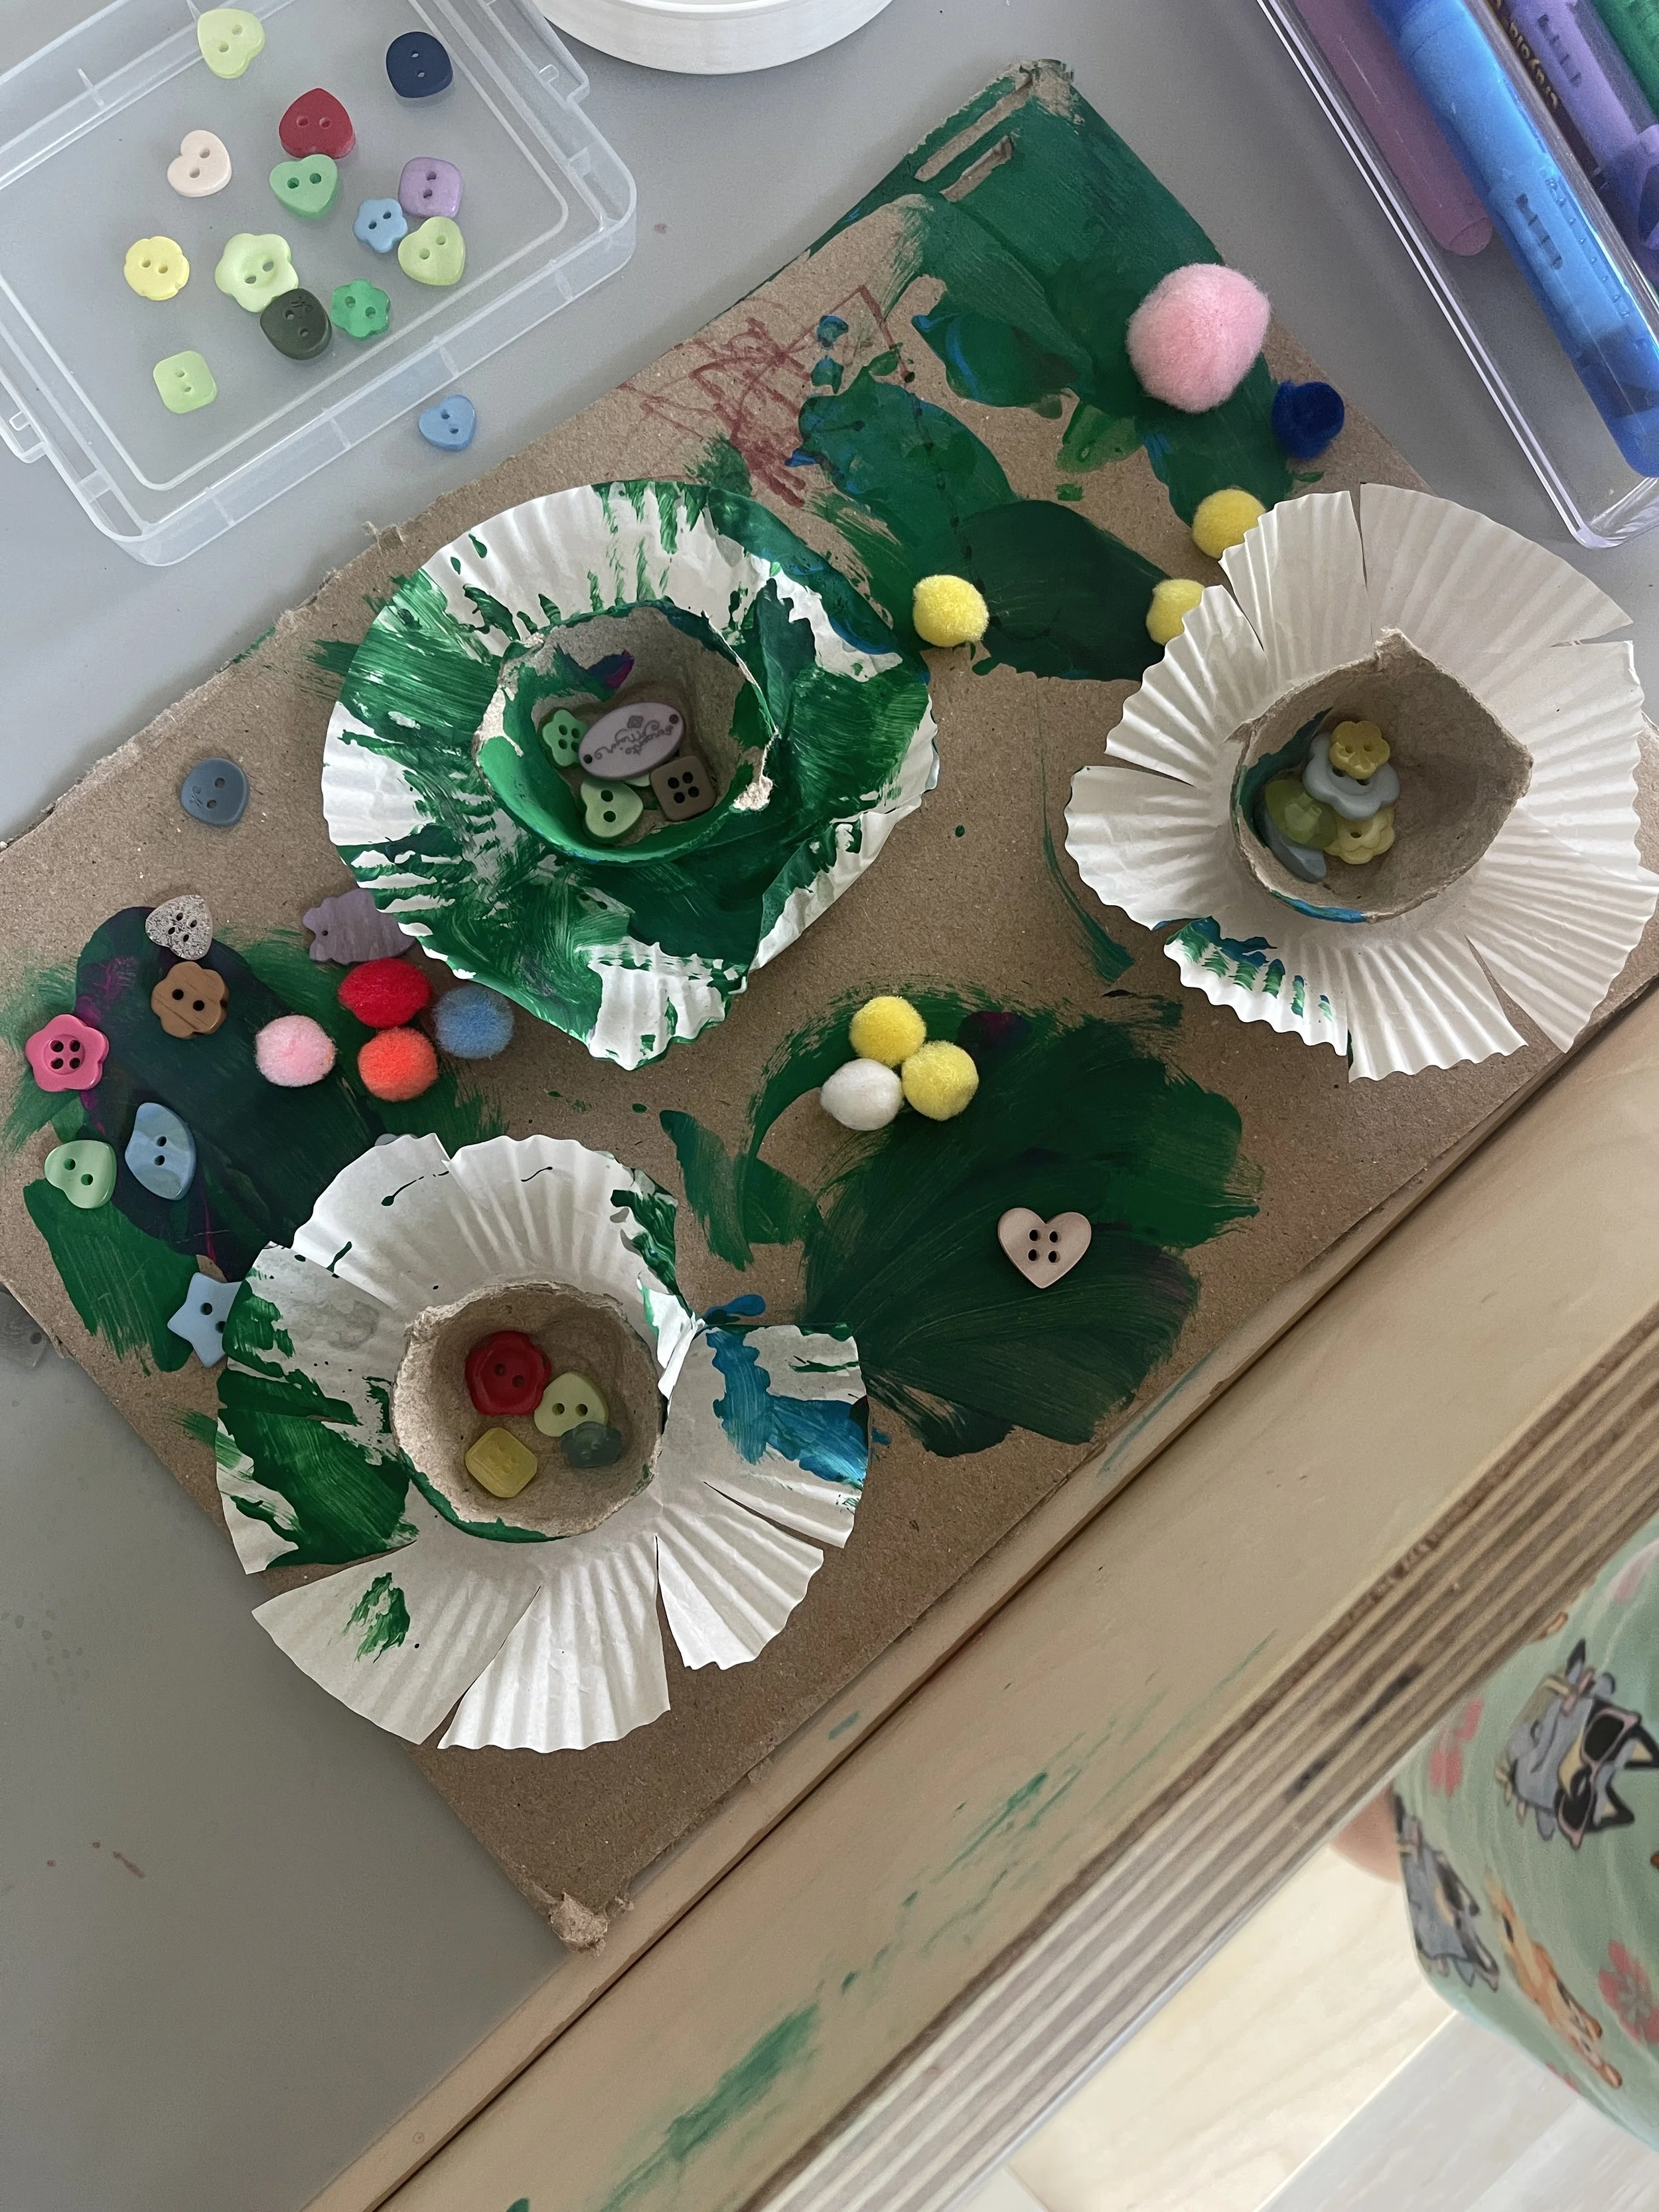
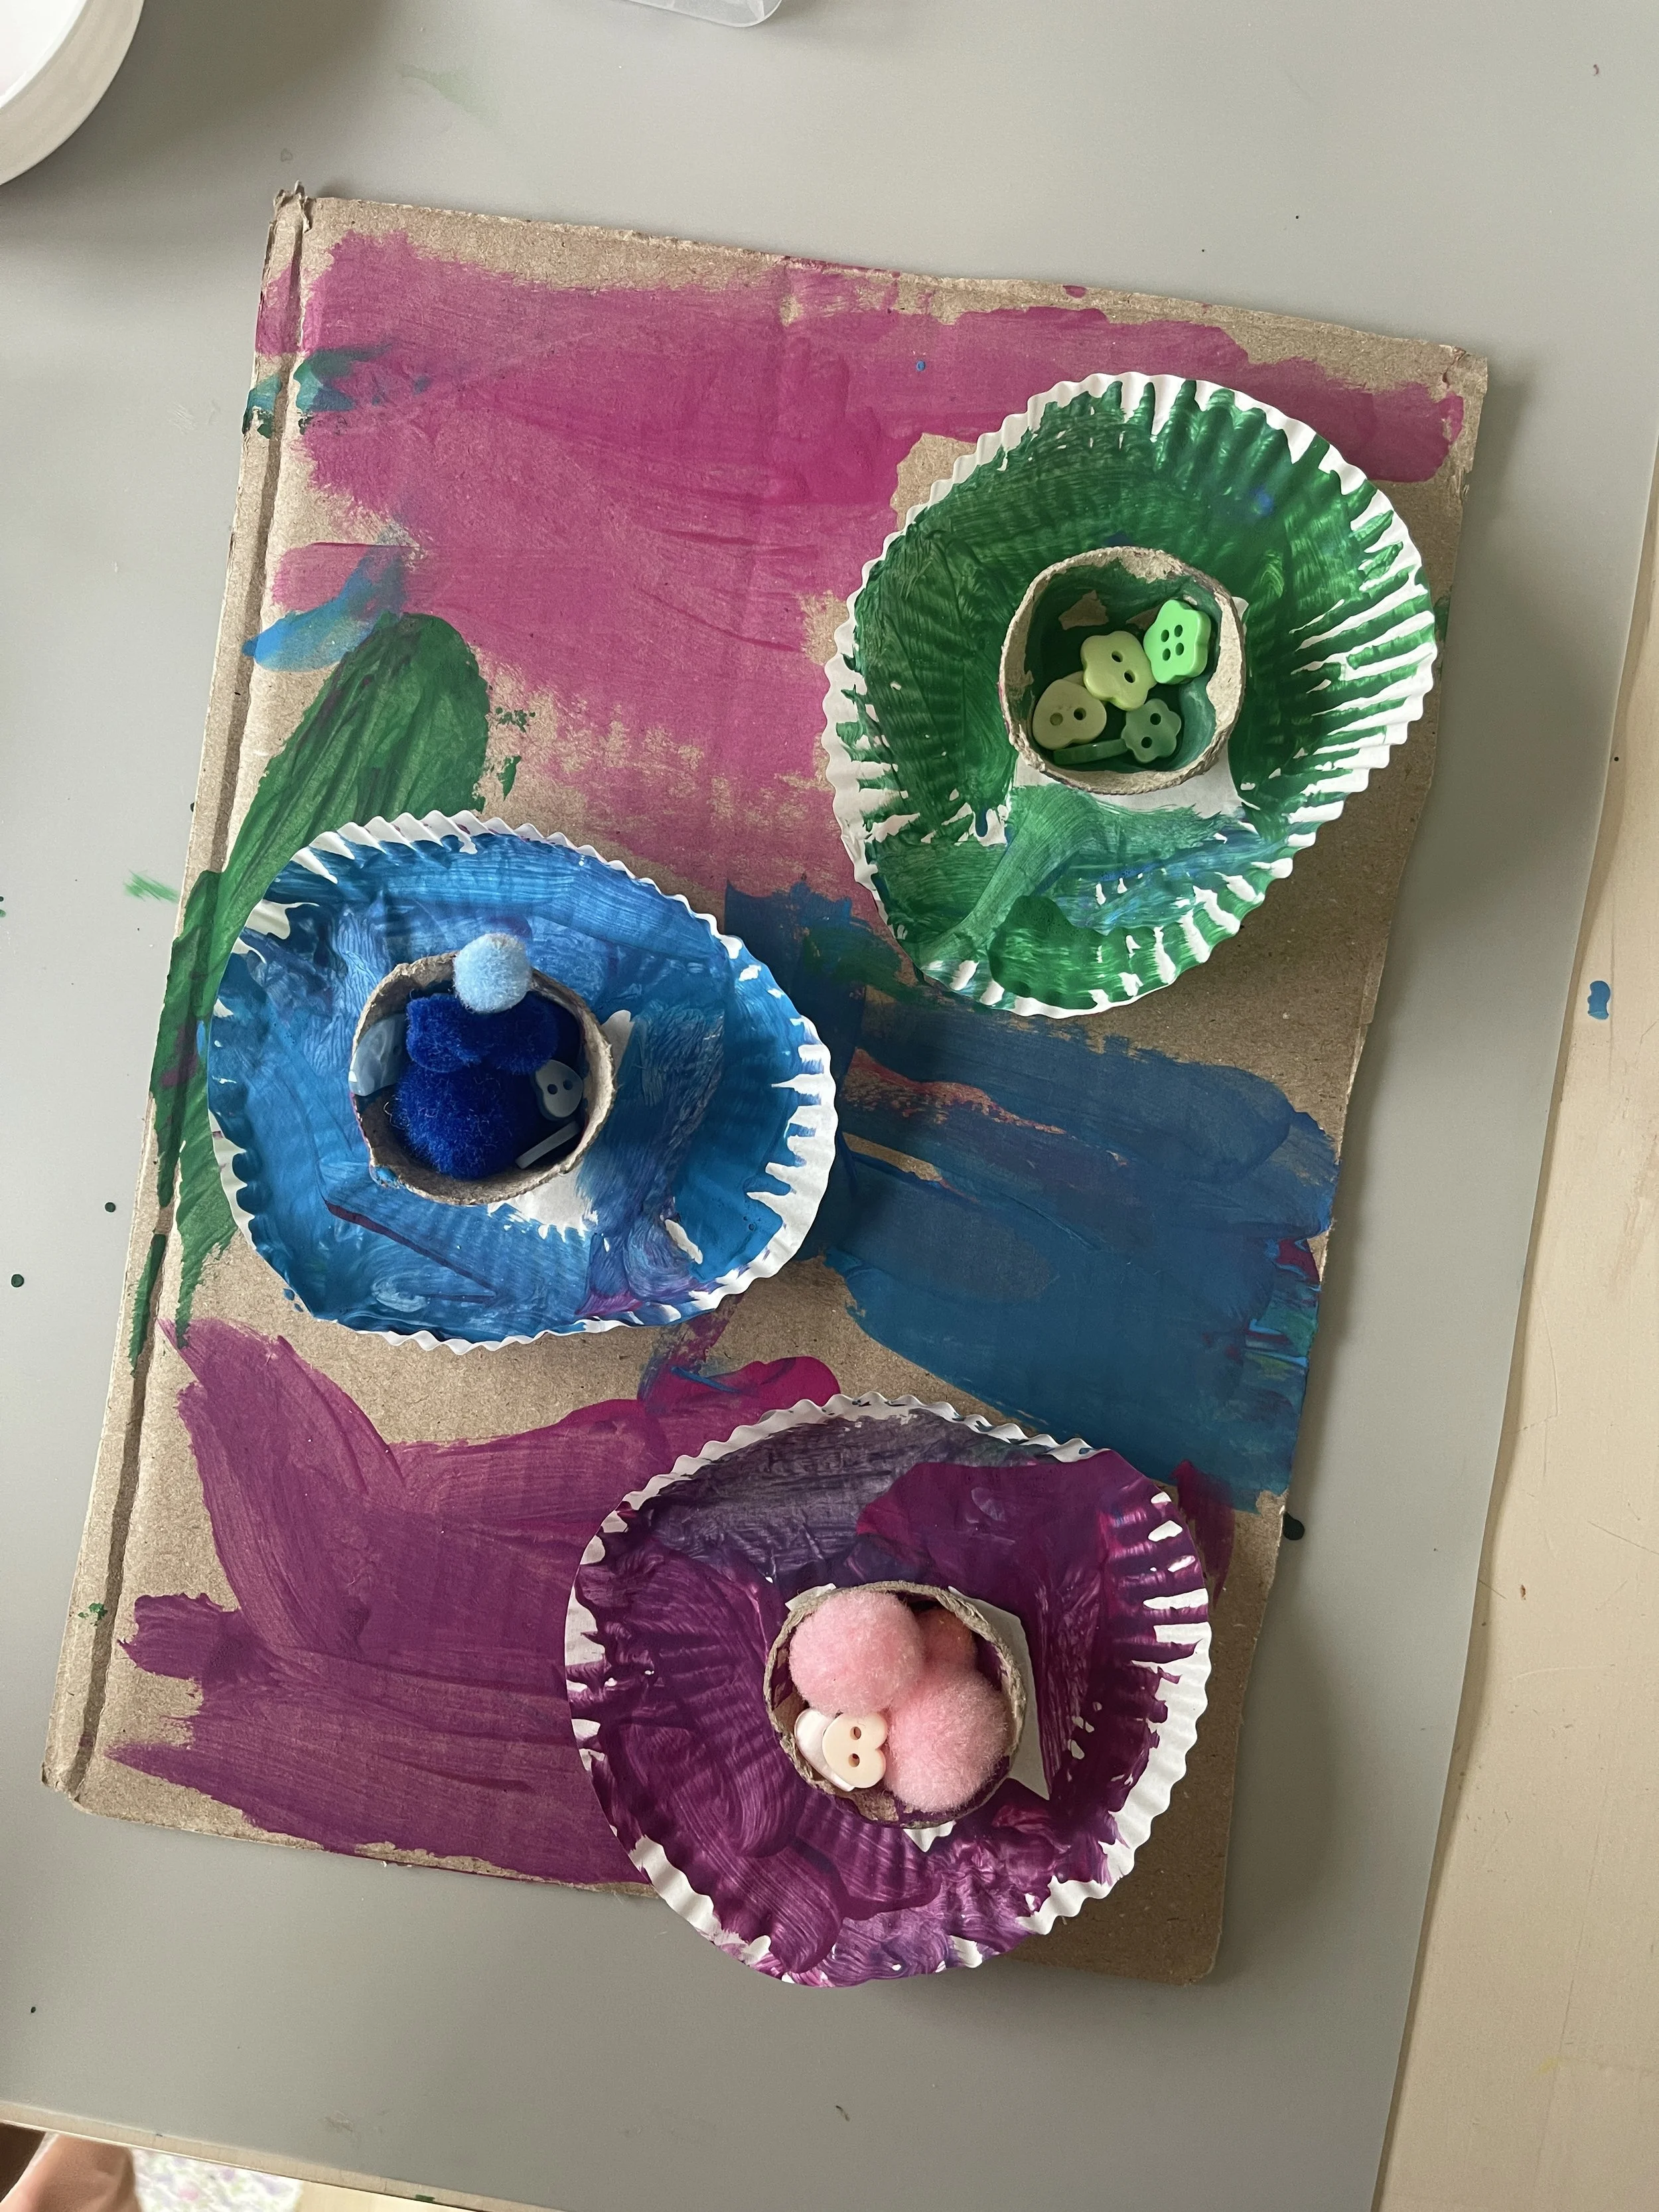
Materials: Cardboard, washable paint, cupcake liners, egg carton cups, buttons, pom poms, glue
Paint the cardboard base and let it dry a bit. Glue painted cupcake liners on top as "flowers," with an egg carton cup nestled in the center of each. Fill the centers with buttons and pom poms as the flower's details.
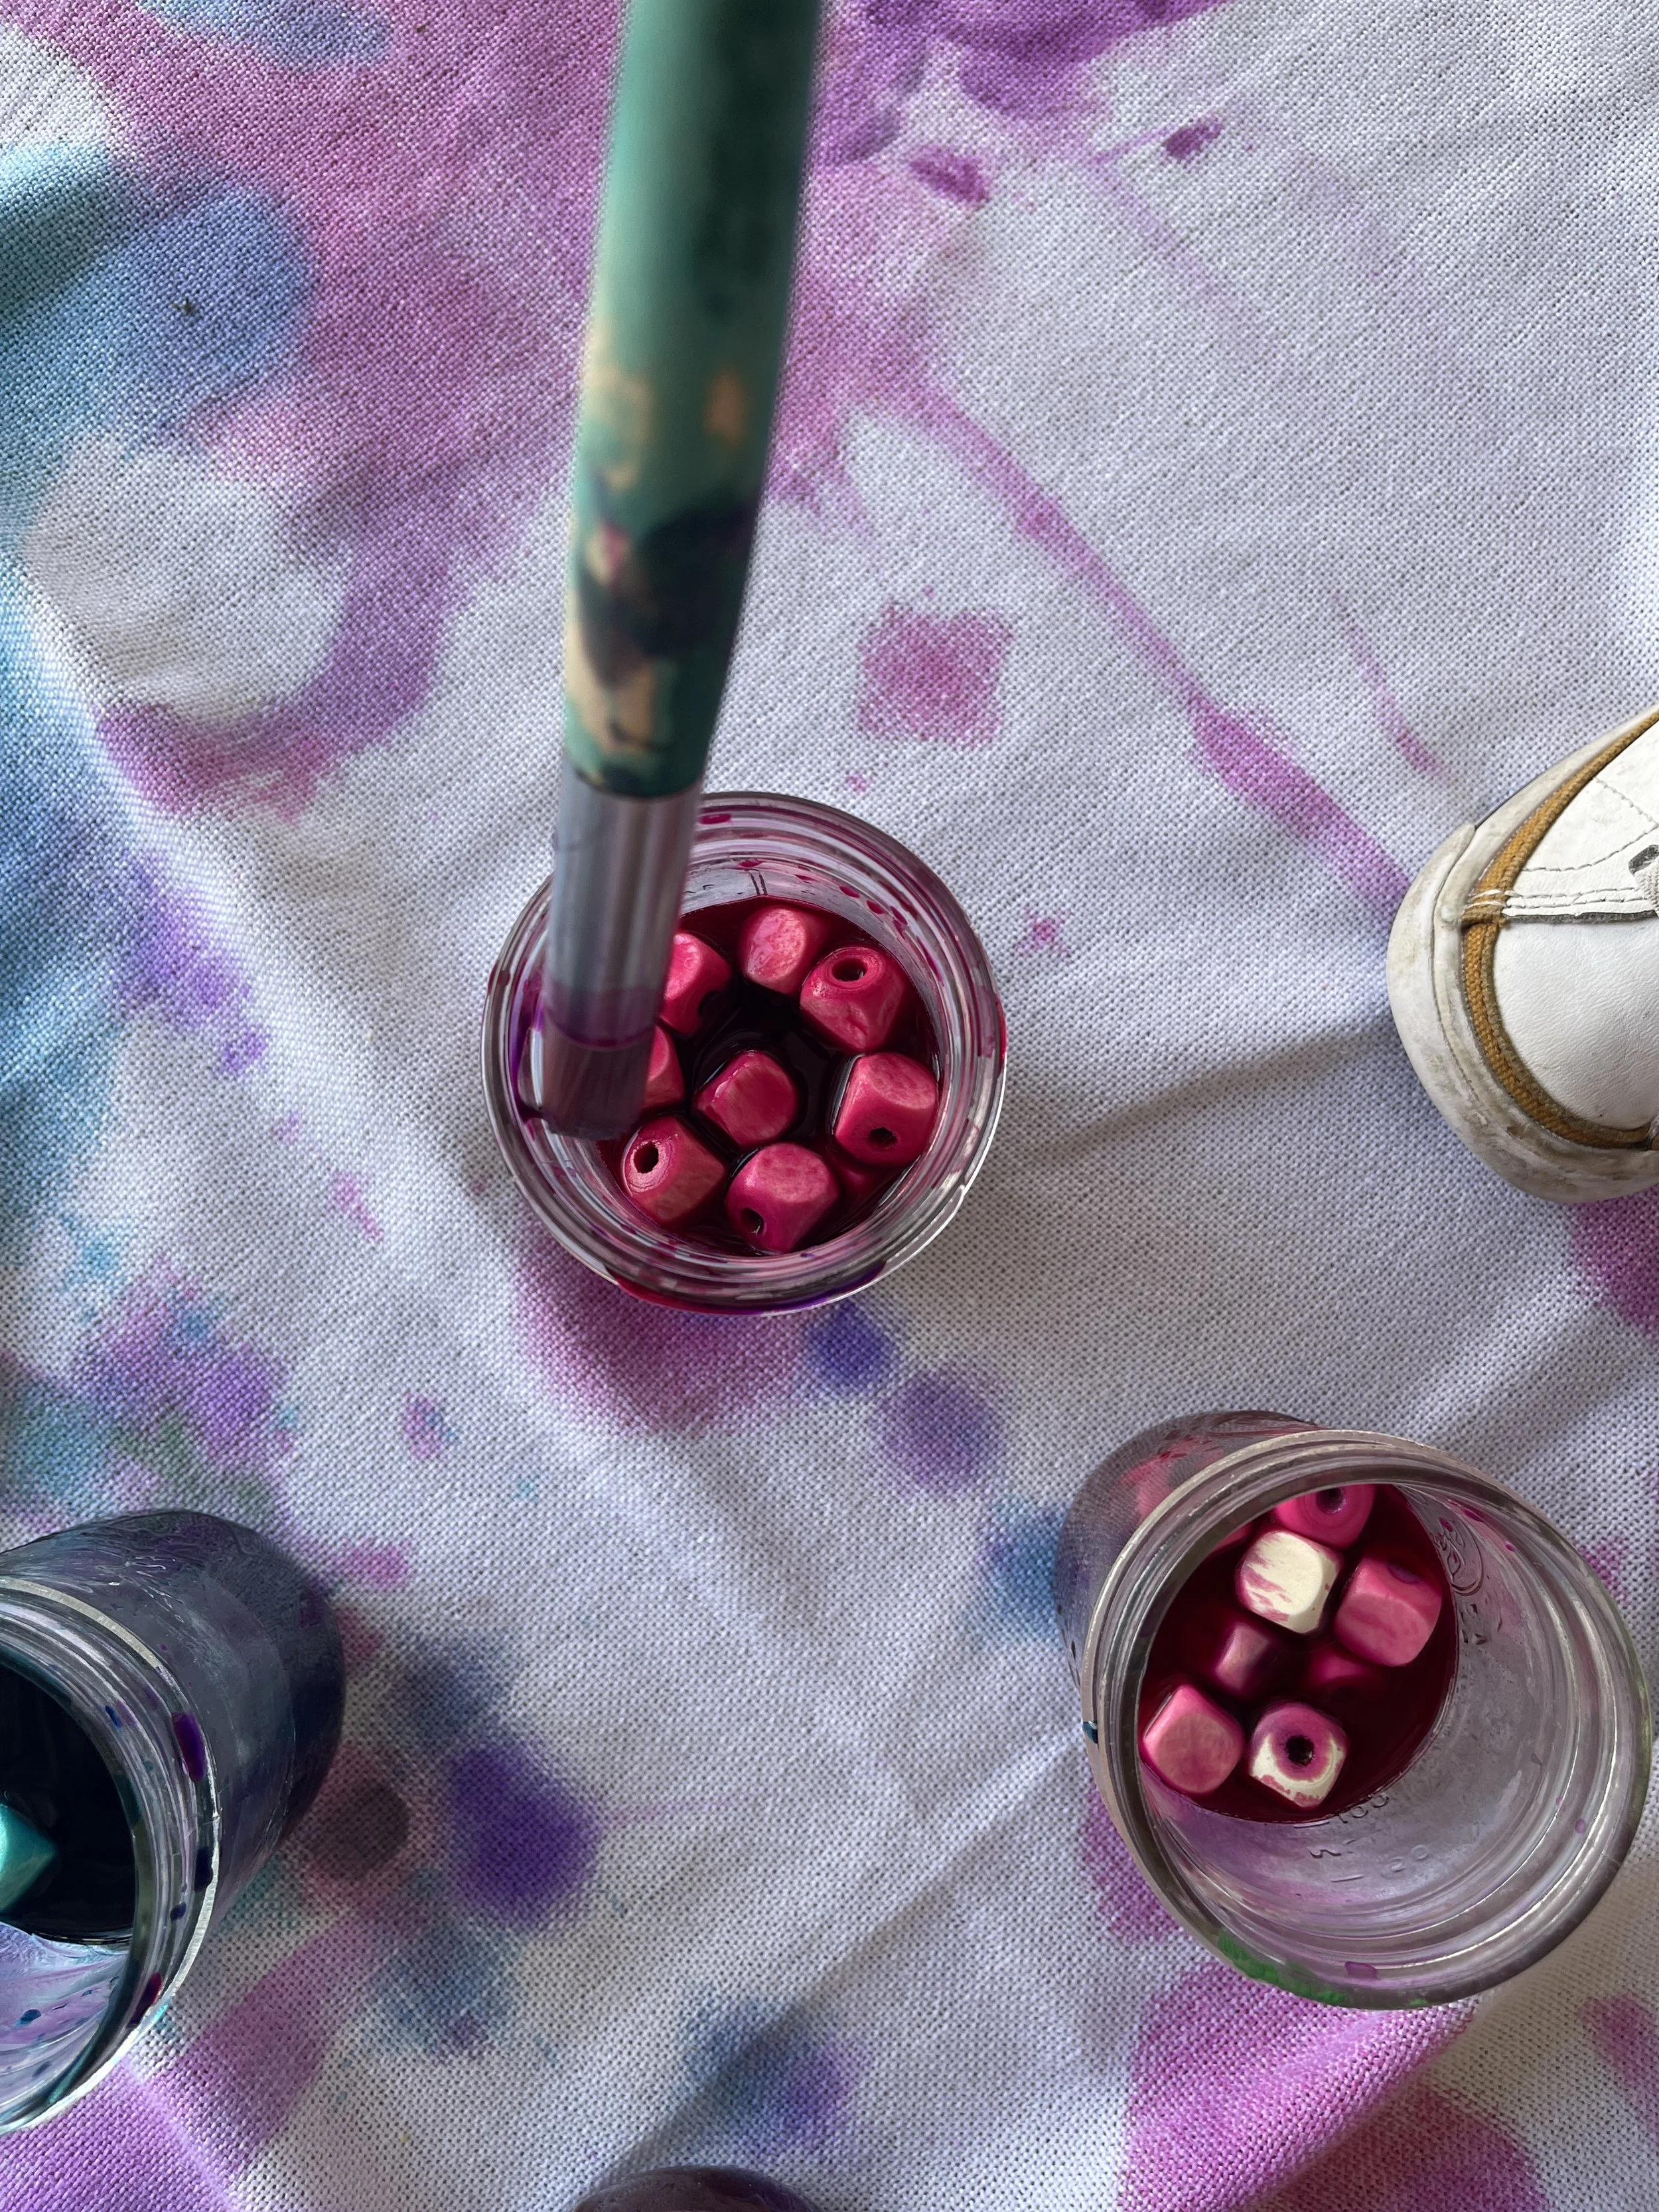
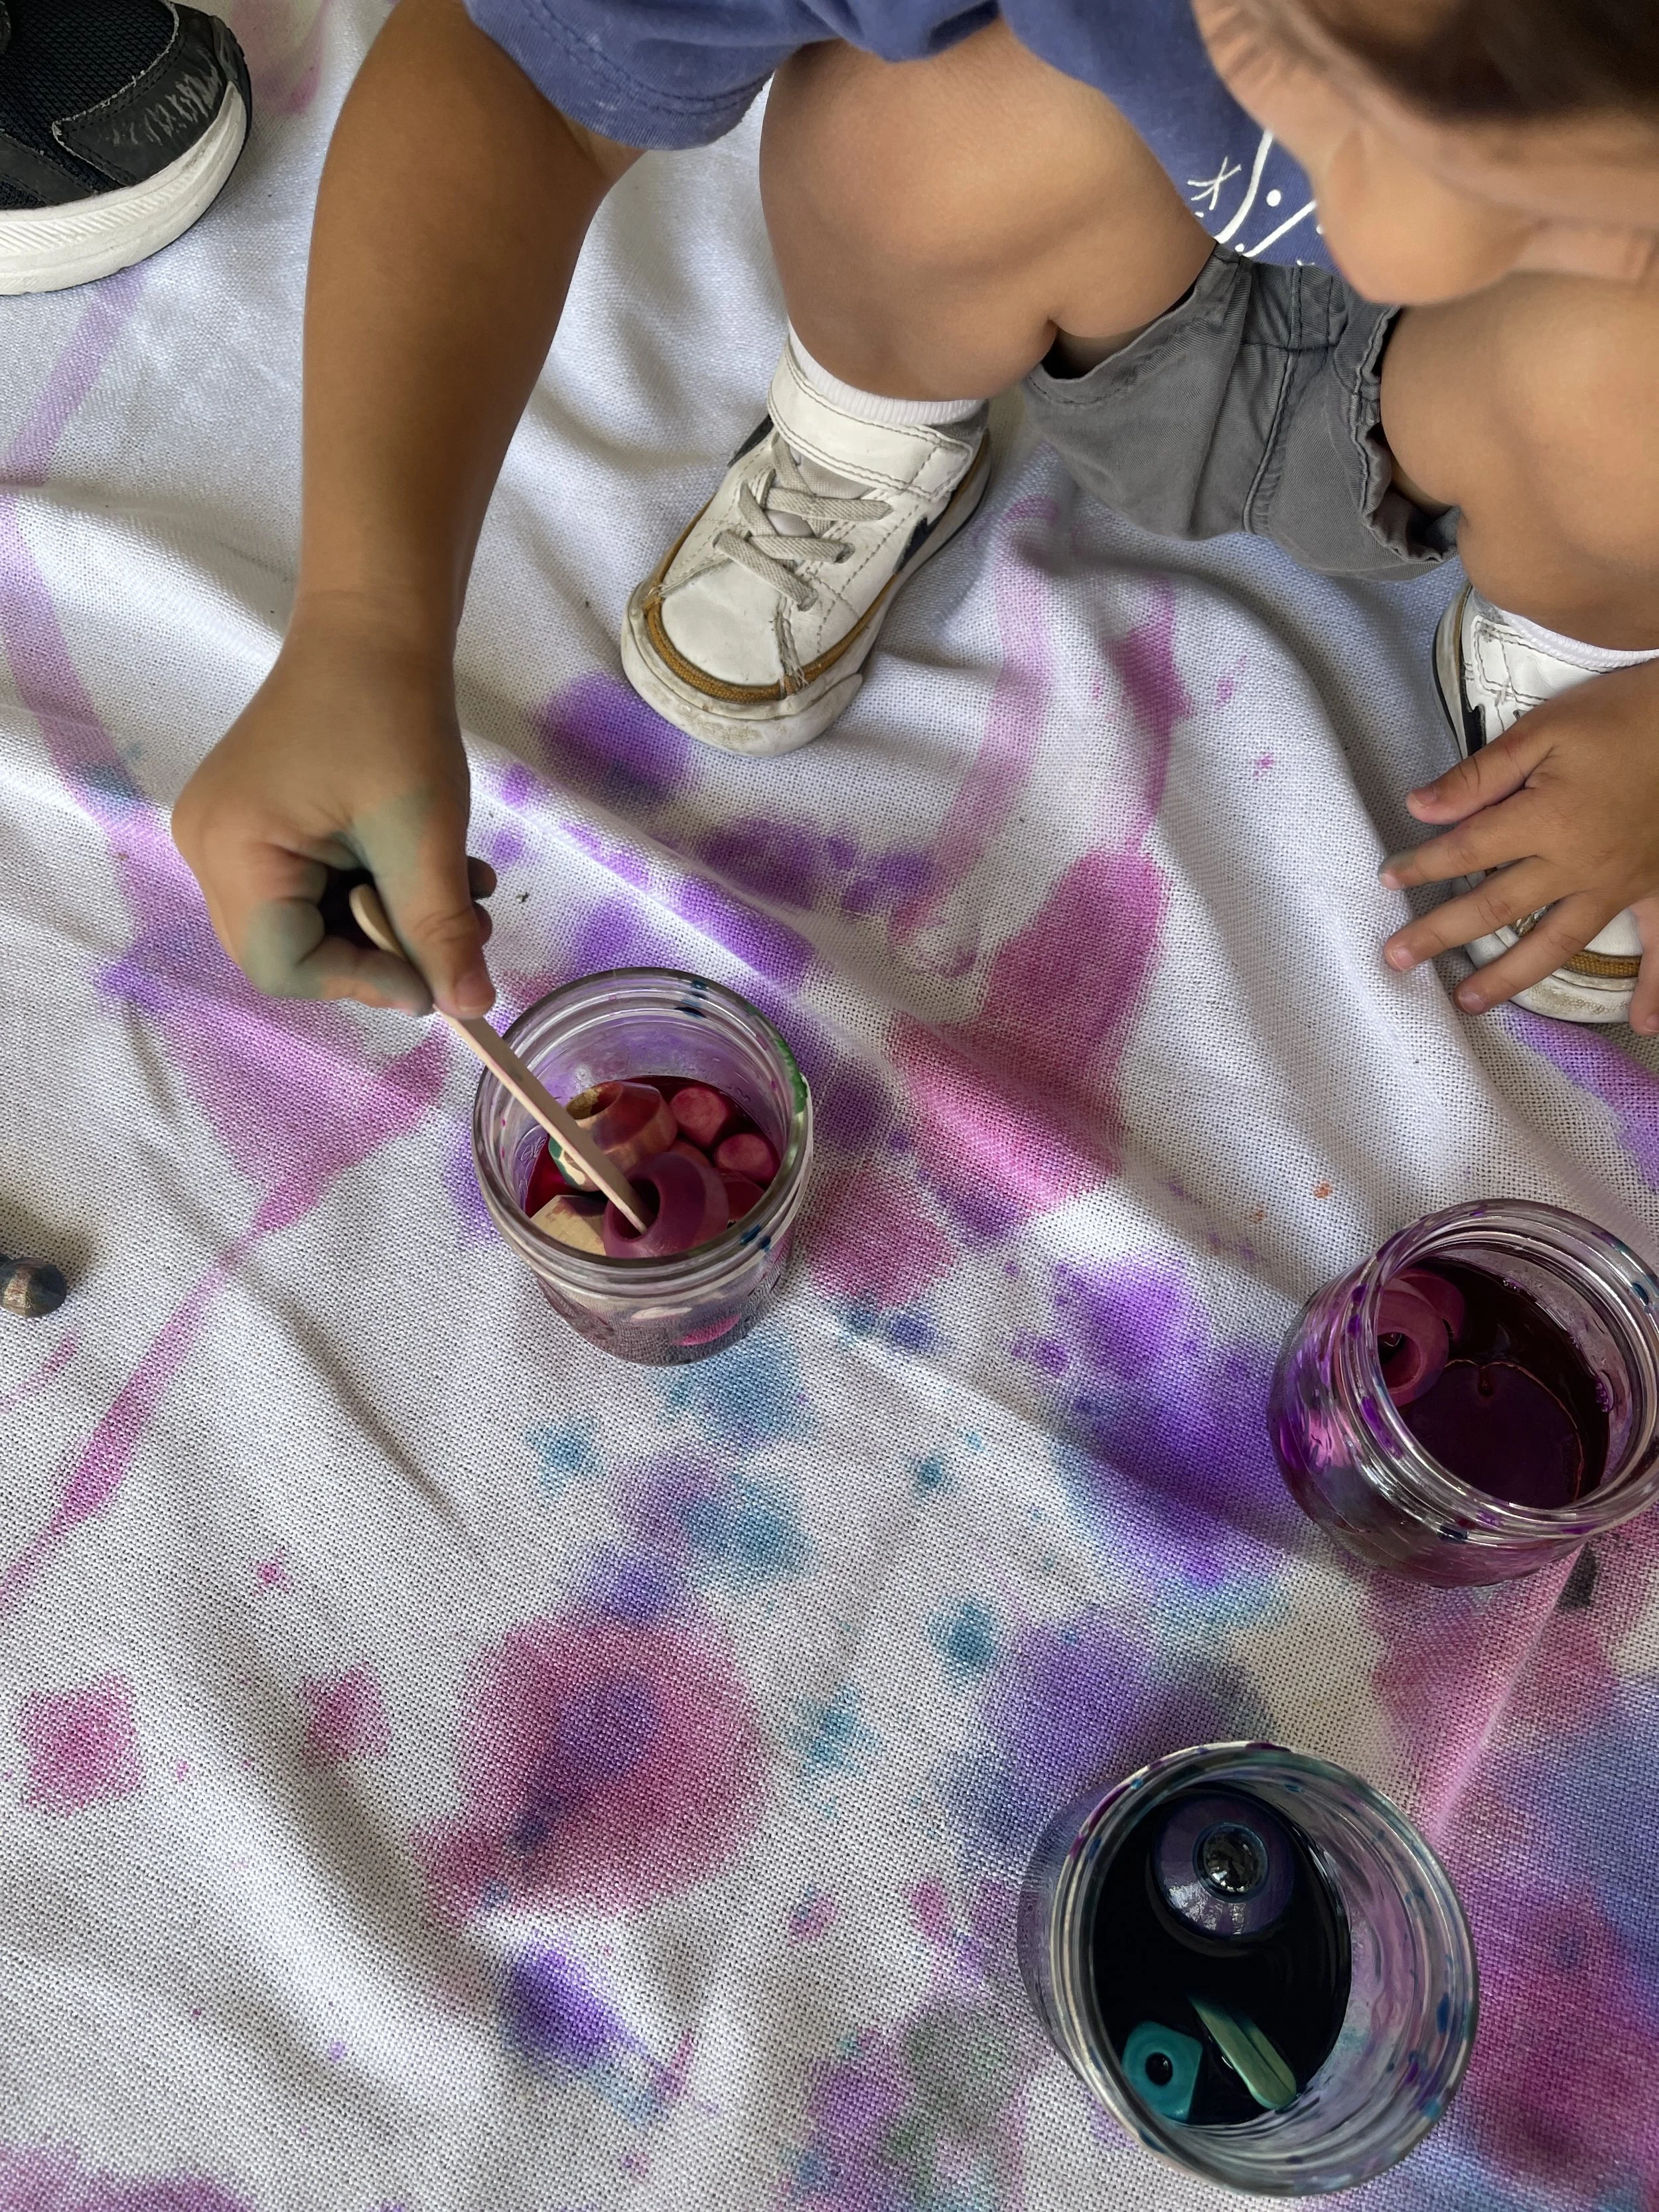
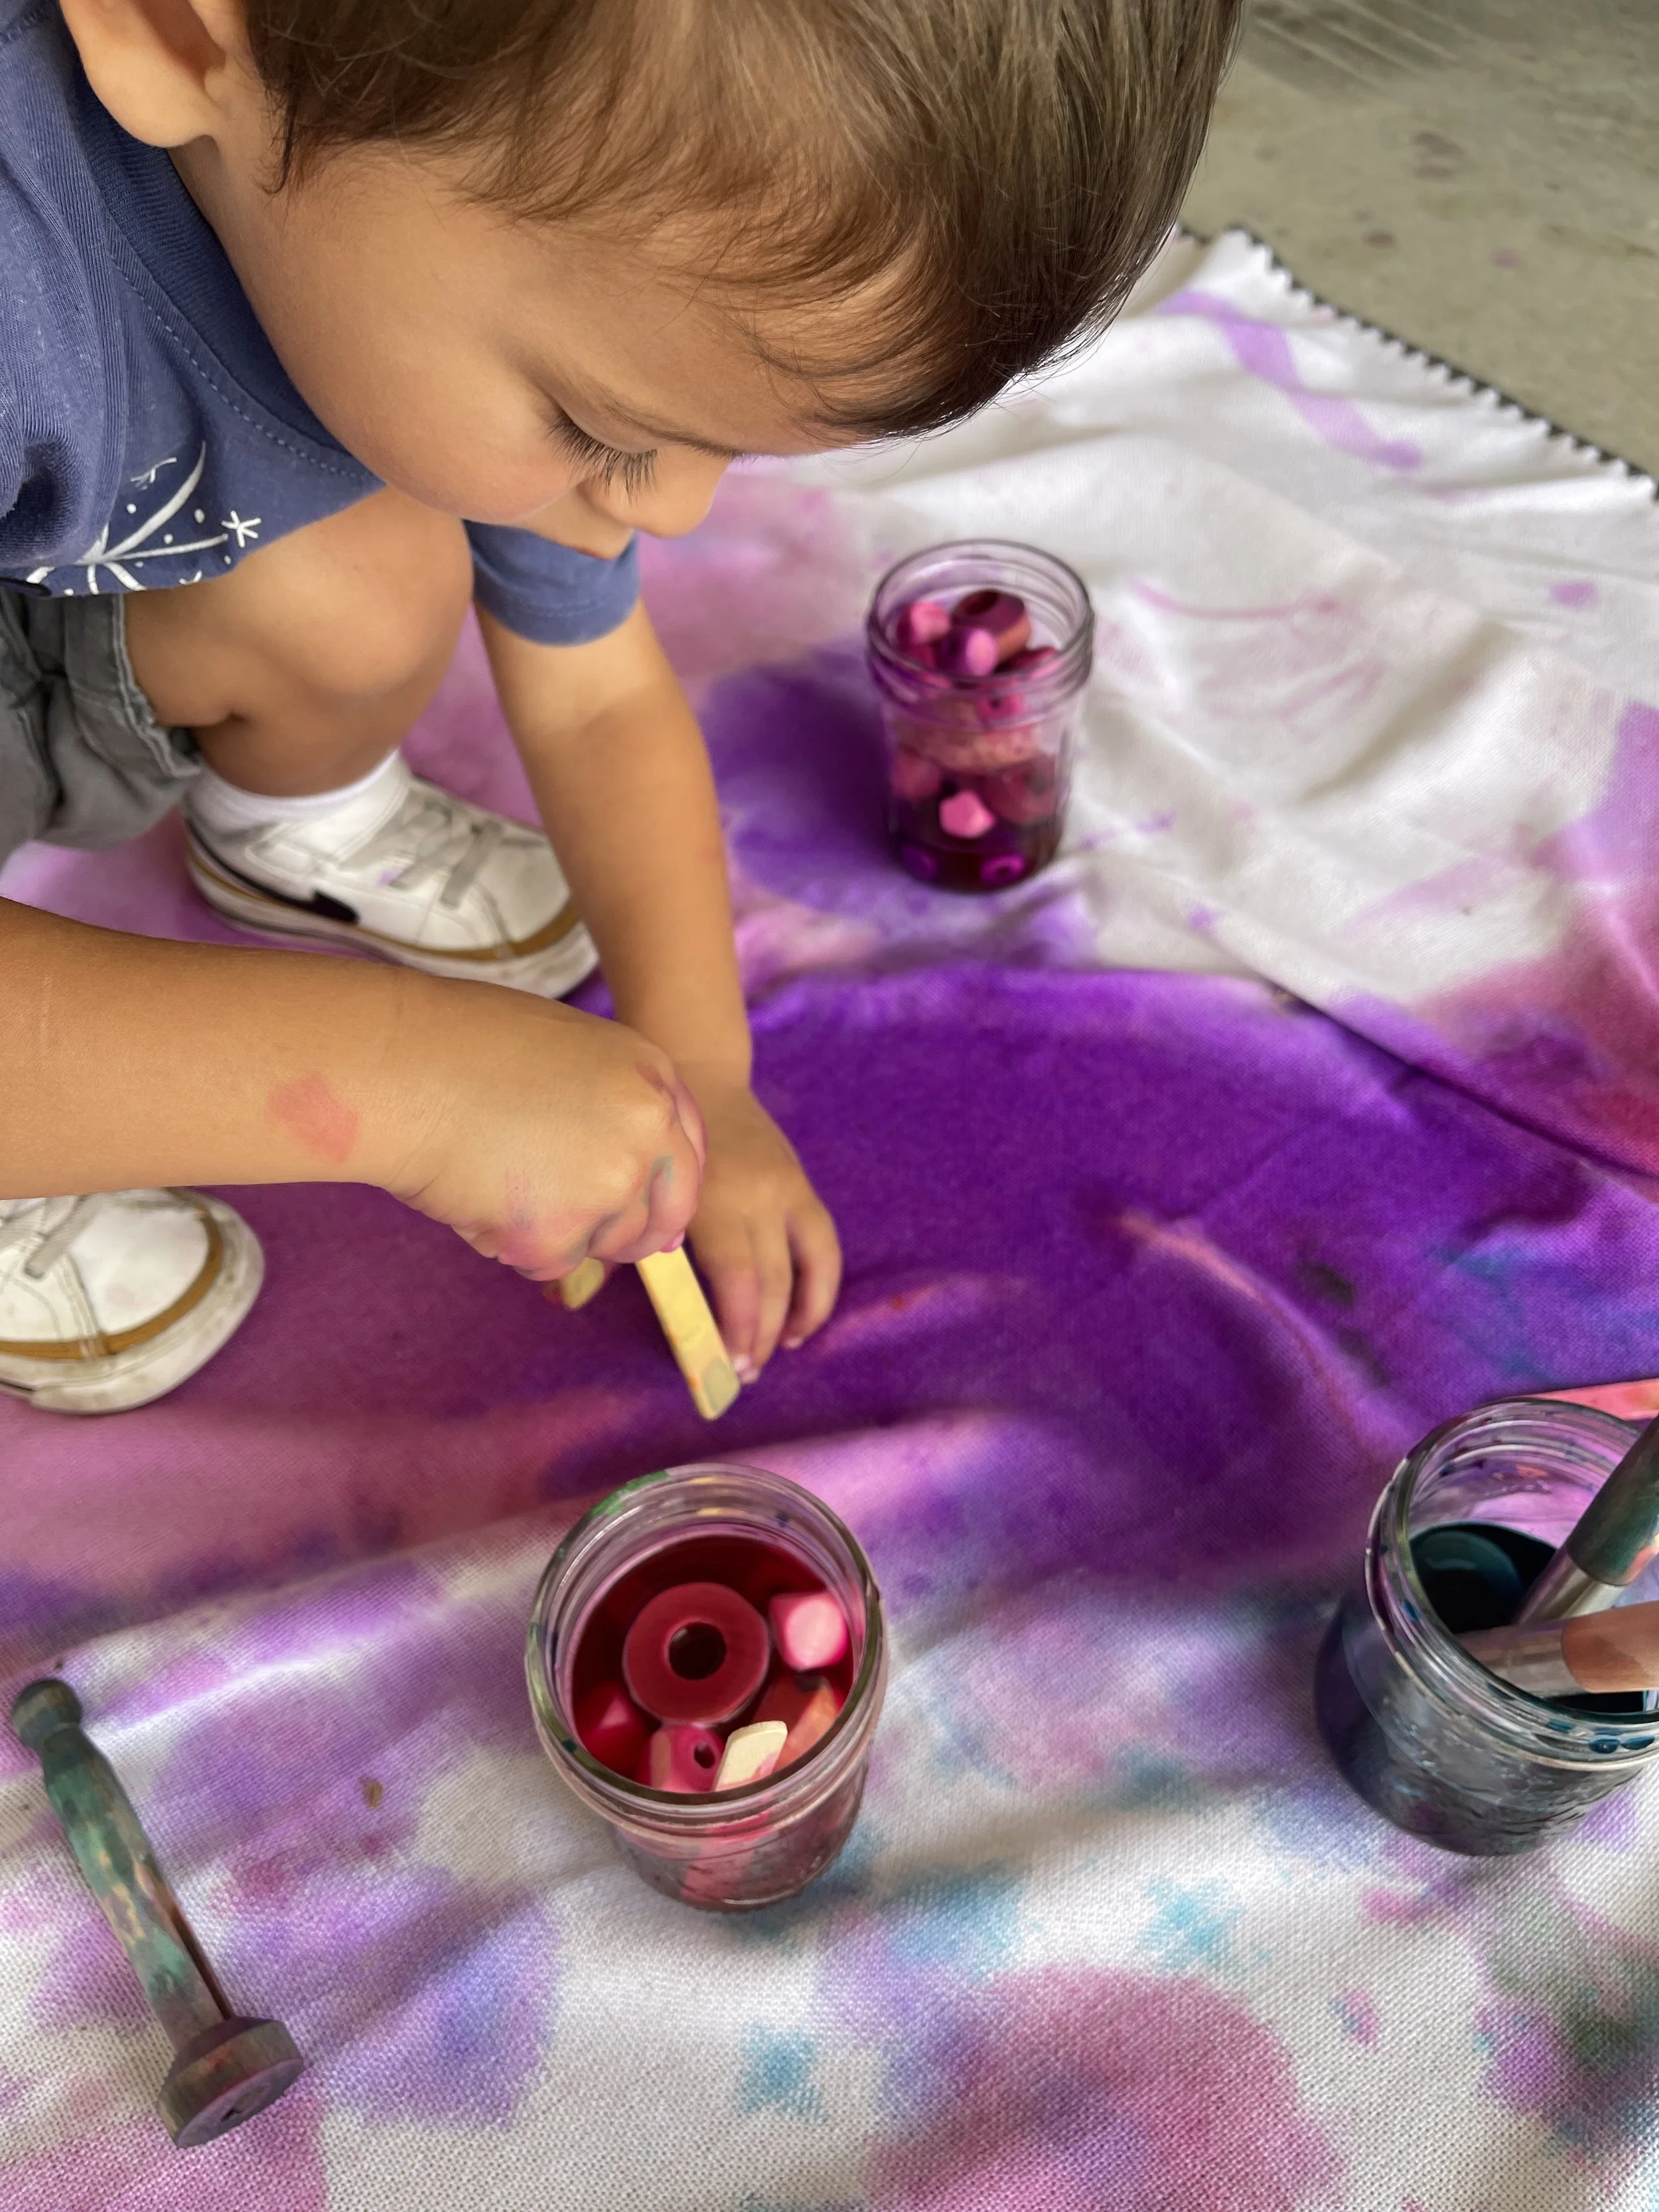
9. Dipped Color Beads
Materials: Wooden beads, popsicle sticks, jars or small containers, liquid watercolors, brushes, paintable surface (cardboard, curtain, or drop cloth)
Set out jars of diluted paint alongside a pile of wooden beads. Invite your child to drop beads into the watercolors, stir and swirl with a popsicle stick, and lift them out to dry on the paintable surface below.
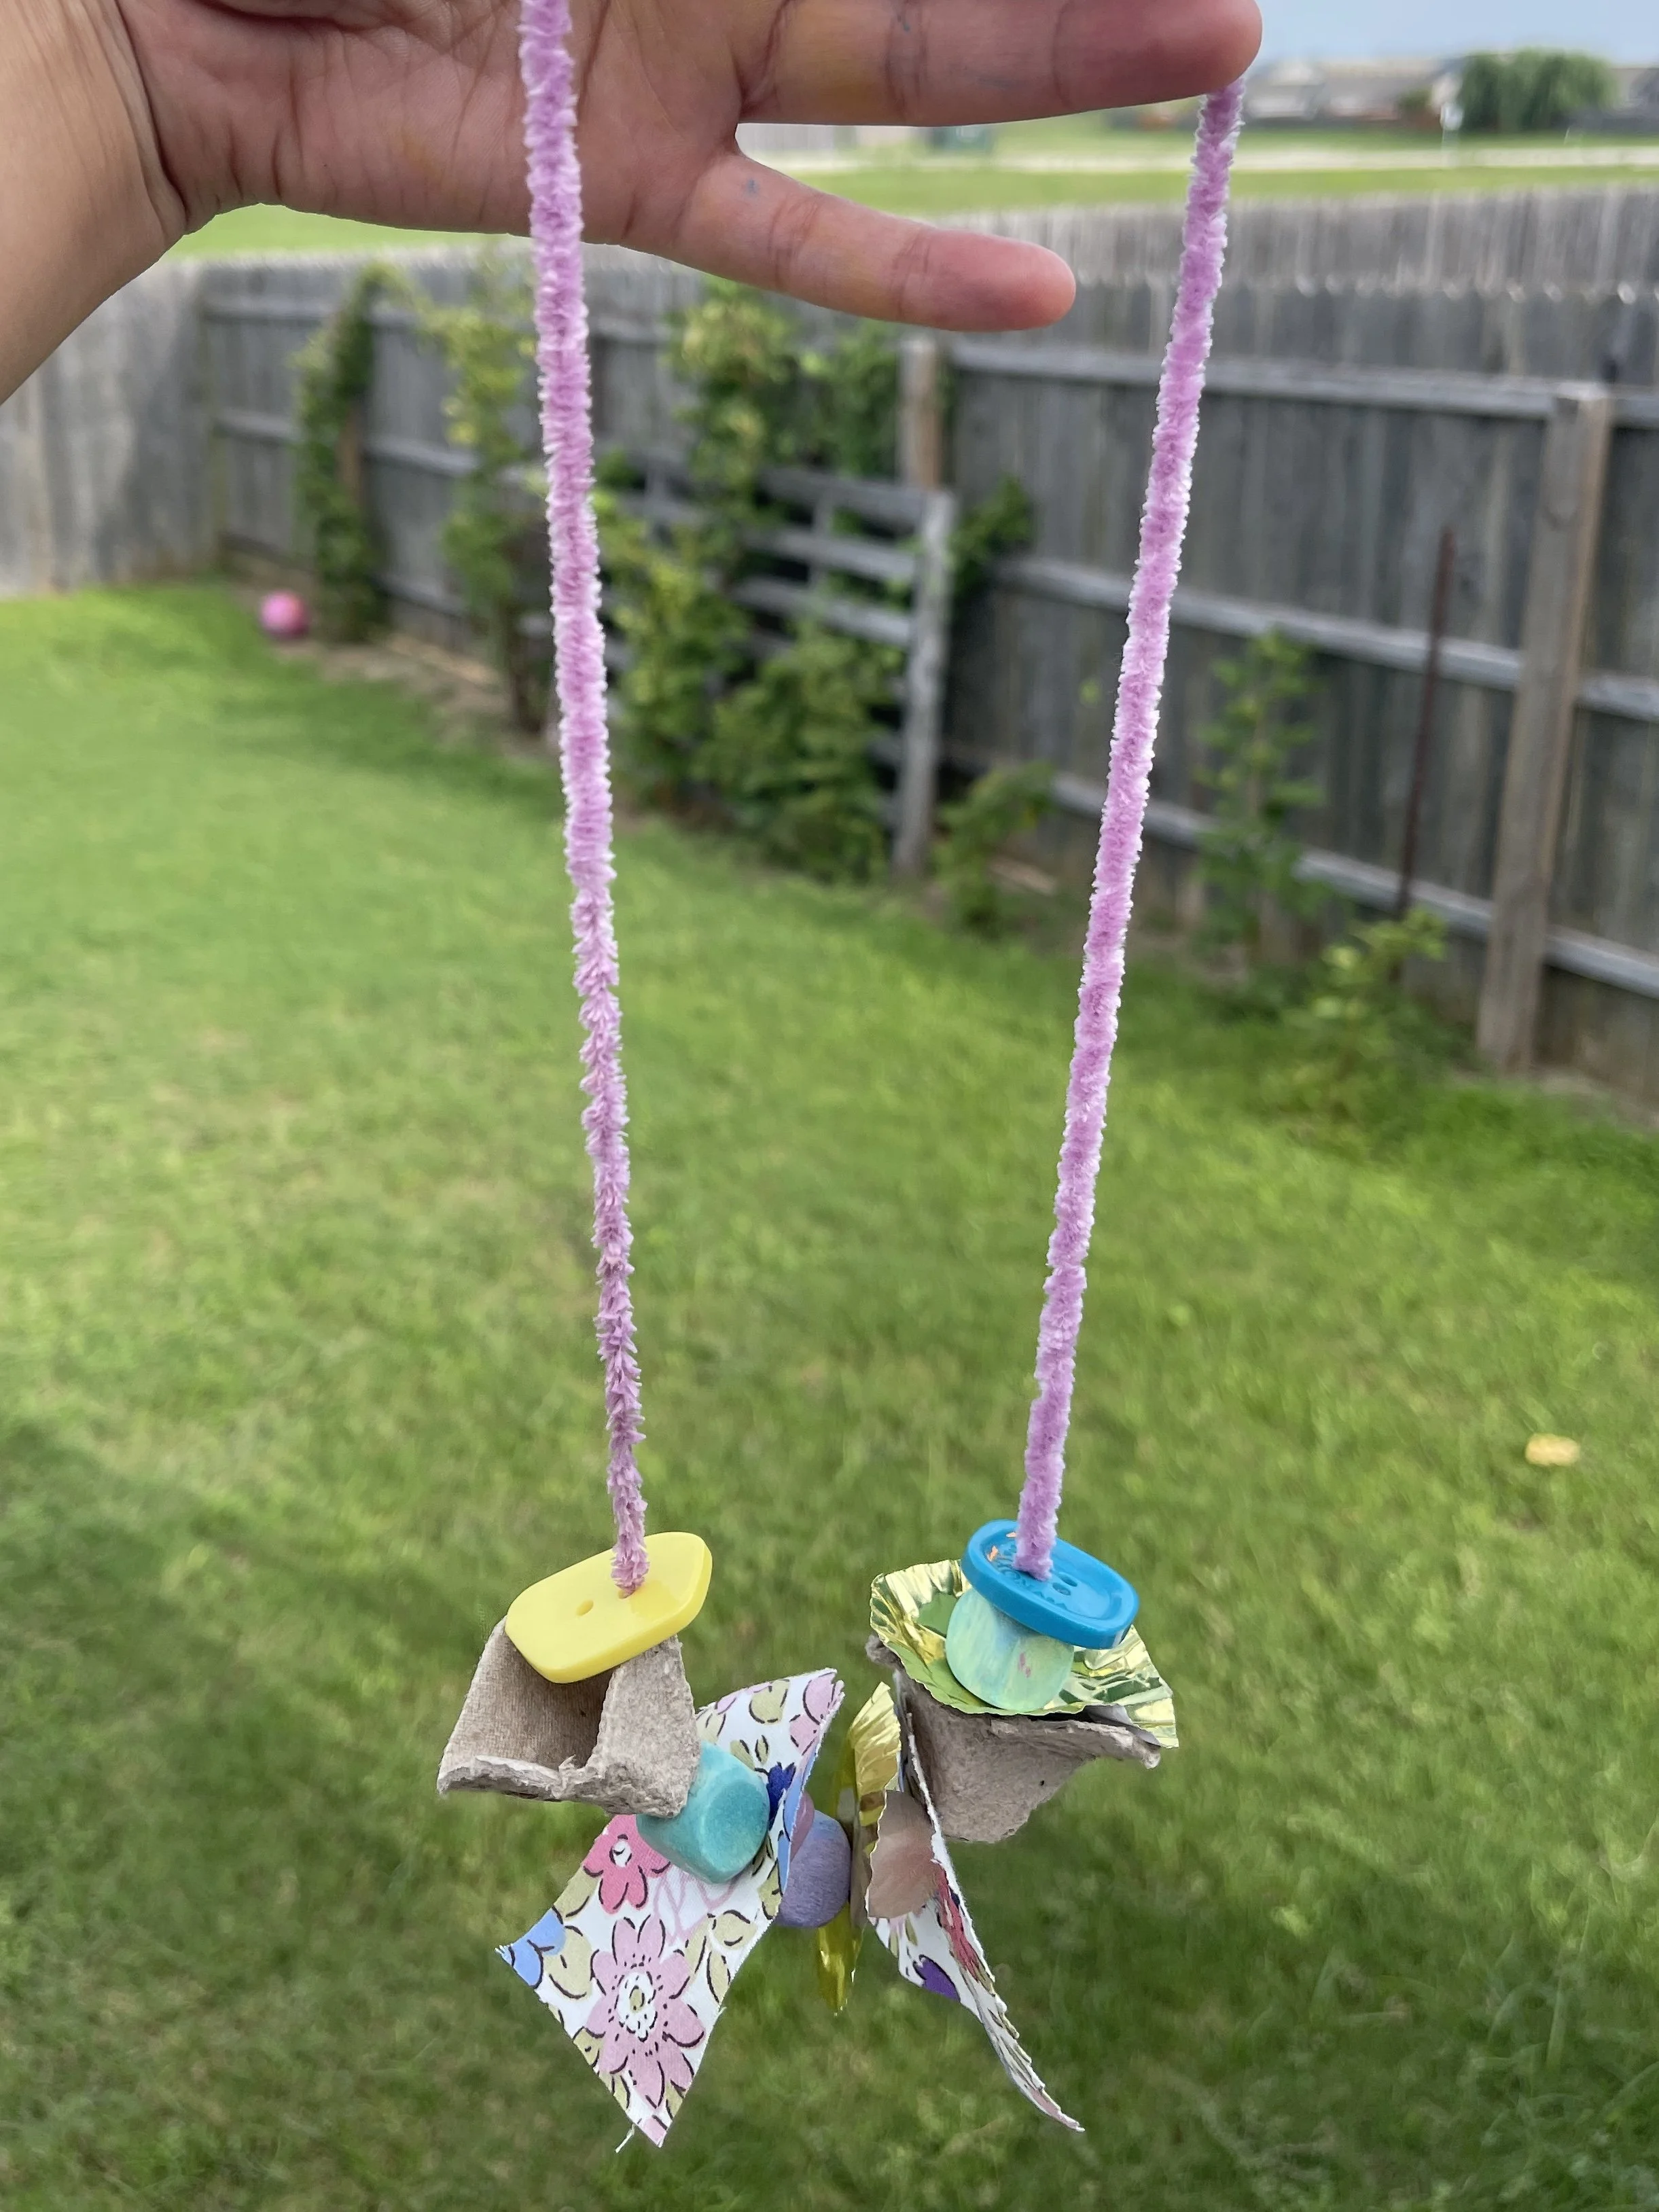
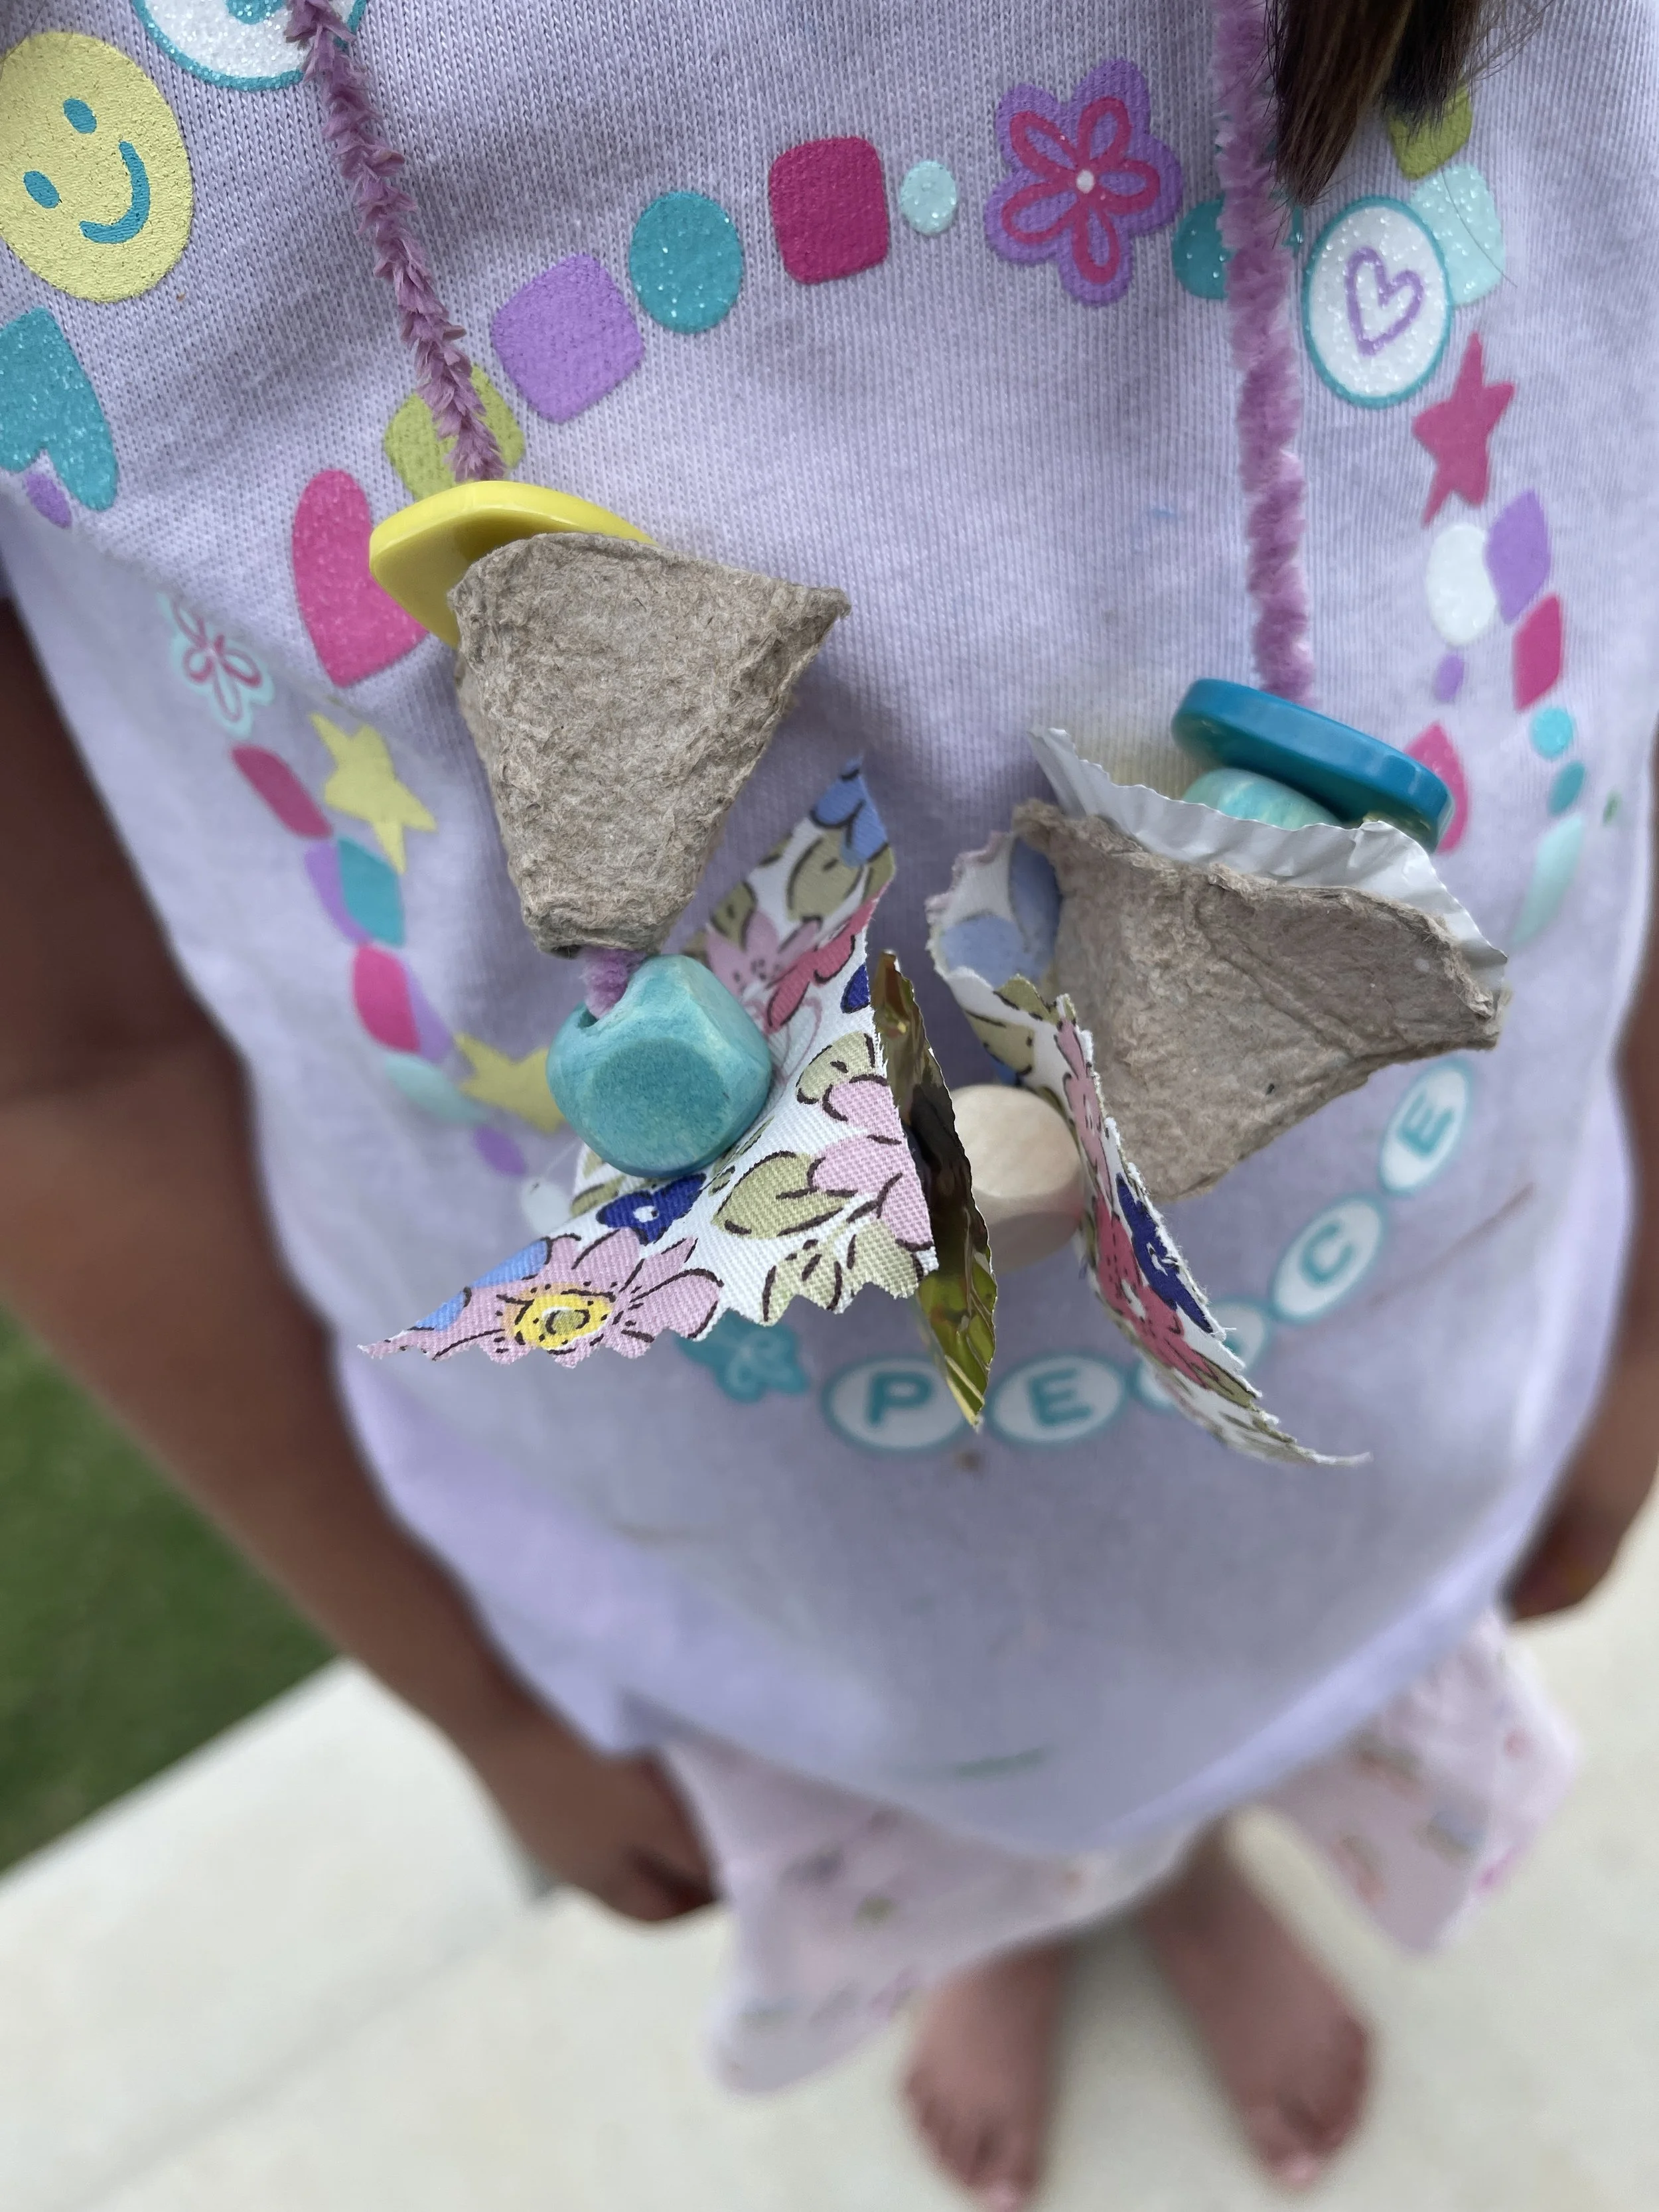
10. Scrap Necklace
Materials: Beads (from the activity above), large buttons, egg carton bits with holes, fabric scraps with holes, mini cupcake liners with holes, yarn, washi tape
Pre-poke holes into fabric scraps and cupcake liners, then set them with the beads and buttons. Invite your child to thread pieces onto yarn — using a washi tape "needle" wrapped around the end to stiffen it — to build their own necklace.
That's 10 ways to turn everyday materials into open-ended art. If you want the easiest place to start, grab my free Loose Parts Starter Guide below — it's the exact materials list and setup I use to get started with my own children.