Ice Cream Paint: The 3-Ingredient Recipe That Closed Out Our Summer
If you've been following along this summer, you know we've been elbow-deep in loose parts, sensory bins, and process art all season long. But this one might be my favorite thing we made all summer, and it's become a new favorite around here for a sweet reason: we call it ice cream paint.
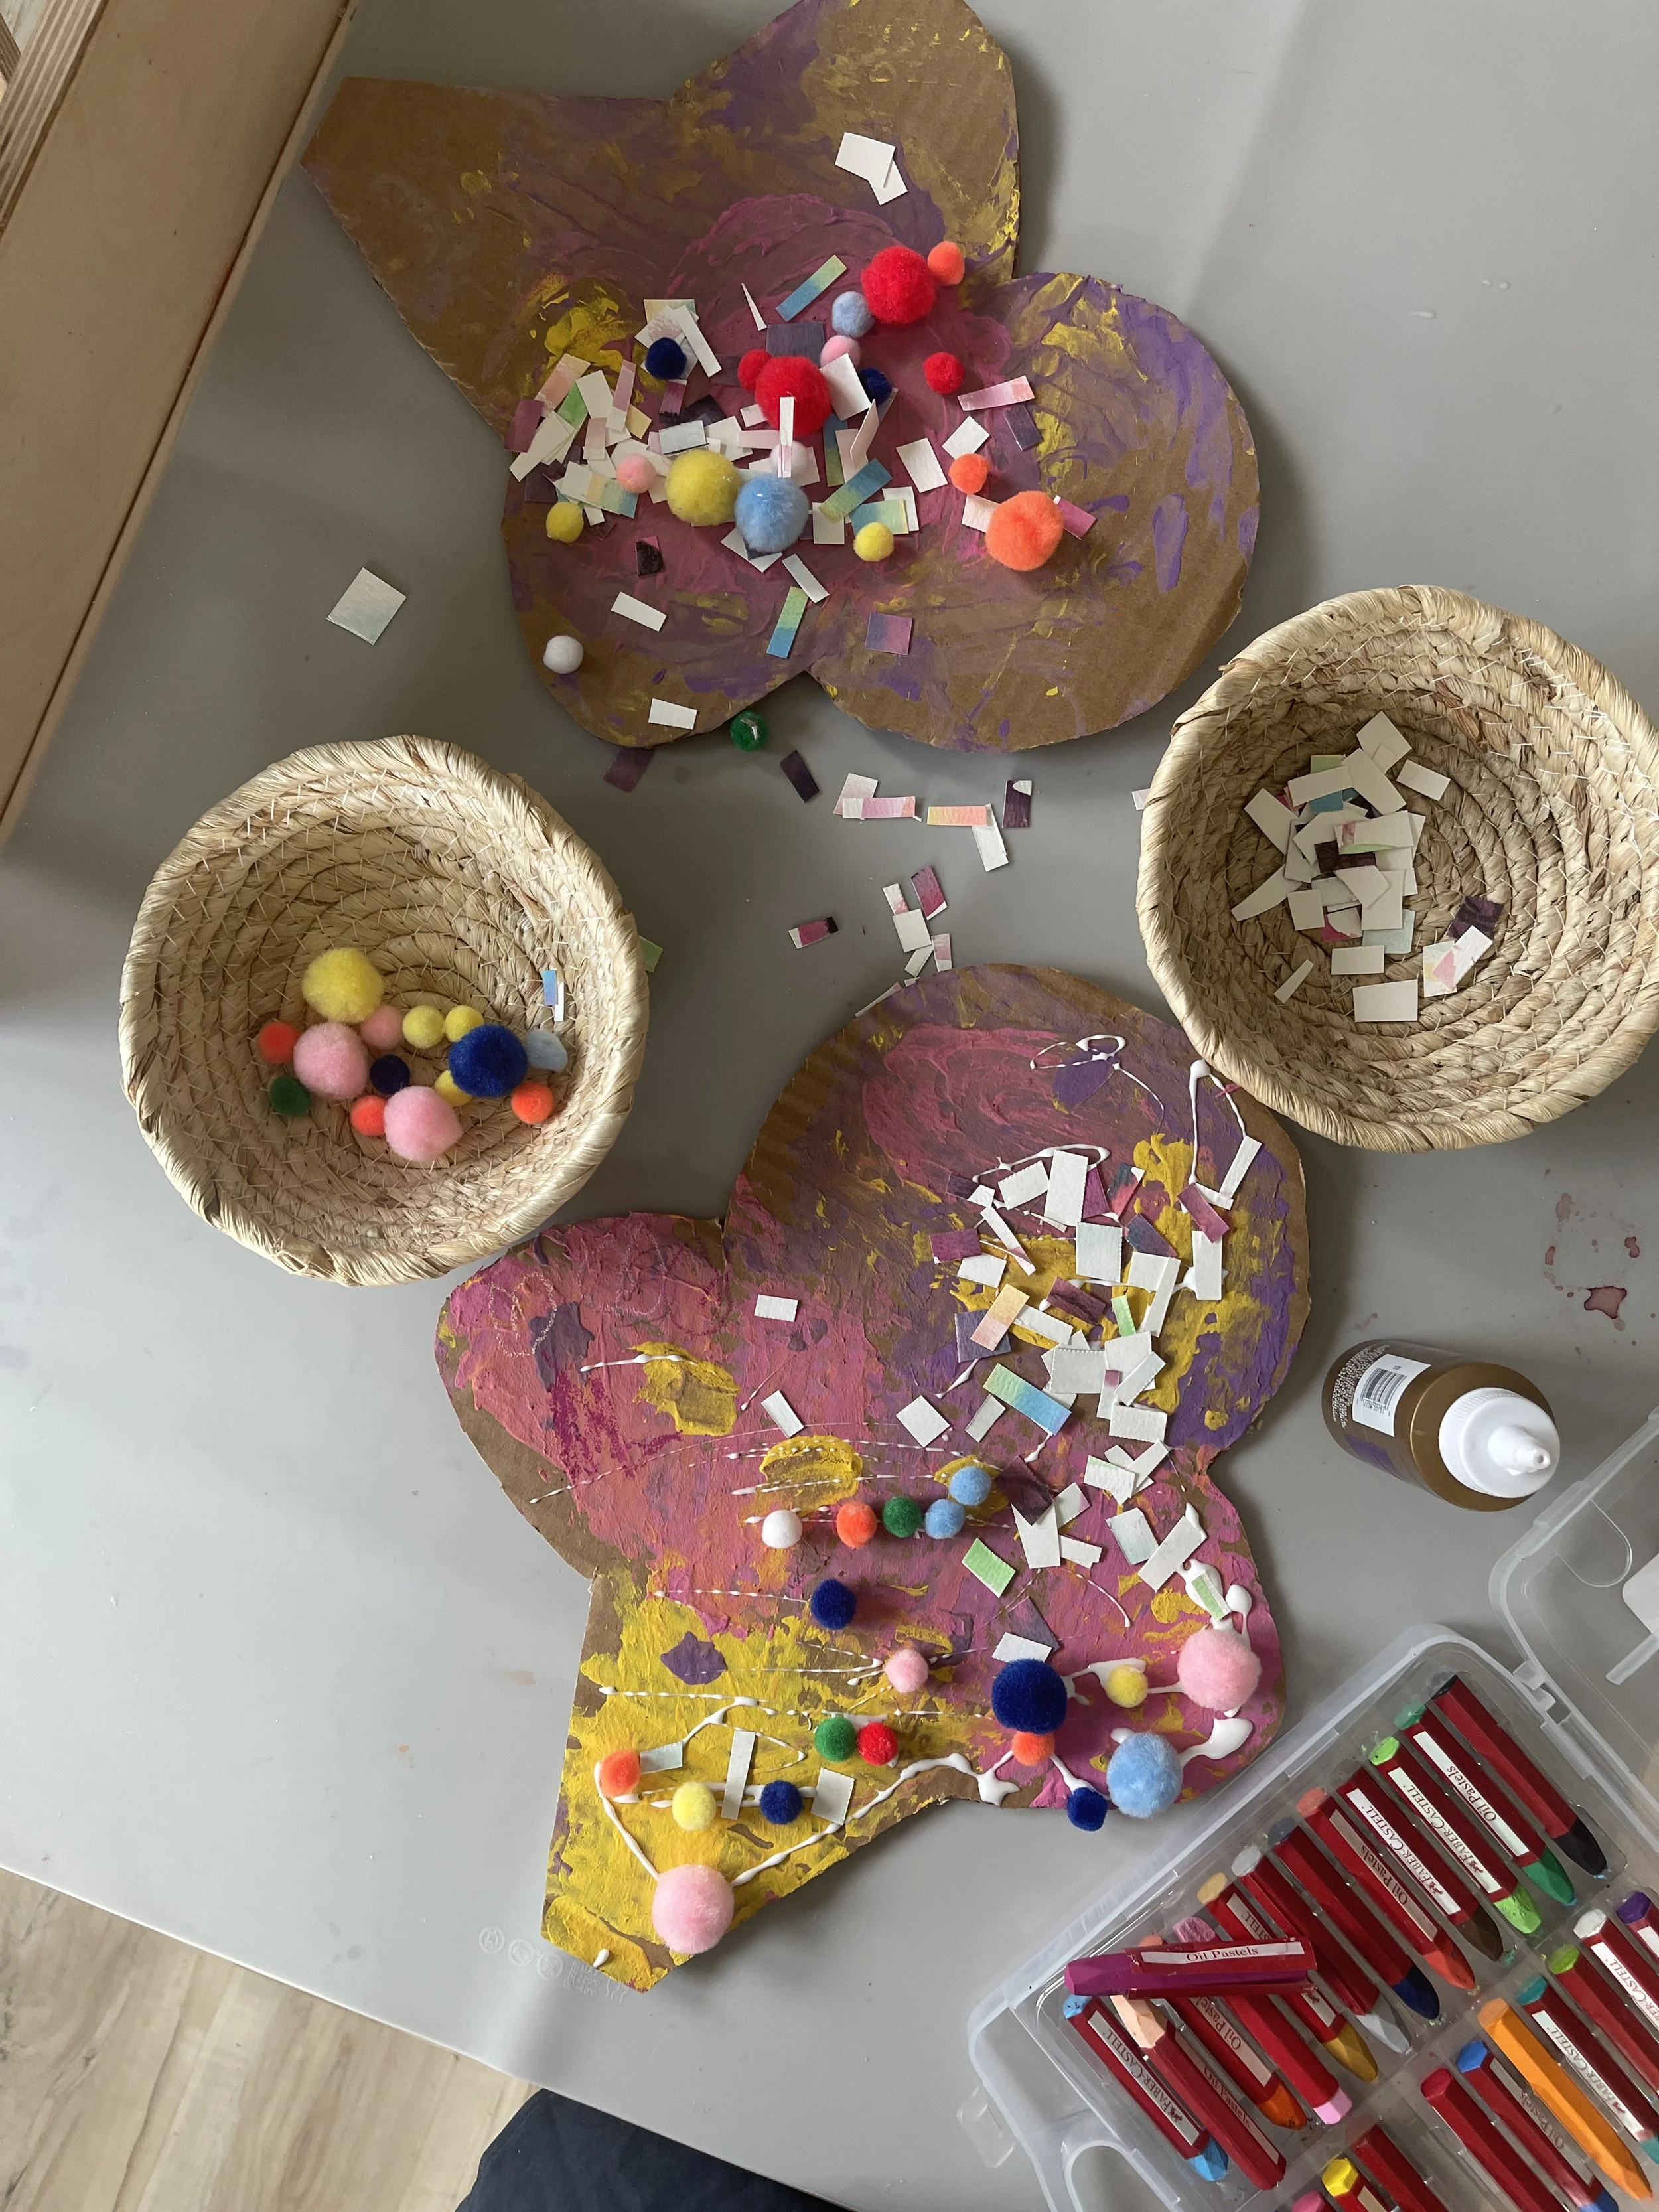
Three ingredients, straight from your kitchen, mixed right on the plate into something thick and swirly and honestly a little irresistible-looking — it really does come together like soft-serve. And once it's spread and starts to set up sticky, it becomes the base for a whole second round of sensory play with "toppings" — pom poms, paper scraps, whatever sweet little textured bits you've got in a bowl, just like sprinkles on a sundae.
No worksheets. No screens. No trip to the craft store. Just a spoon, a plate, and a kid who wants to mix something up.
The recipe!🍦Per color, mix:
2 tablespoons paint
1 tablespoon flour
2 teaspoons water
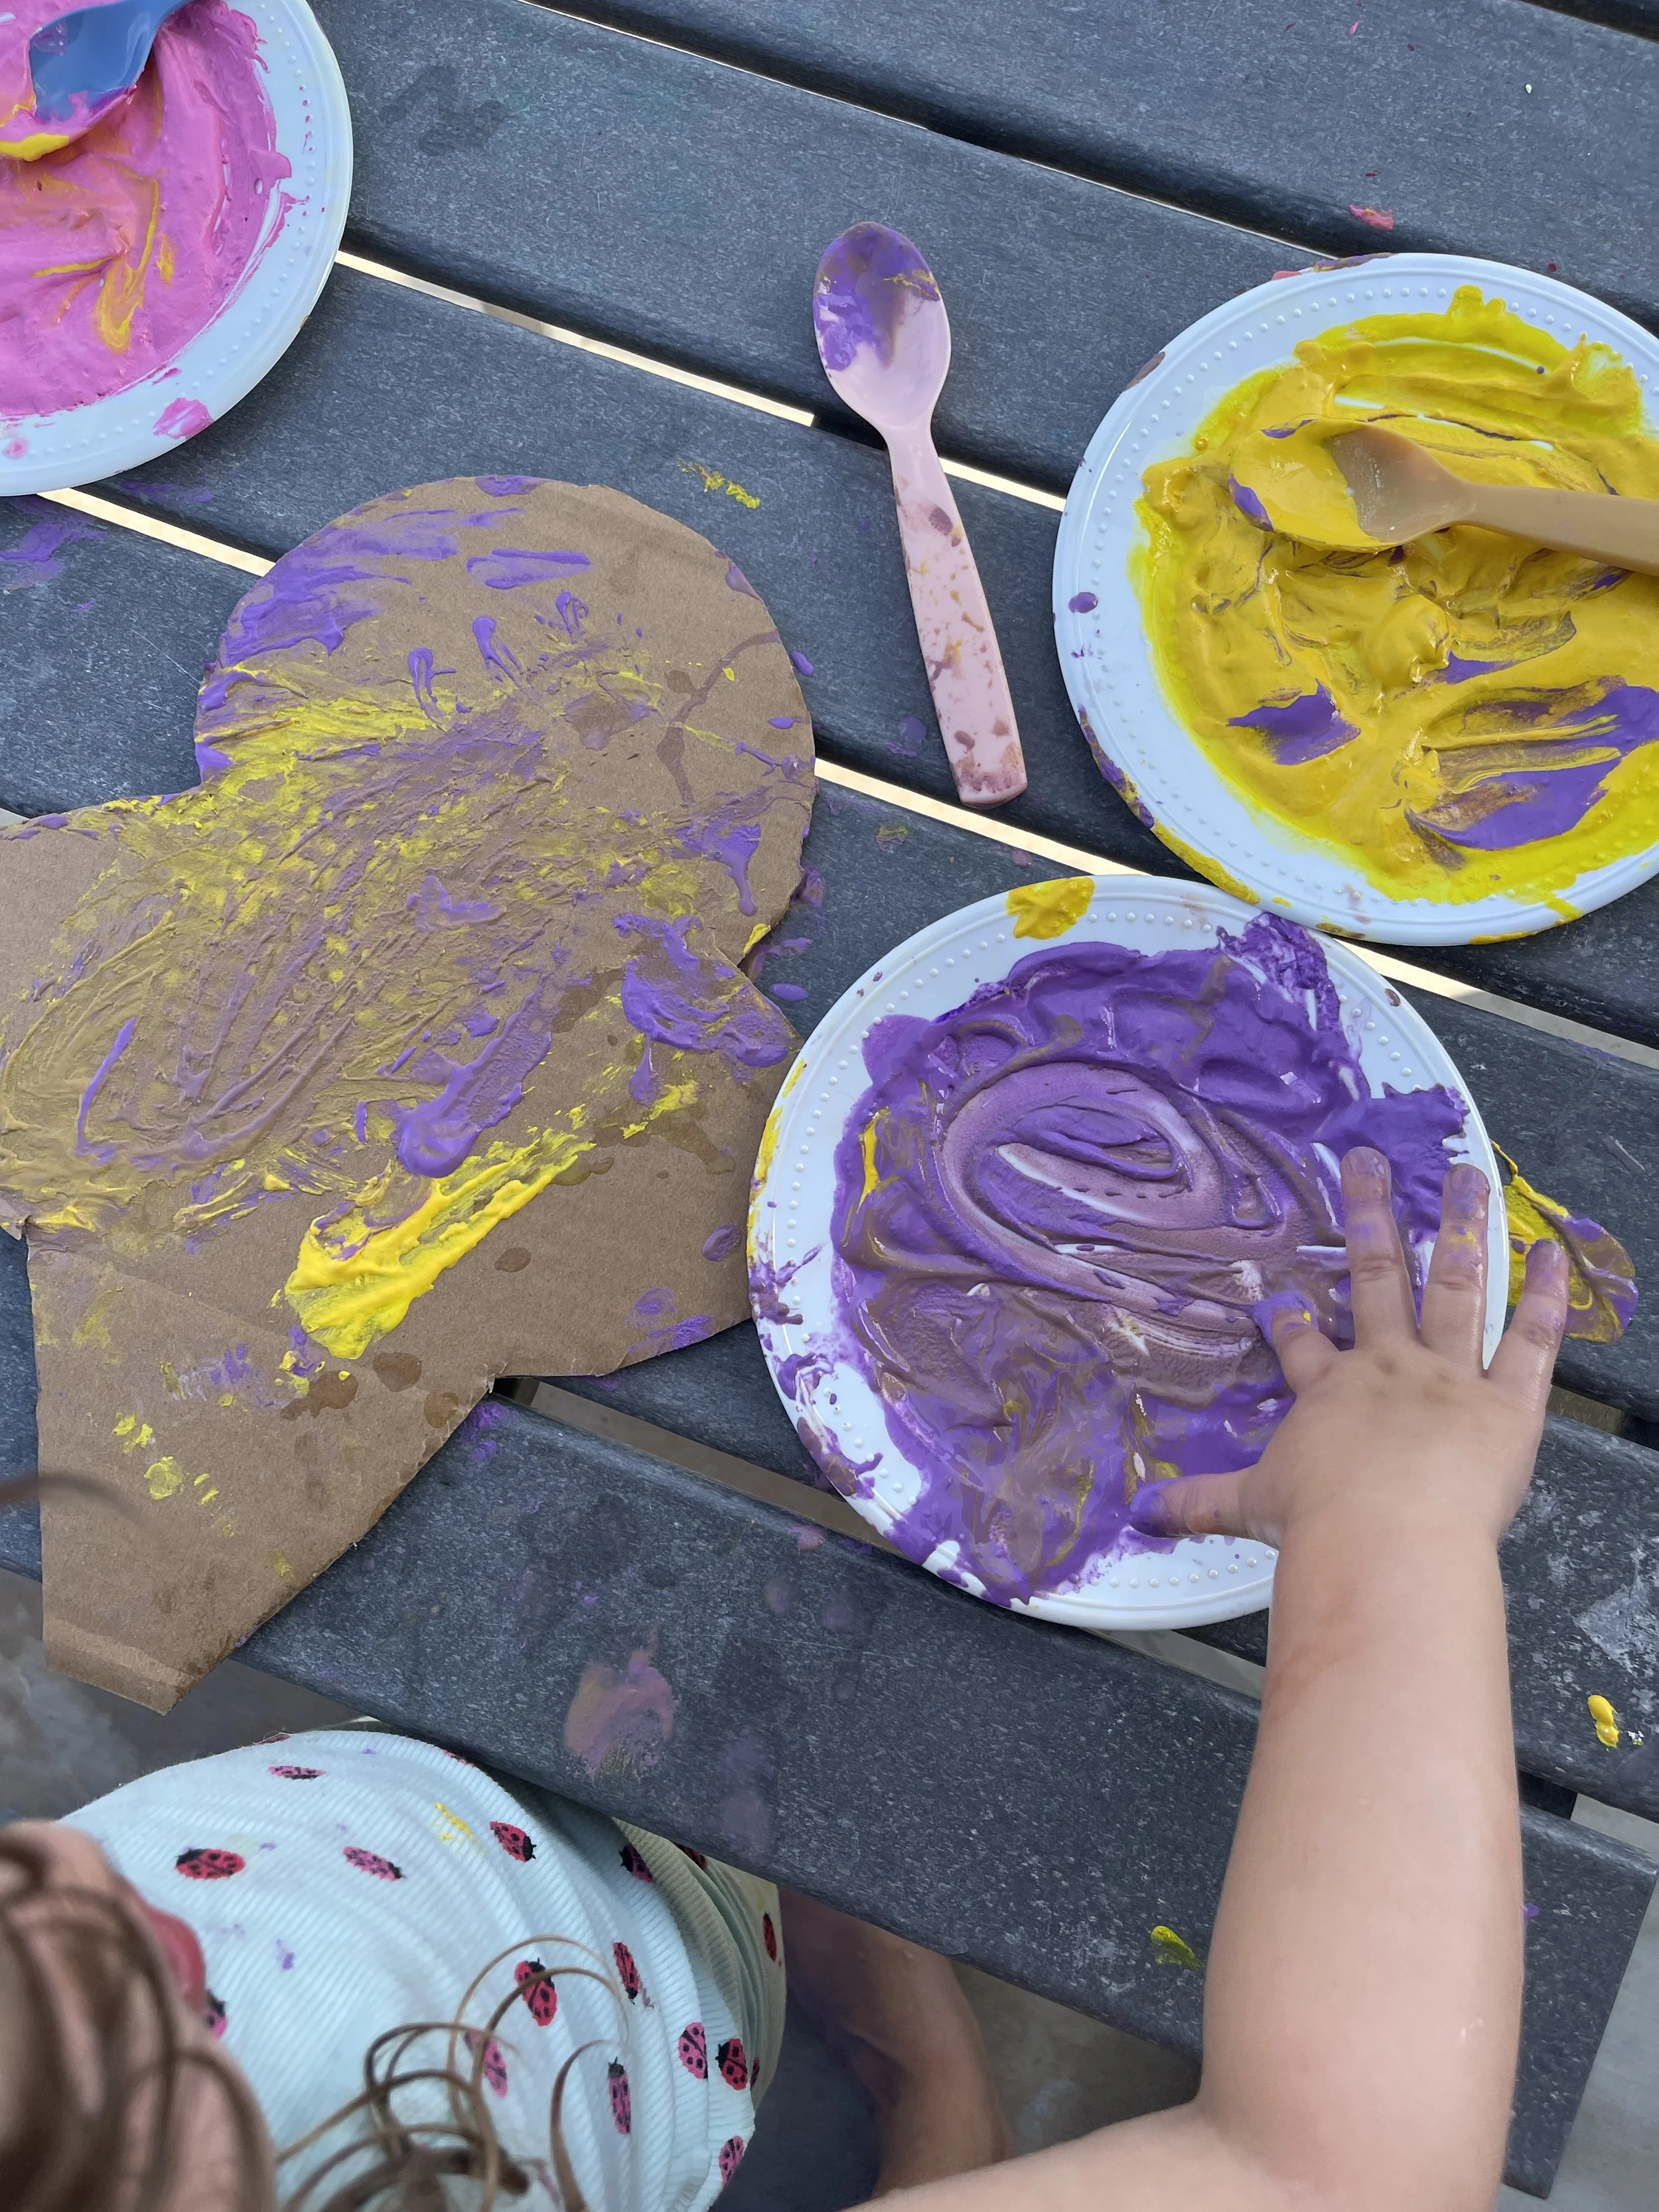
Dump it straight onto a plastic plate or bowl and let your kid mix it with a spoon — no separate mixing bowl needed. The flour thickens the paint into something closer to soft-serve than watercolor, which is exactly the texture that makes this one so fun! It's rich, a little swirly, and holds its shape as it's spread — a totally different, much more inviting sensory experience than a thin craft paint straight from the bottle!
Make one plate per color, like little scoops of ice cream lined up and ready to go. We did purple, yellow, and pink, and let the kids mix and blend as they went. Some blending between plates is bound to happen, and that's part of the charm here — let it happen.
A few notes on ratios: this recipe scales up easily if you're covering a big surface — just keep the 2:1:2 ratio (paint : flour : water) and mix more per color. If it feels too thick to spread, a few extra drops of water loosens it right up. Too thin, a pinch more flour firms it back up!
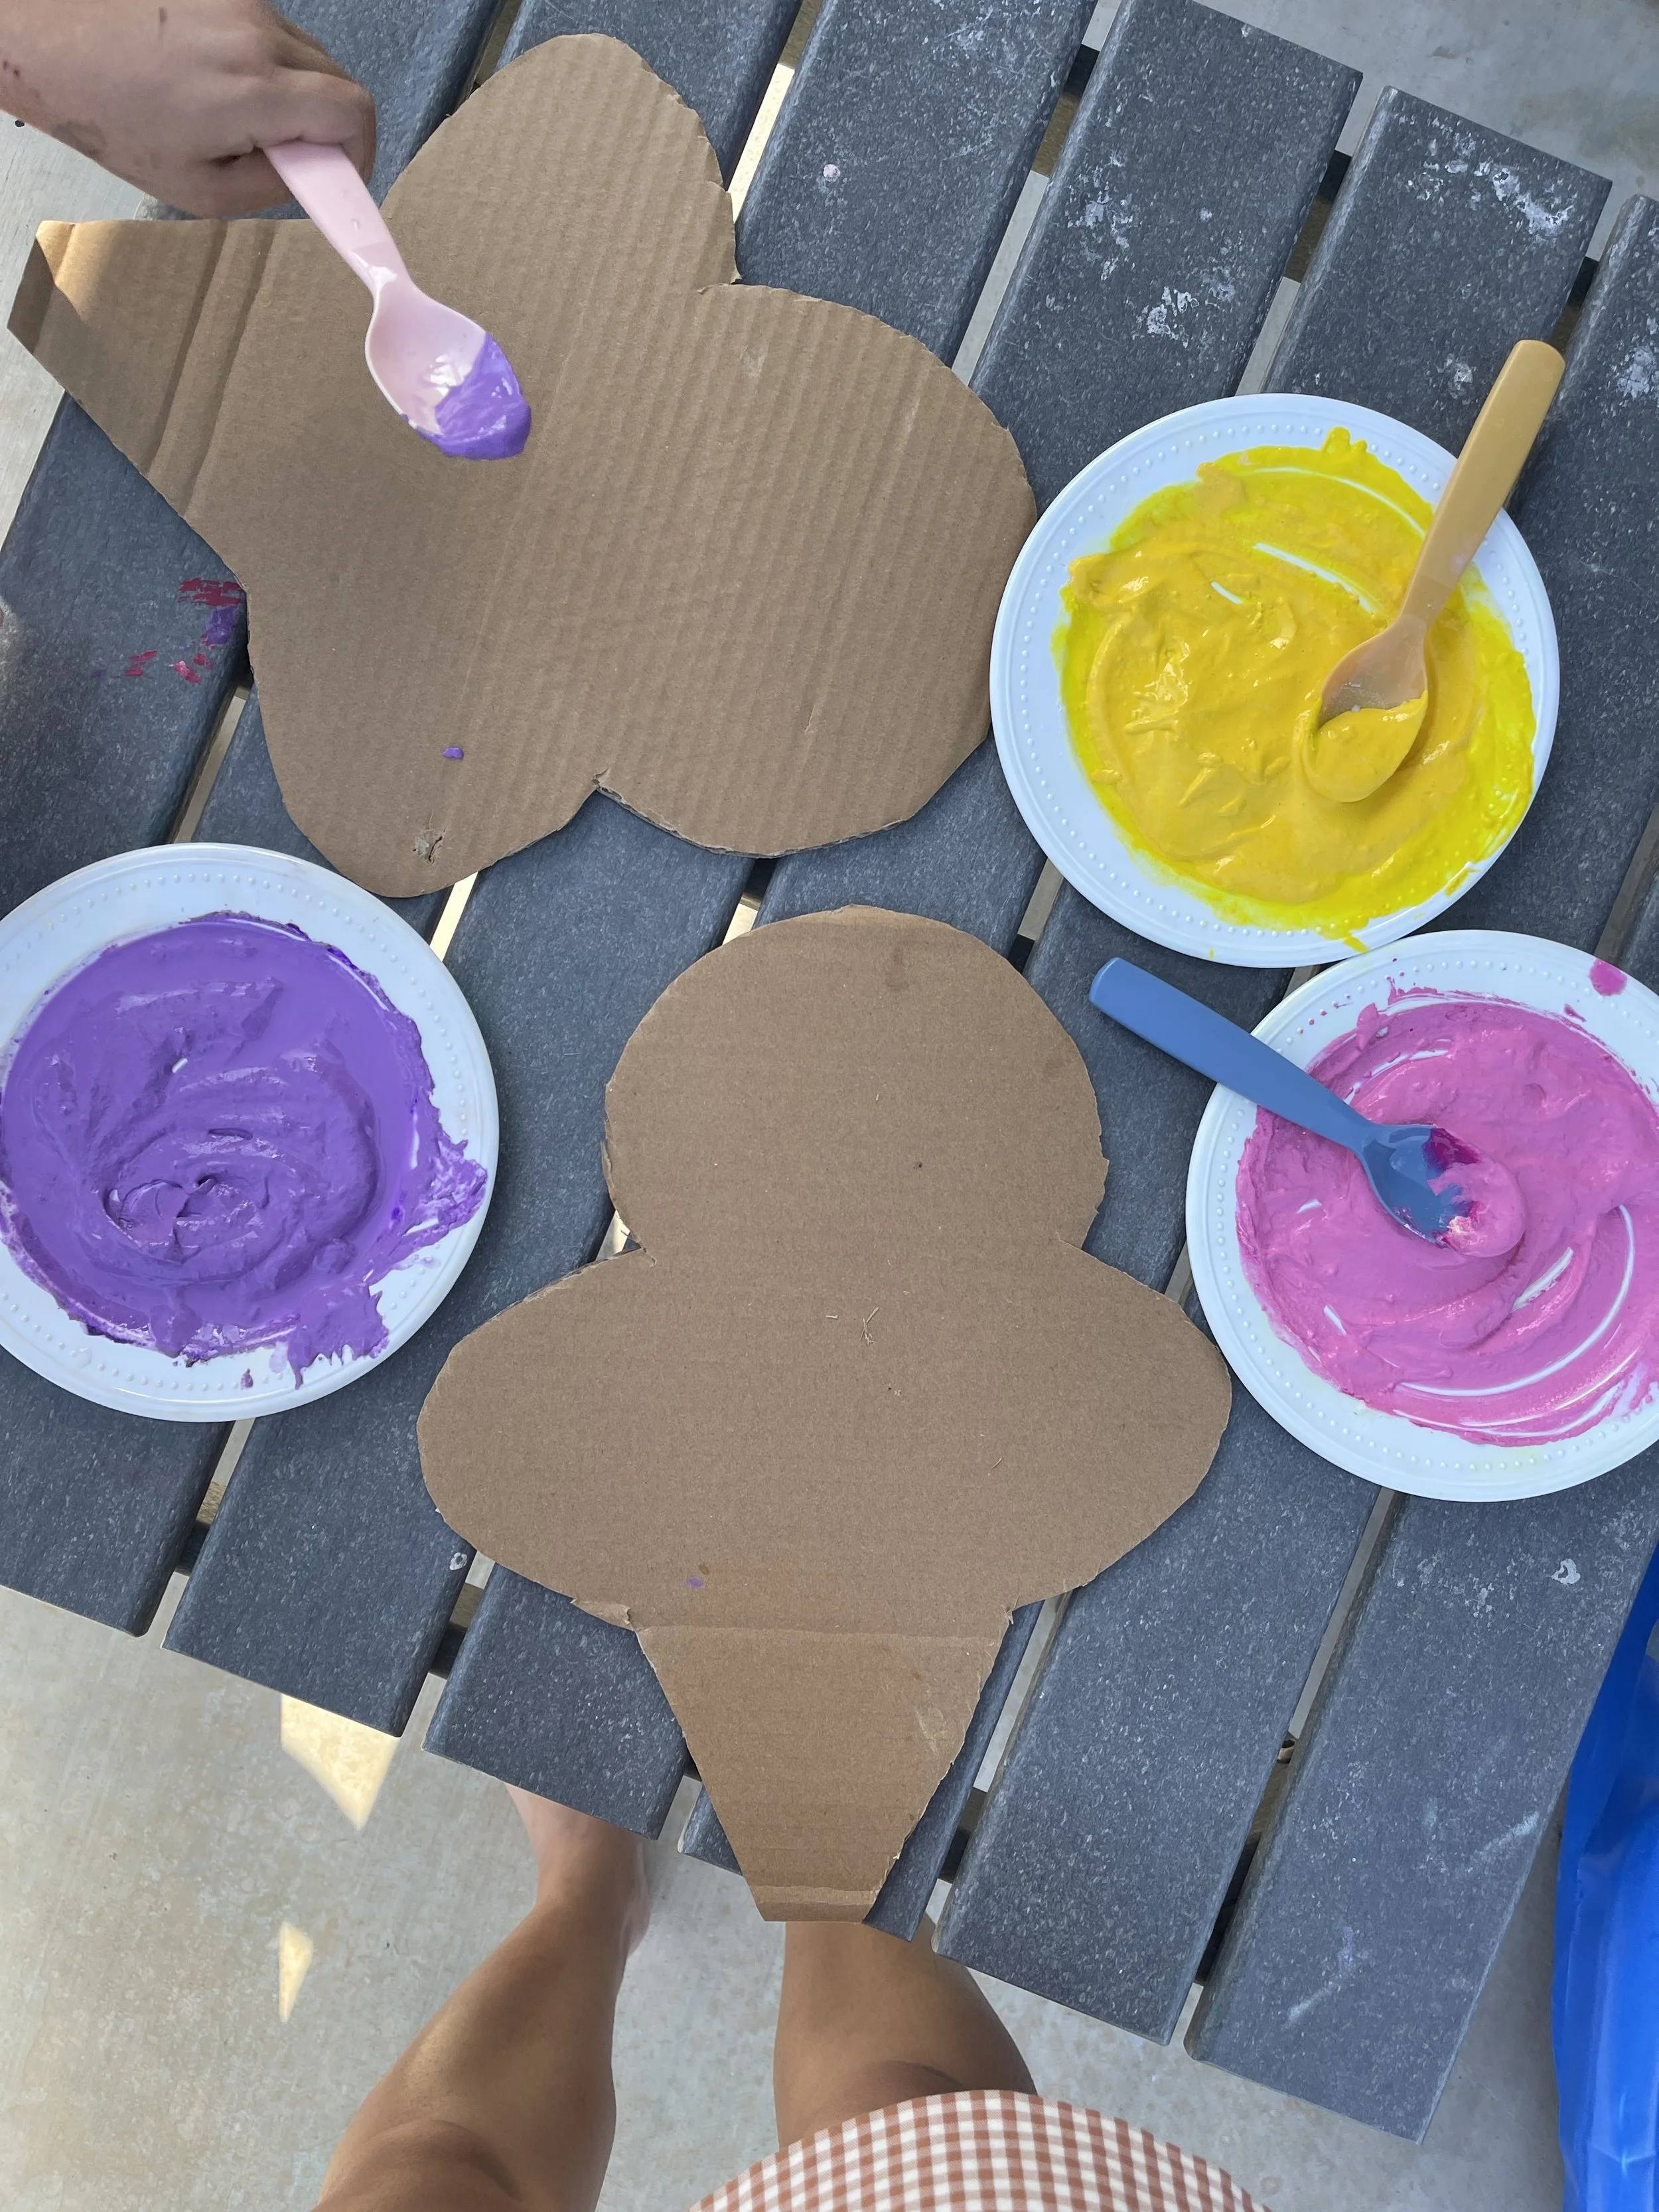
Step one: paint
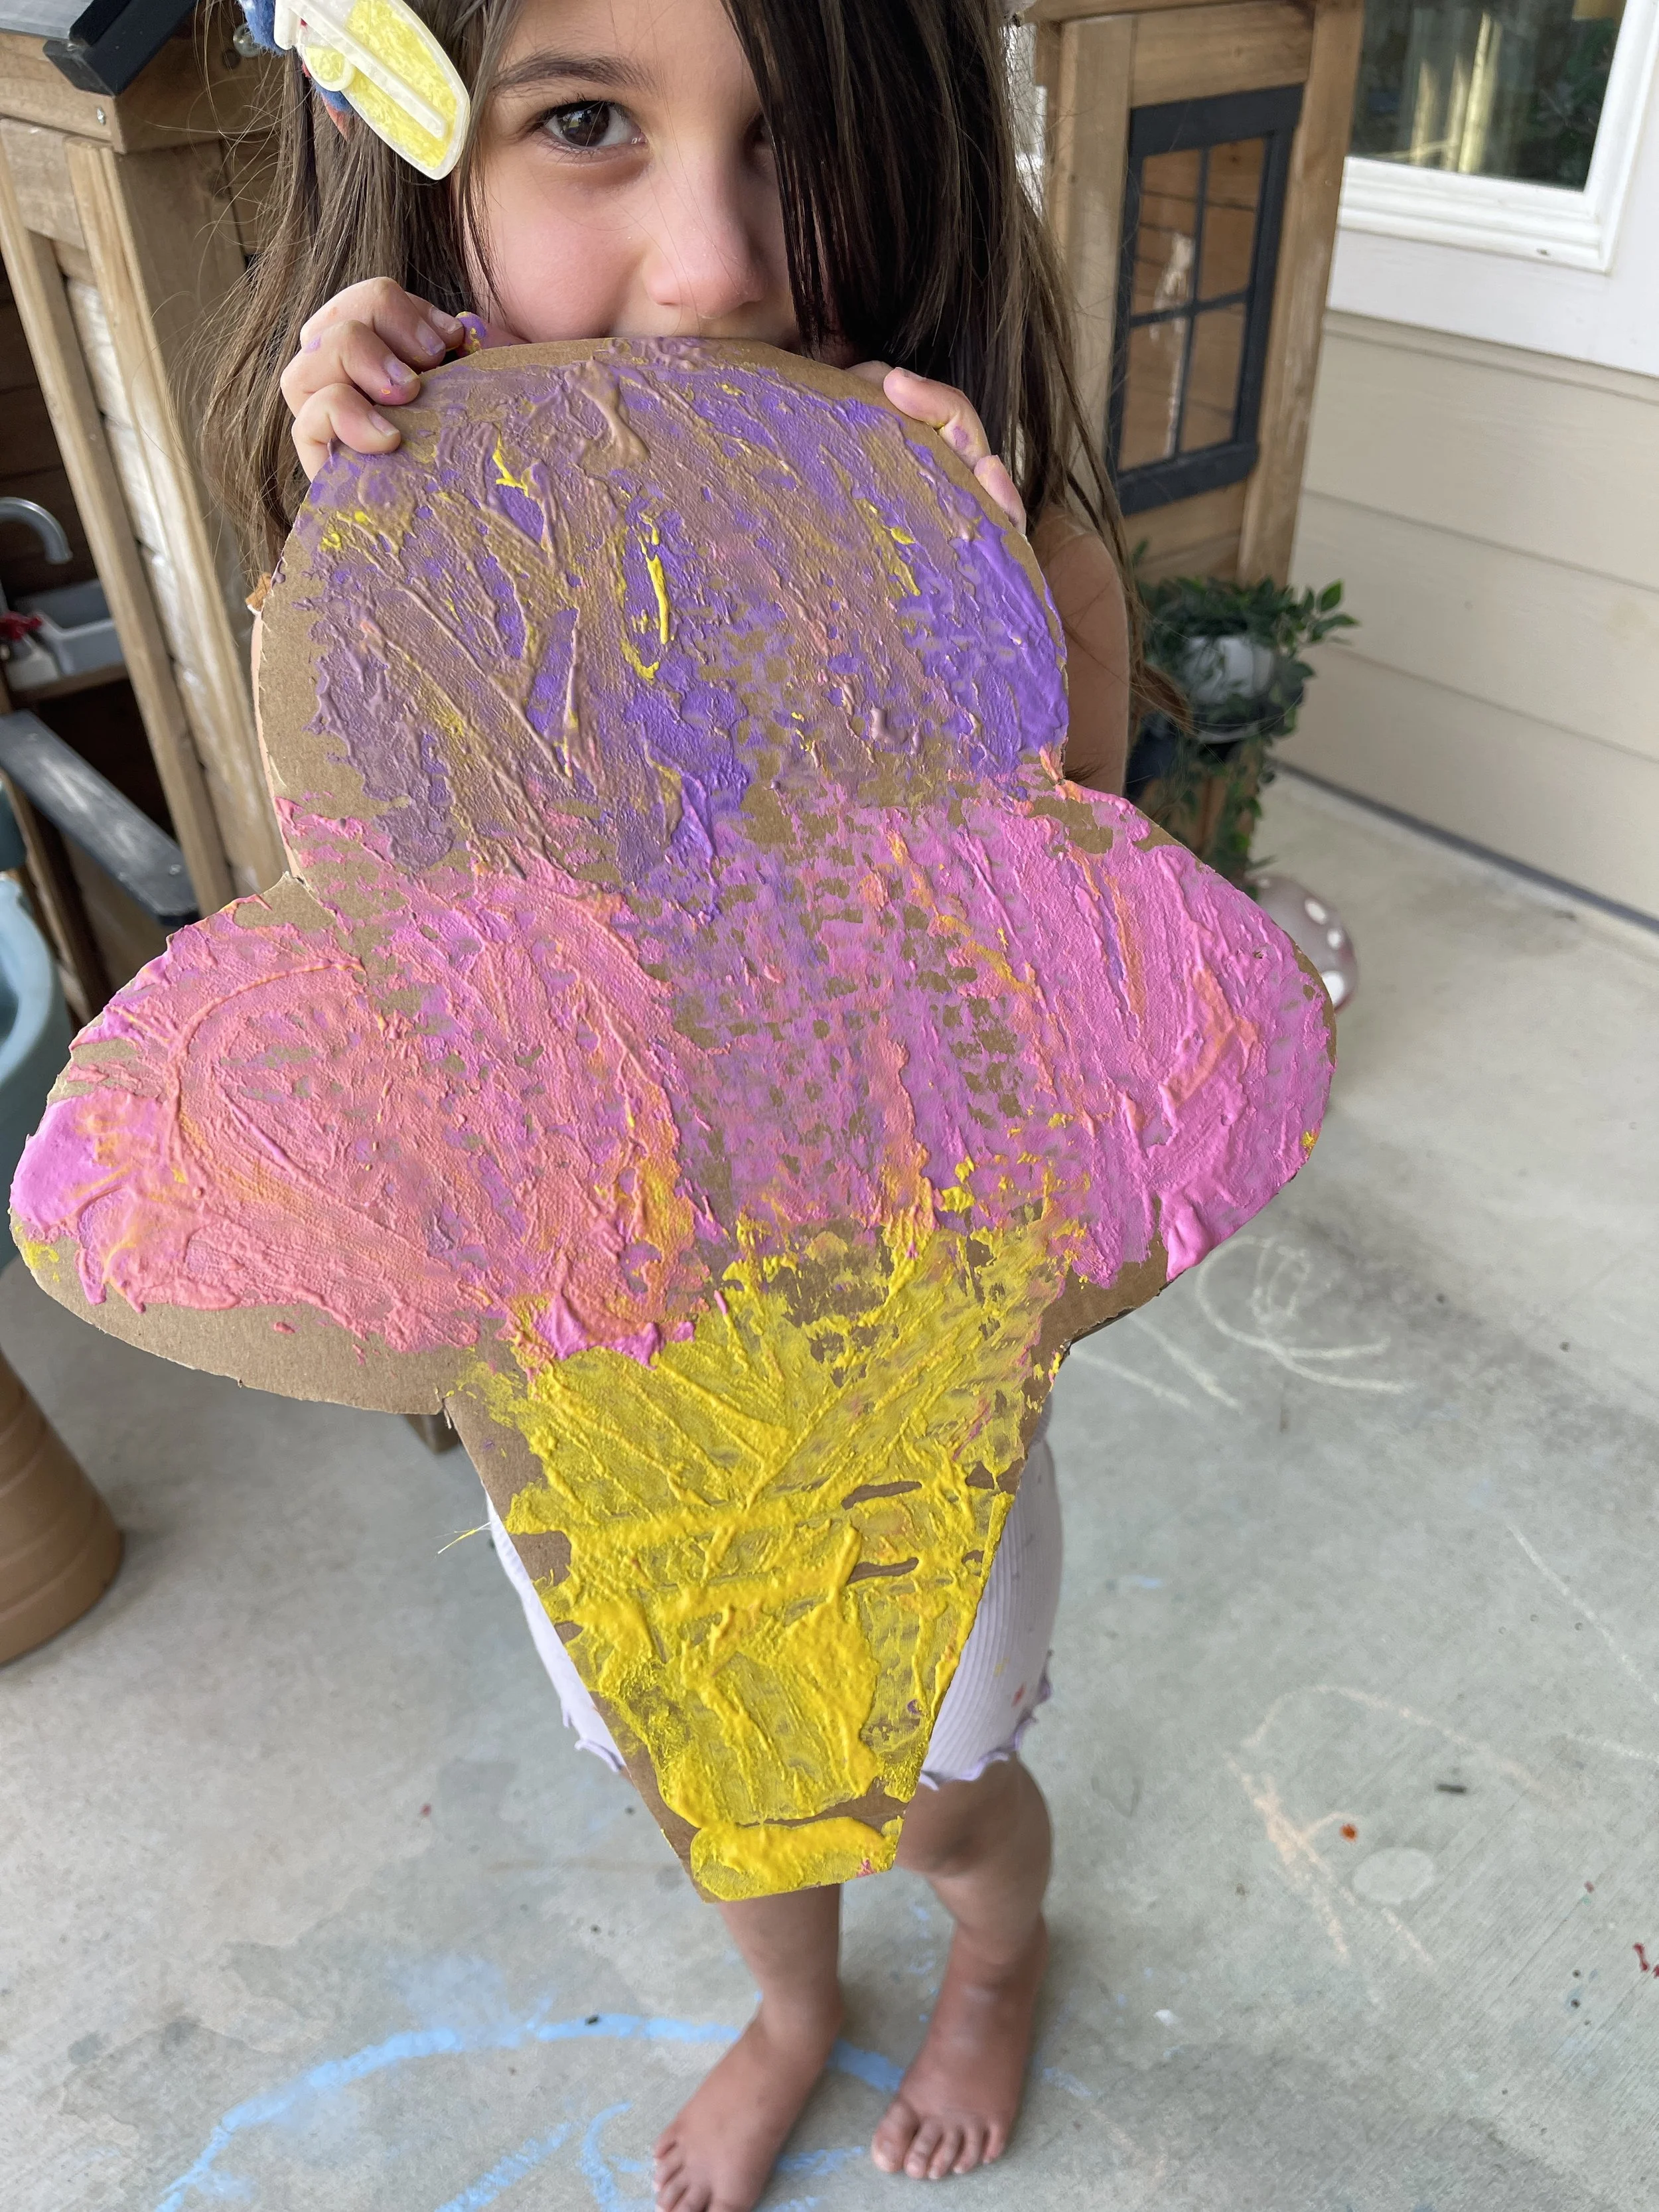
We used big cardboard cutouts in the shape of an ice cream for this project. Cardboard is nice here because it can take the thicker, heavier texture of this paint without buckling the way regular paper would.
Let your kid go at it with the spoon straight from the plate, or hand over a paintbrush if they'd rather — either way, it's a bit like spreading soft-serve with a spoon. The texture invites a slower, more tactile kind of painting than a thin liquid paint does — there's real resistance and drag as they spread it, which is its own kind of gentle sensory input before you even get to the toppings.
Let the colors blend and swirl together. This is a happy, hands-in kind of activity, so the more the colors mix and mingle, the better it gets.
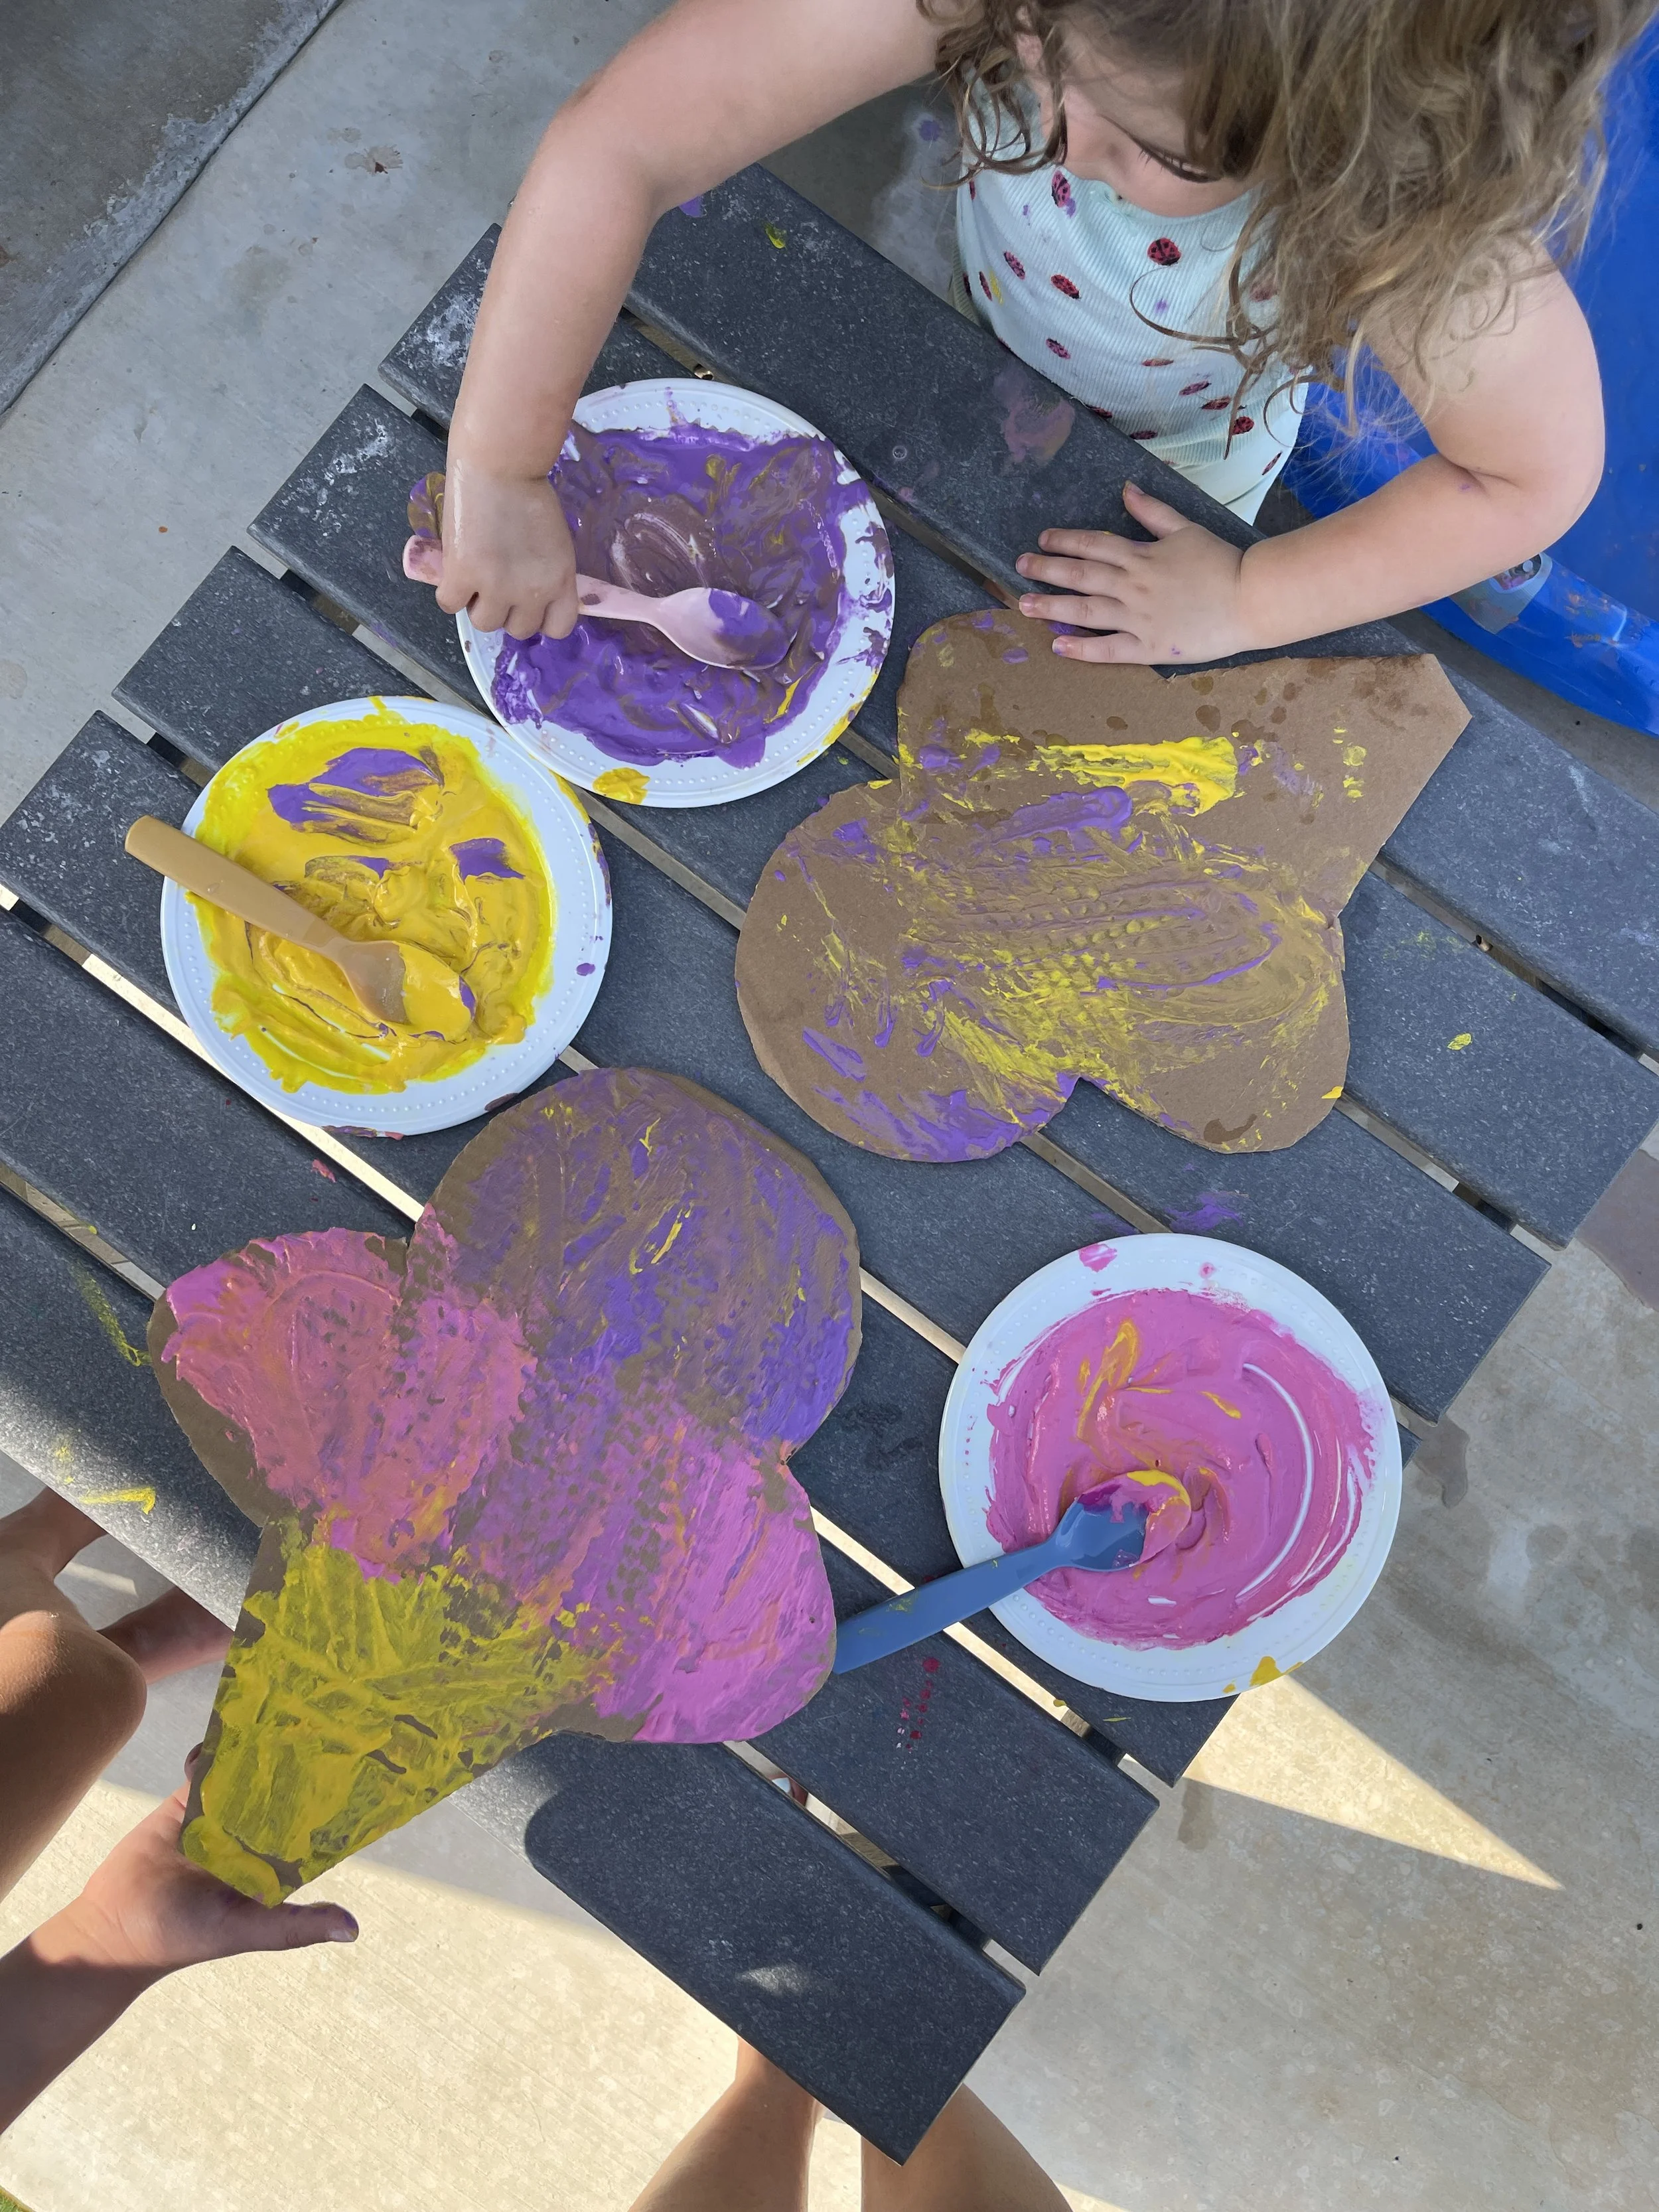
Step two: add the toppings
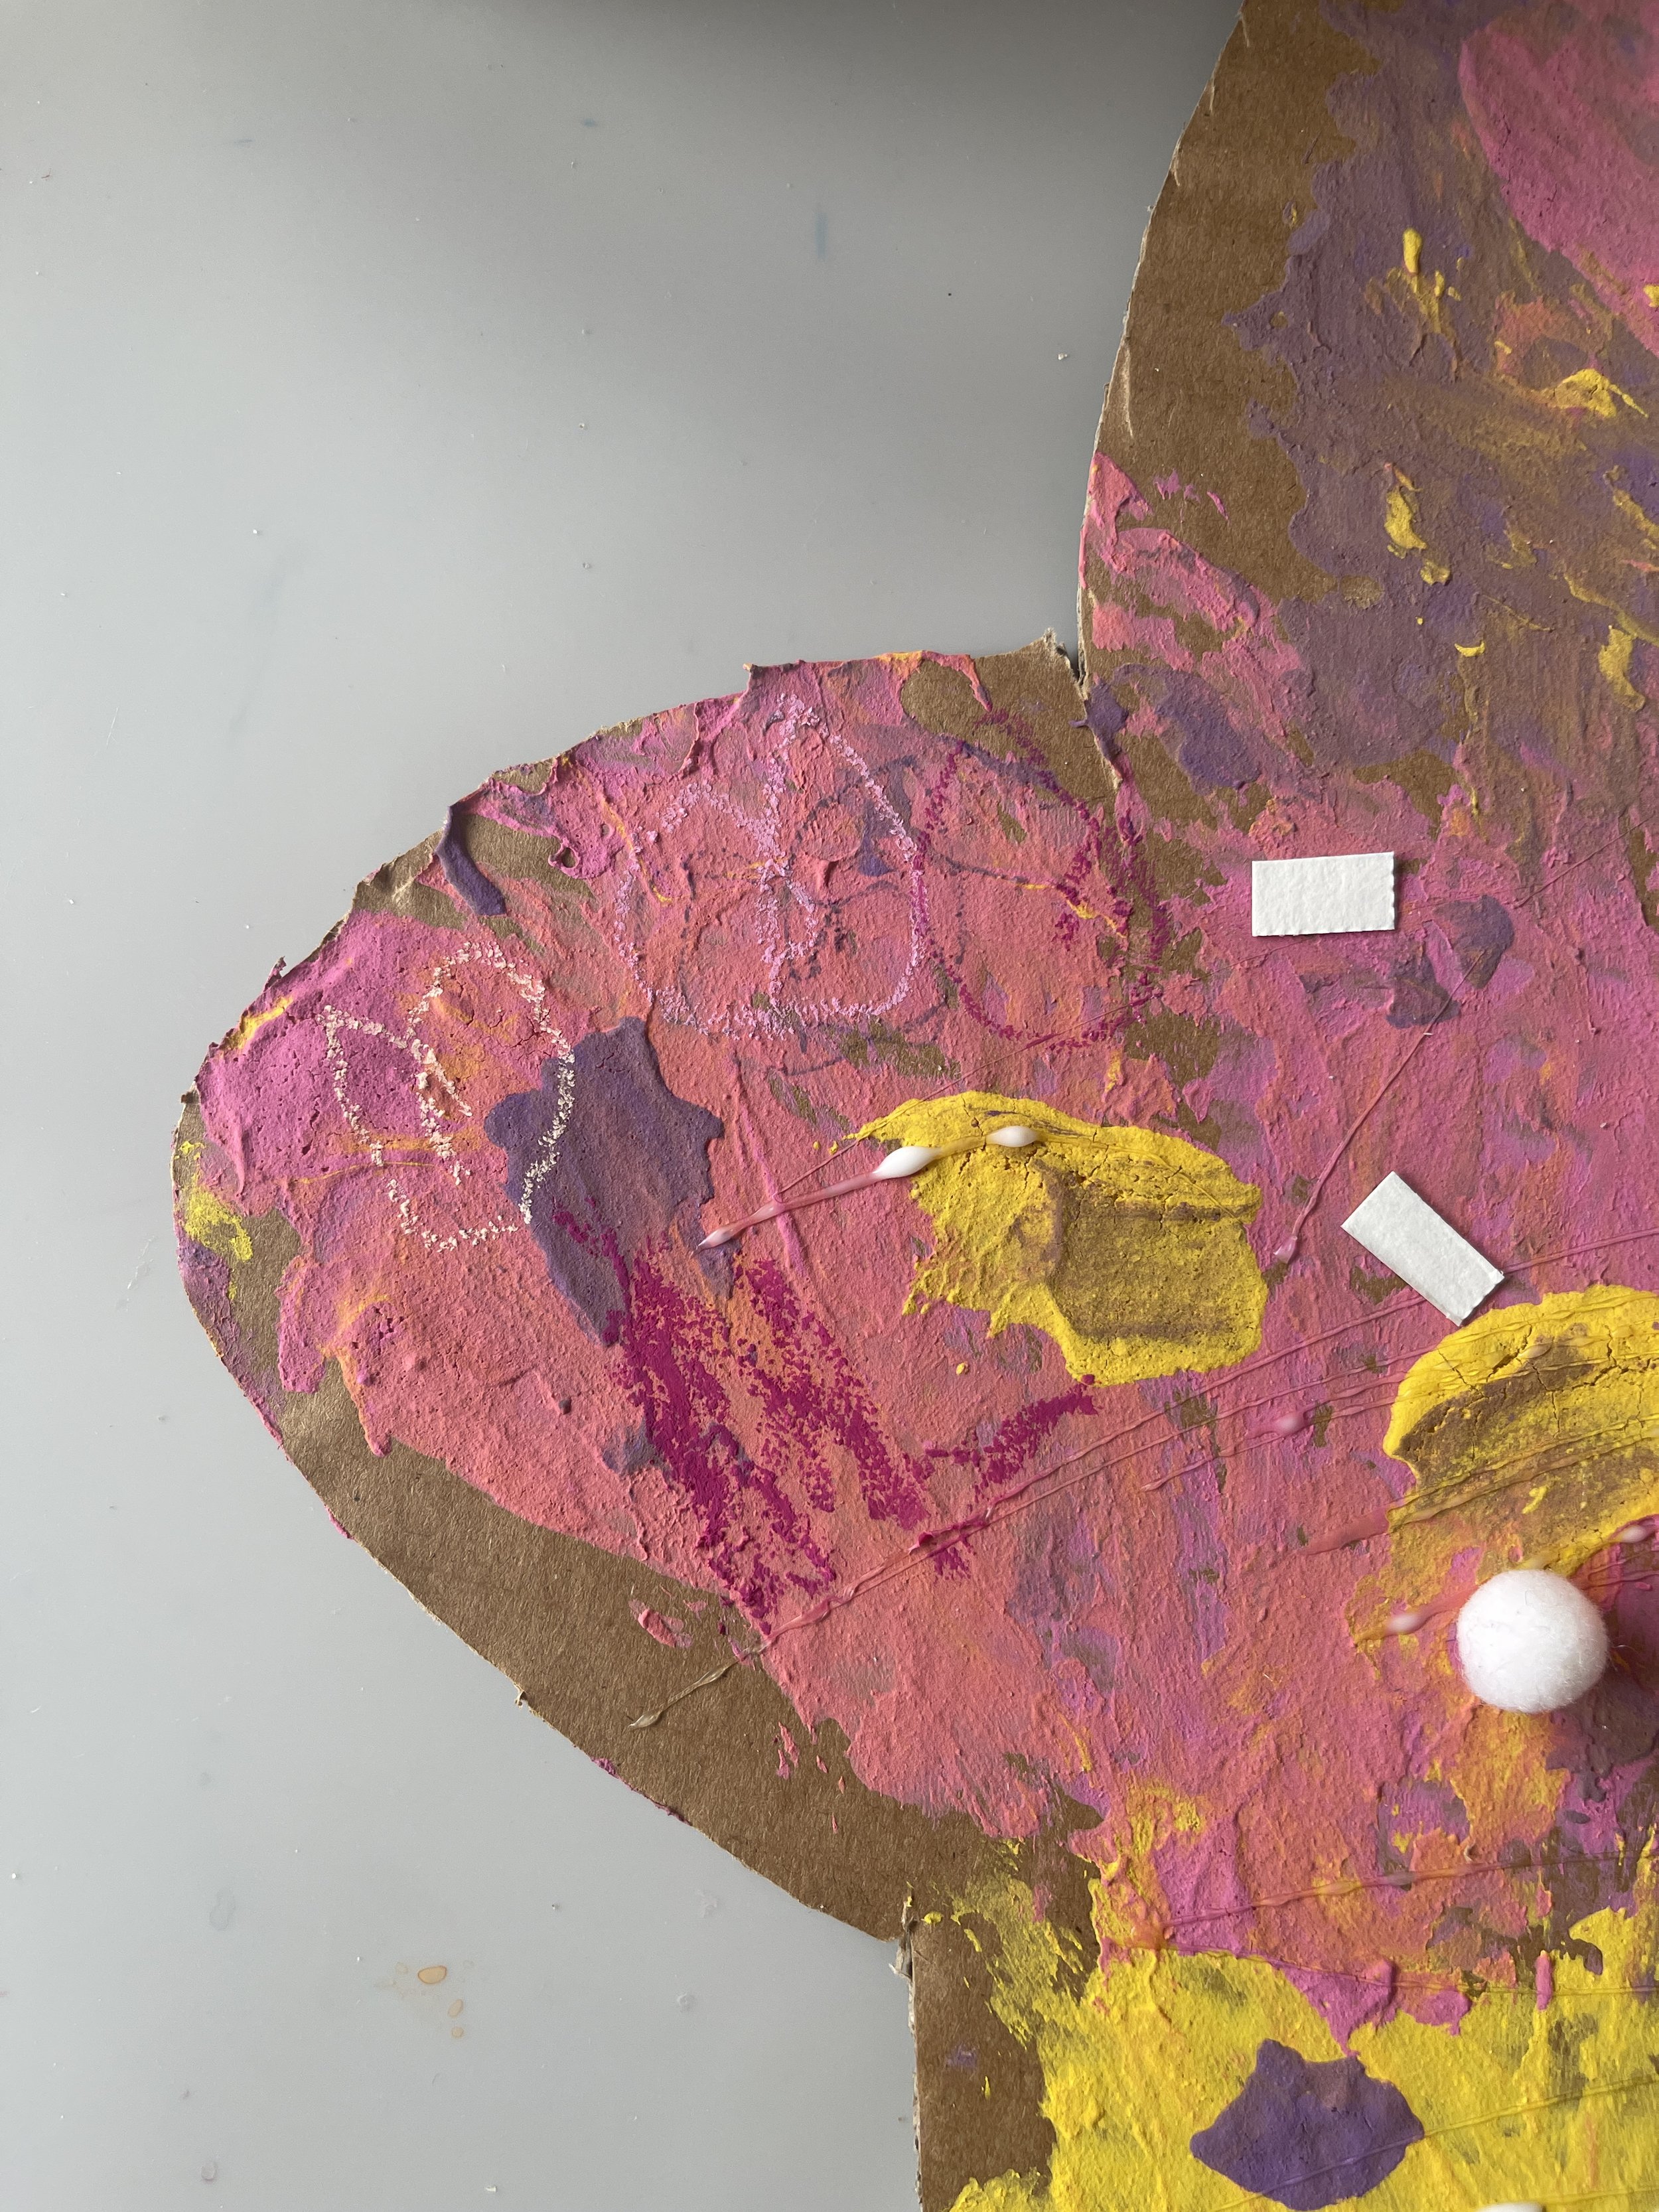
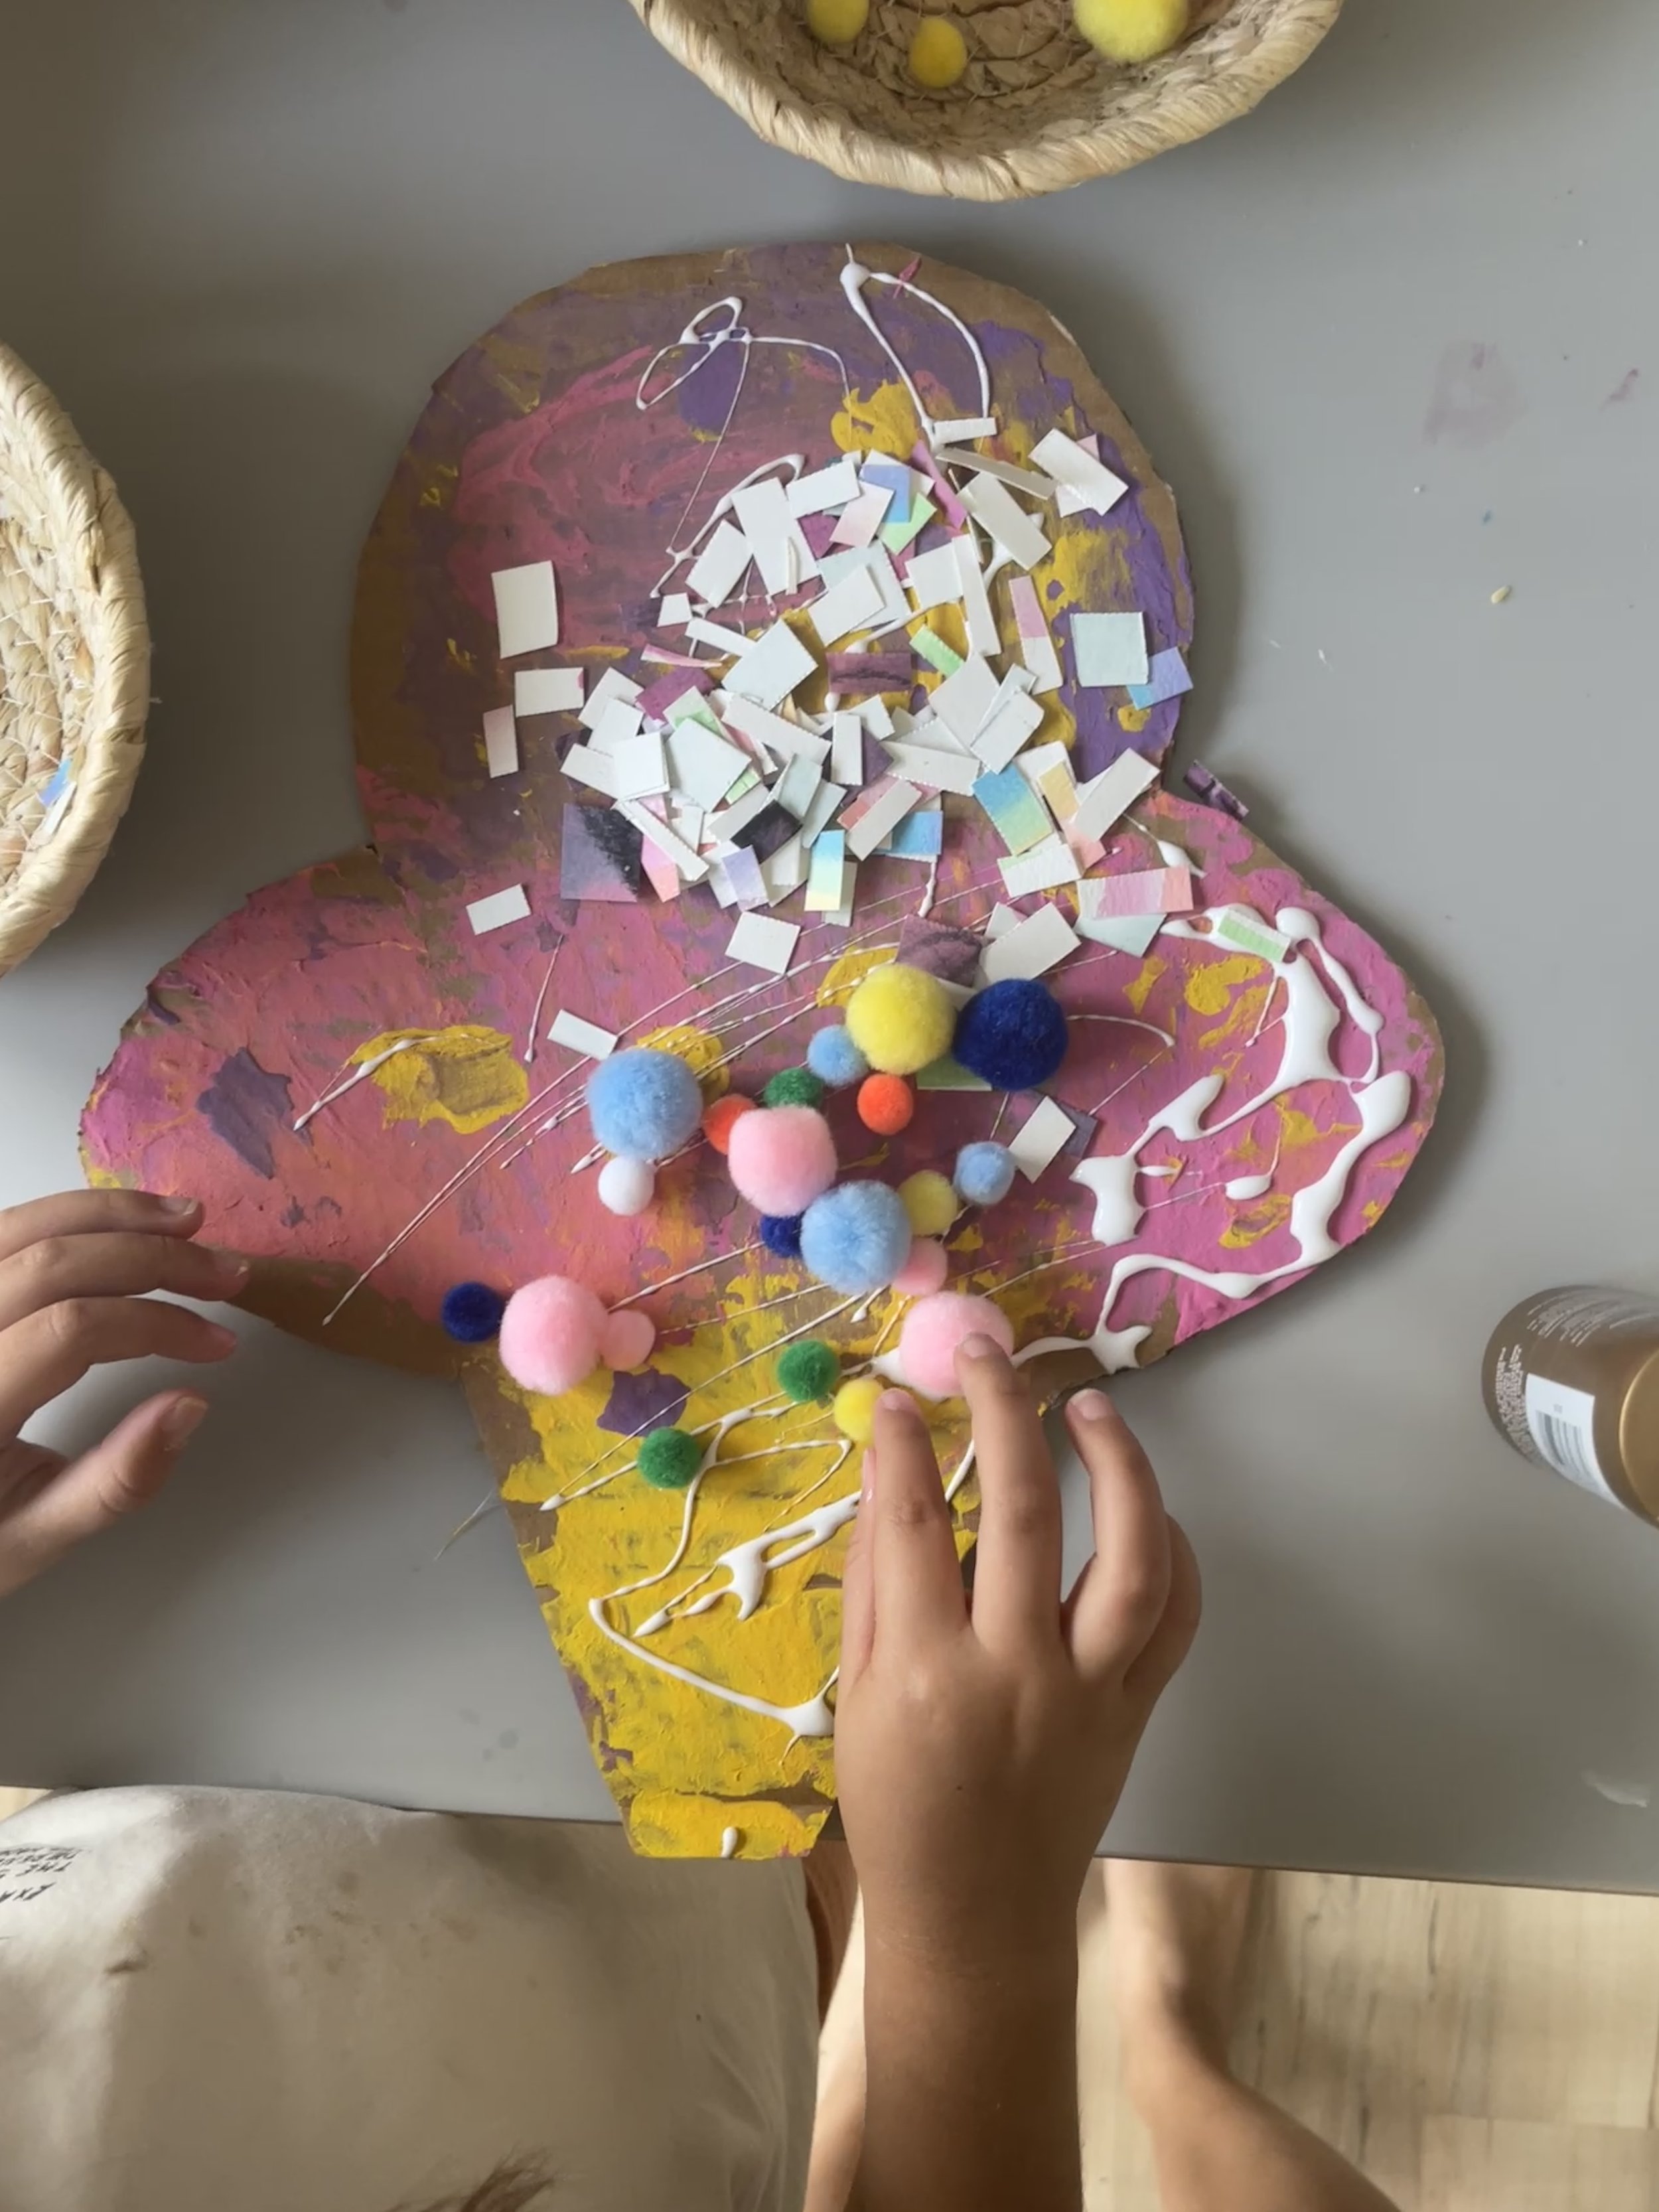
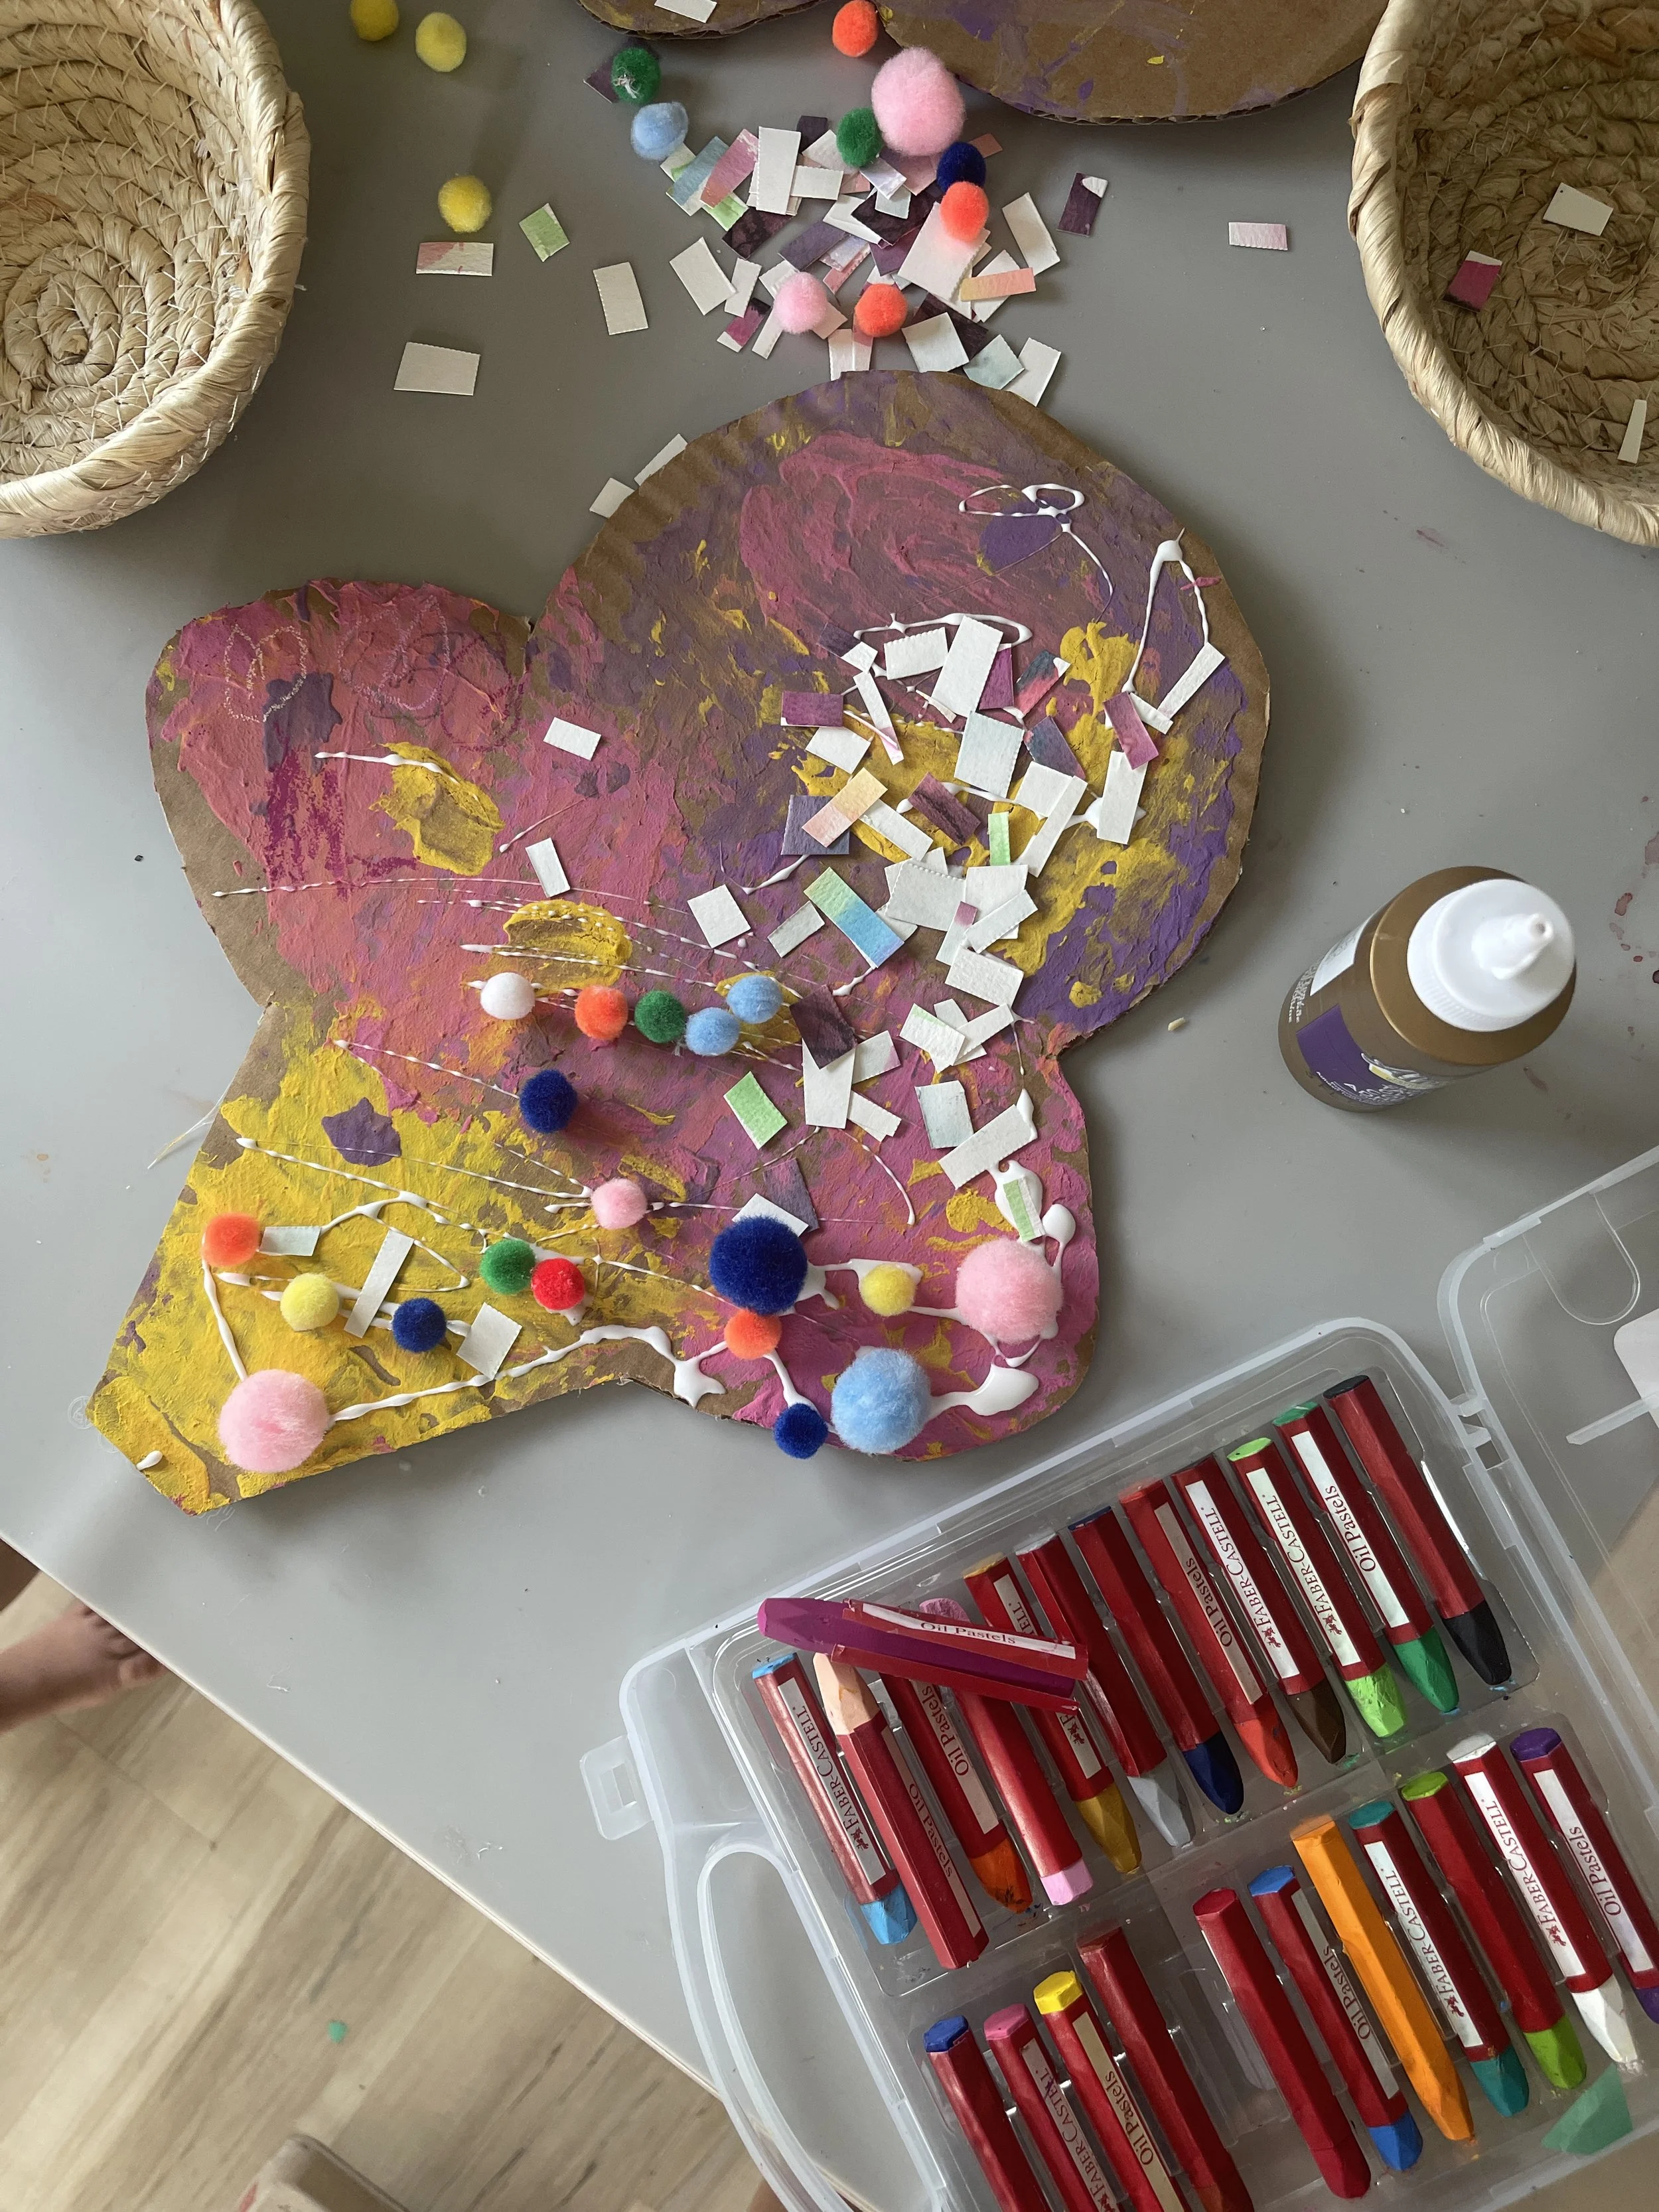
This is where it turns from "painting" into full sundae-style sensory art. Because it was such a fun messy activity with my toddler, we decided to let the ice creams dry for a day before glueing everything on. We also decided to wait, because you can use pastels to draw on your ice creams for a mixed media experience. Highly recommend you try it!
Here are some topping ideas:
Pom poms (we used a mix of sizes)
Little paper scraps or confetti
Cotton balls
Anything else textured and small you've got on hand — dried pasta, buttons, torn tissue paper
Why you should definitely save this one!
This little recipe checks two sweet boxes at once, which is exactly why I love it as a way to close out the summer. It's a full process art experience — the joy is in the mixing and spreading, not a finished product to get "right" — and it's a full sensory experience too, with the thick, creamy texture of the paint itself and the happy little hunt-and-press of adding toppings after. Two activities, two kinds of sensory joy, and just one simple prep step.
It's also a lovely one for siblings at different ages to share side by side. My younger one was mostly happy just lathering the paint with her hands straight off the plate; my older one took her time deciding exactly where each color and pom pom "sprinkle" should land. Both are exactly the right way to enjoy it.
more sweet things
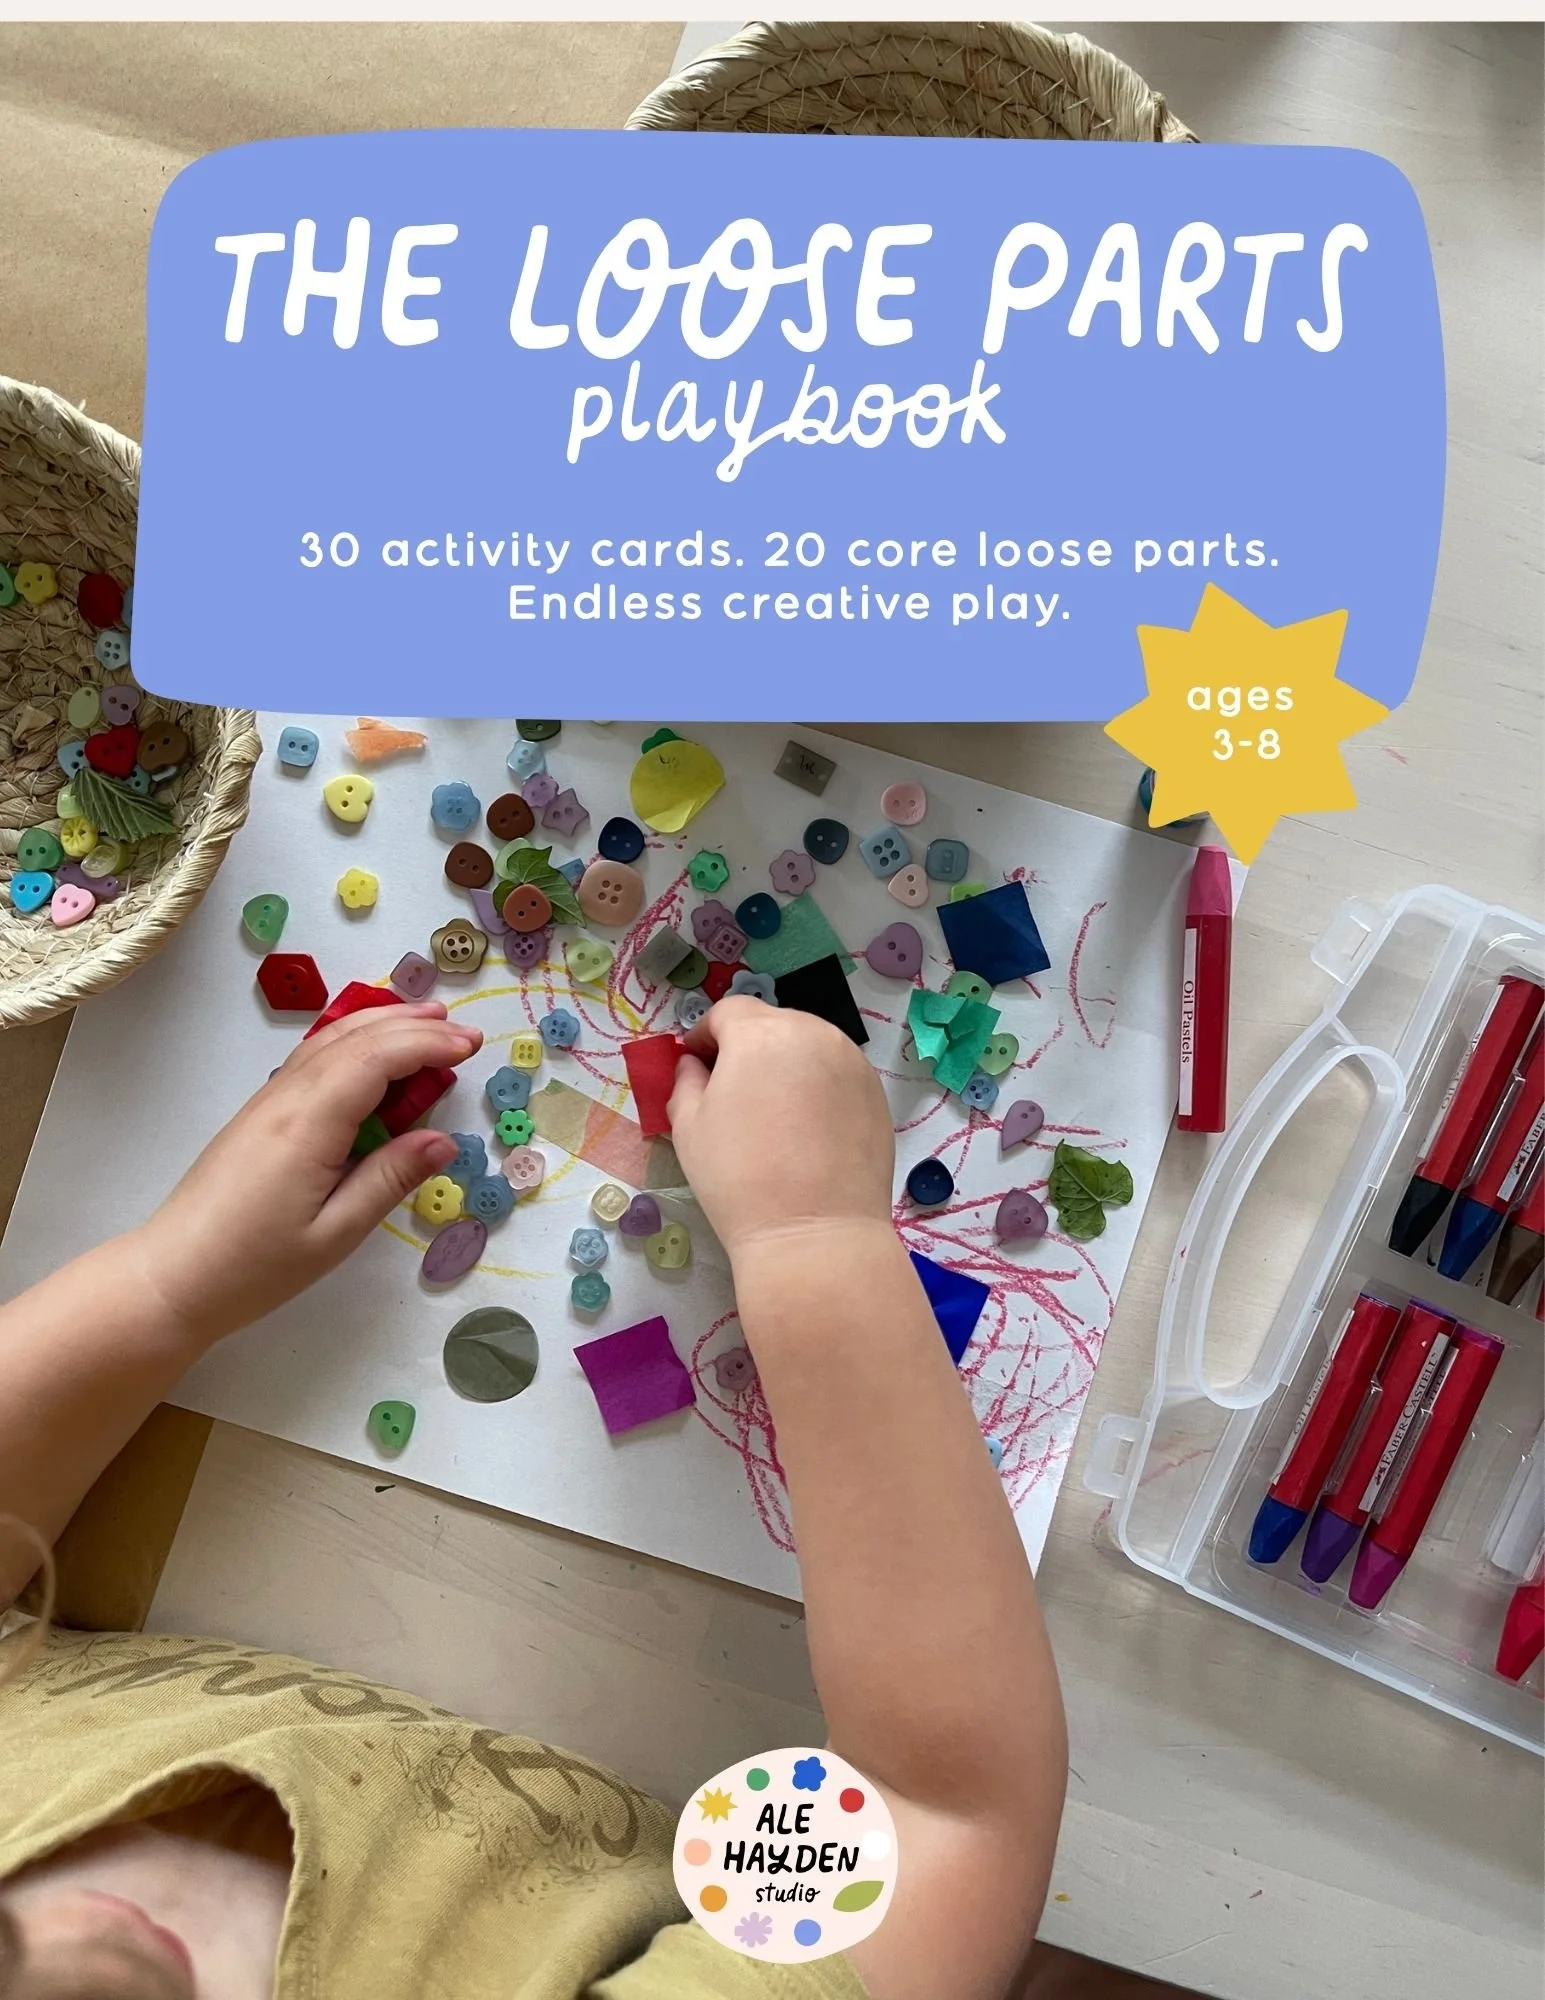
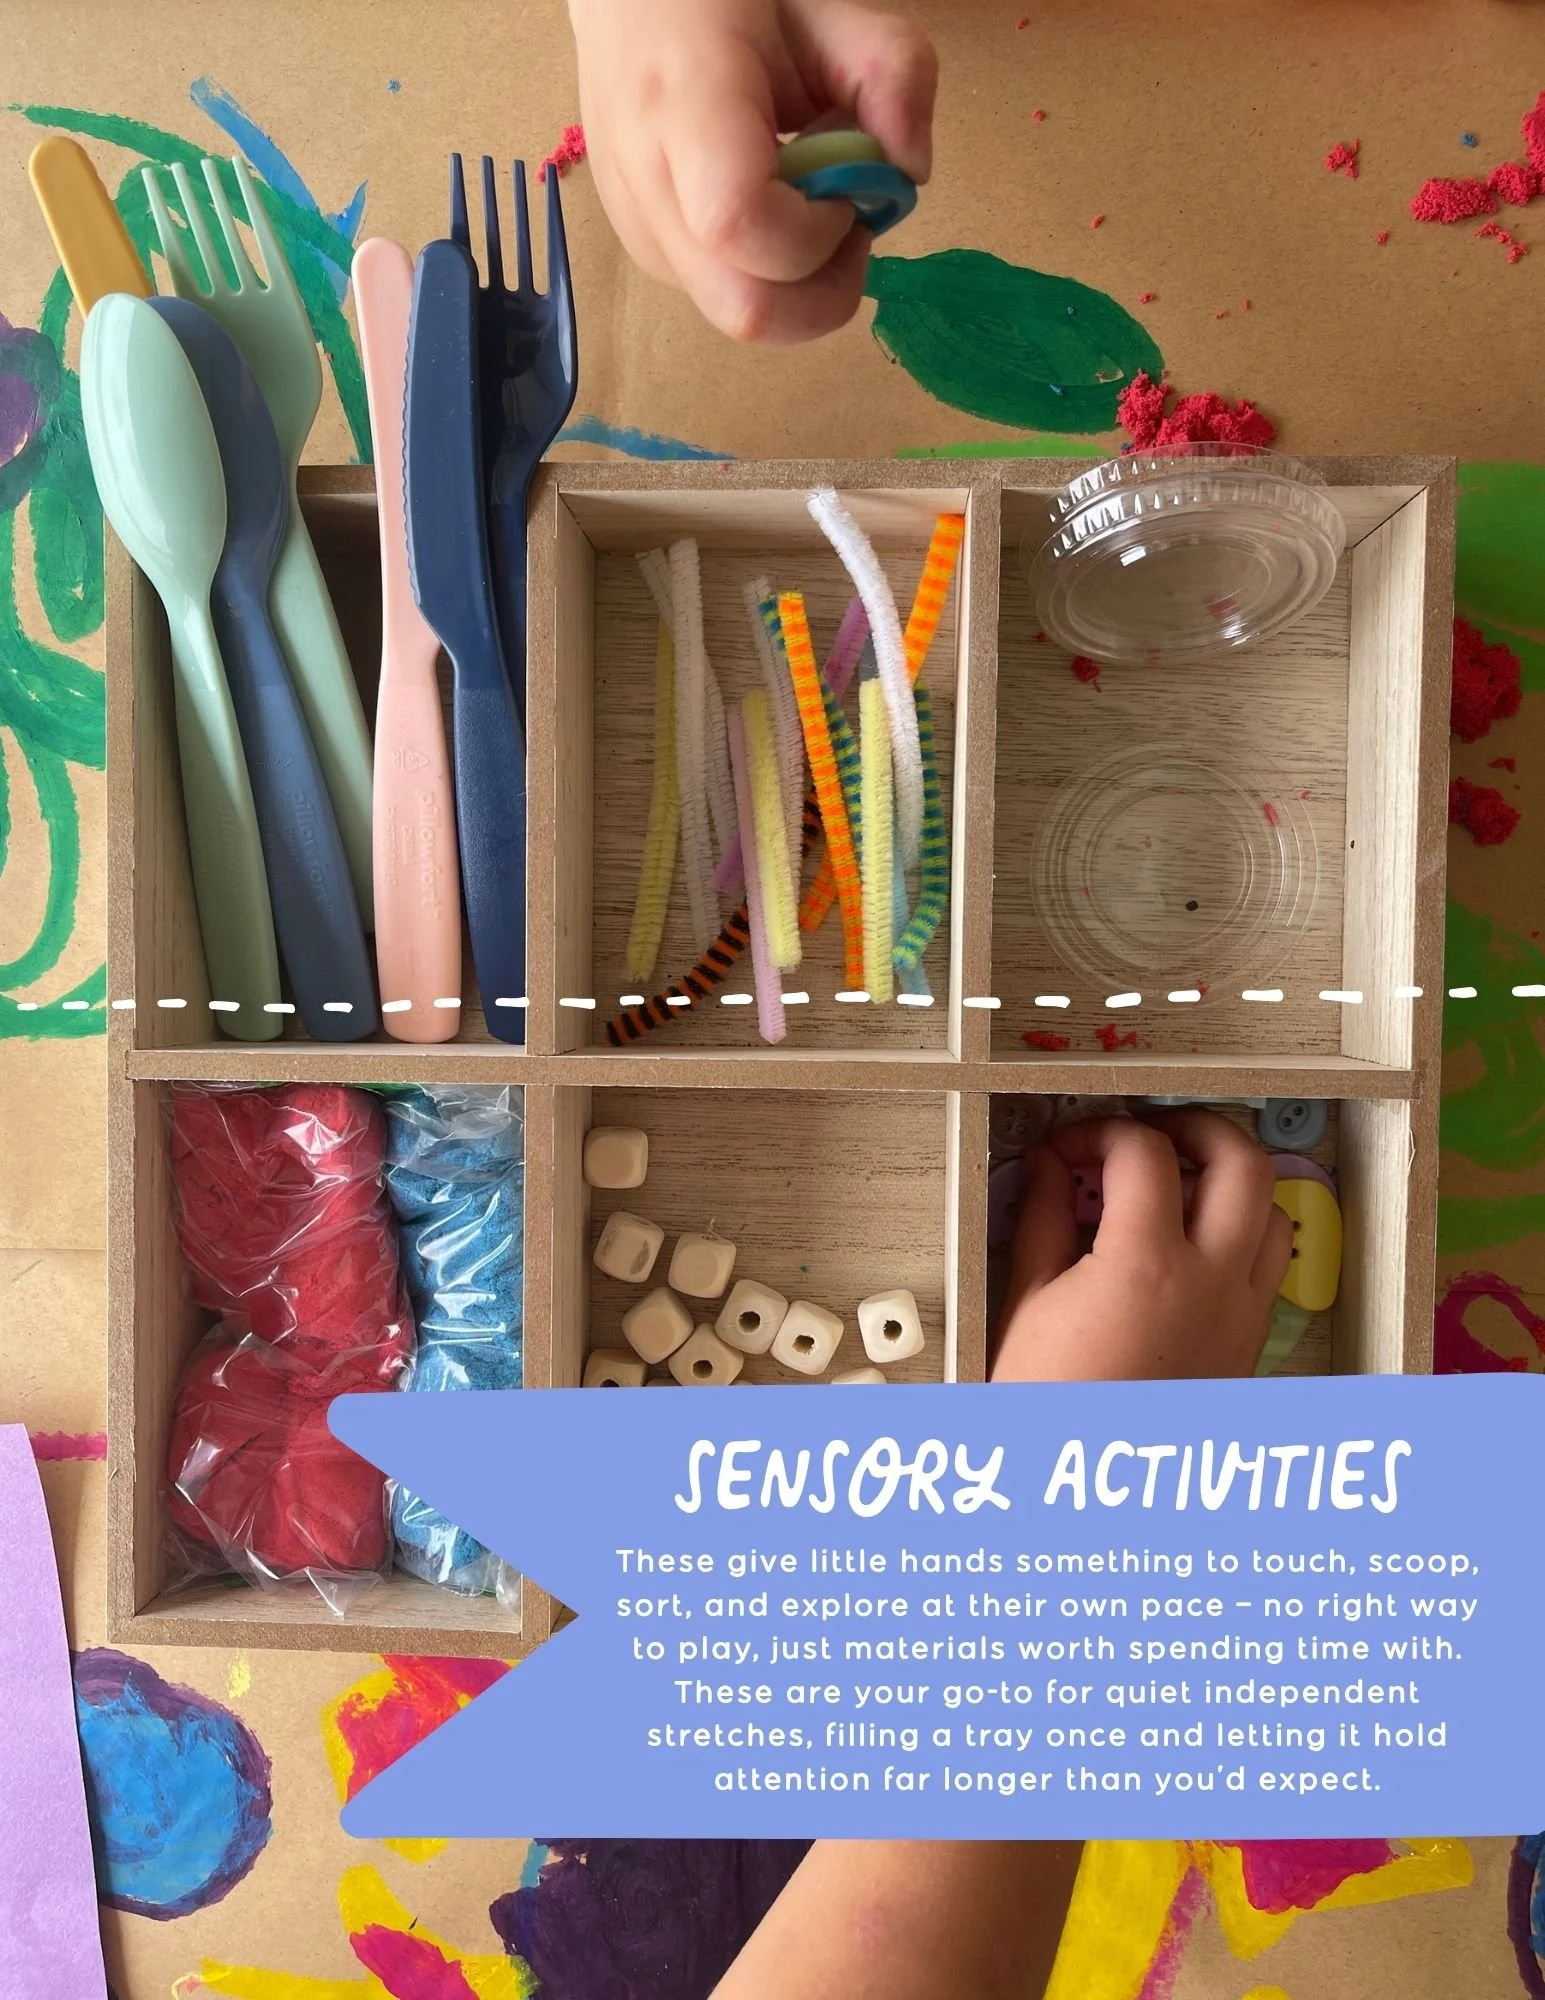
If you want more recipes and invitations like this one — organized with zero guesswork about what to buy or how to set it up — that's exactly what's inside The Loose Parts Playbook, our 30-activity library spanning Tinker Trays & Sensory, Process Art, and Building & Construction. Take a peek at the full Playbook! 🎨